2006 Chrysler 300 Ac Compressor Replacement
The 2006 Chrysler 300, a modern classic known for its bold styling and available Hemi V8, offered a comfortable ride and decent performance for its time. However, like any vehicle, it's prone to wear and tear, and the air conditioning system is no exception. One of the most common A/C repairs involves replacing the A/C compressor. This article provides a detailed guide on understanding, diagnosing, and potentially replacing the A/C compressor in your 2006 Chrysler 300.
Understanding the 2006 Chrysler 300 A/C System
The A/C system in the 2006 Chrysler 300, regardless of the engine (2.7L V6, 3.5L V6, or 5.7L Hemi V8), operates on the basic principle of refrigerant compression and expansion. The A/C compressor, driven by the engine via a belt, is the heart of the system. It compresses the refrigerant (typically R-134a), increasing its temperature and pressure. This high-pressure, high-temperature refrigerant then flows to the condenser, where it dissipates heat and turns into a high-pressure liquid. The liquid refrigerant then passes through the expansion valve or orifice tube, reducing its pressure and temperature before entering the evaporator core inside the cabin. As air blows across the evaporator core, the refrigerant absorbs heat, providing cool air to the occupants.
Common Symptoms of a Failing A/C Compressor
Several symptoms can indicate a failing A/C compressor in your 2006 Chrysler 300. The most obvious is a complete lack of cold air coming from the vents. Other signs include:
- Weak or intermittent cooling: The A/C might work sporadically or produce only lukewarm air.
- Loud noises: Grinding, squealing, or rattling sounds coming from the compressor area are a strong indicator of internal damage.
- Clutch not engaging: The A/C compressor clutch, responsible for engaging the compressor when the A/C is turned on, may fail to engage. This is often accompanied by a clicking sound, or no sound at all.
- Refrigerant leaks: Oil stains near the compressor are a sign of a refrigerant leak, often caused by a failing compressor seal.
Diagnosing the Problem
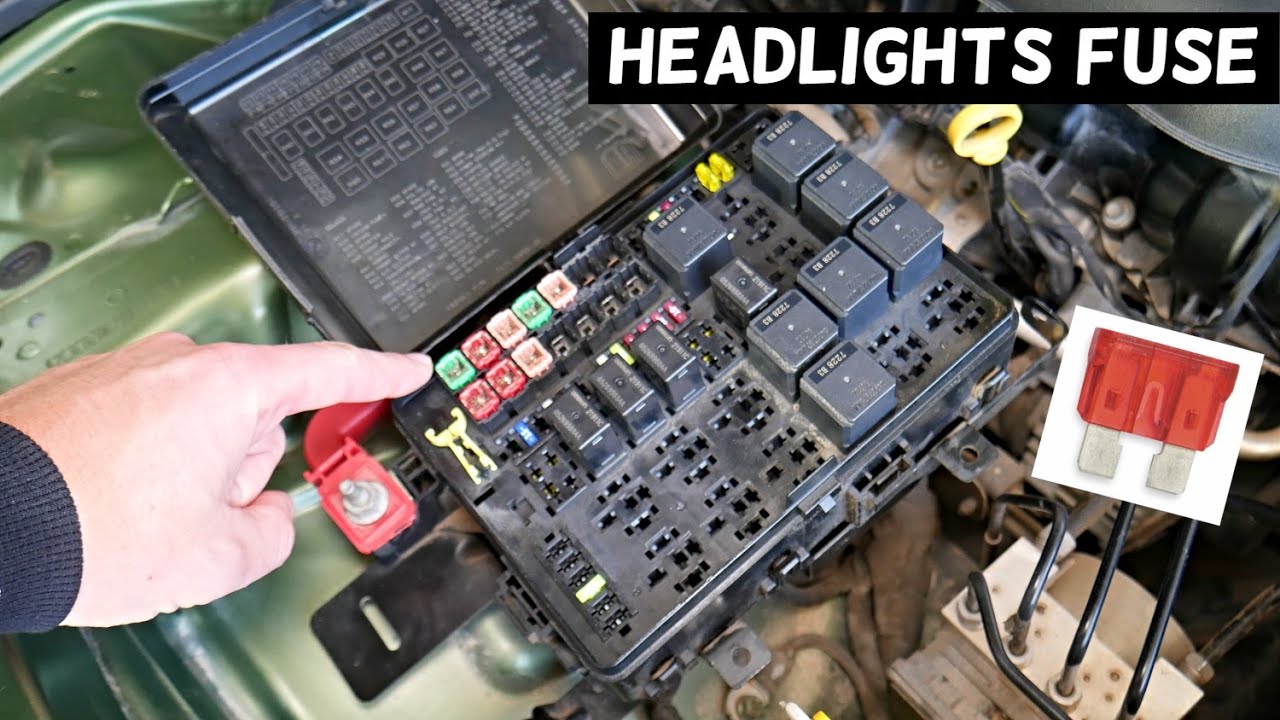
Before replacing the A/C compressor, proper diagnosis is crucial. Begin by checking the A/C refrigerant level. Low refrigerant can cause the compressor to malfunction. A professional mechanic will use gauges to measure the high and low-side pressures in the system. Electrical issues can also prevent the compressor from operating. Check the A/C compressor relay and fuse. A faulty relay can prevent power from reaching the compressor clutch. The A/C compressor clutch itself can also fail, preventing the compressor from engaging even if it's mechanically sound. Finally, a restricted orifice tube or expansion valve can cause problems that mimic a failing compressor. If you're not comfortable performing these checks yourself, it's best to consult a qualified mechanic.
Replacing the A/C Compressor: A Step-by-Step Overview
Replacing the A/C compressor is a moderately complex task that typically requires specialized tools and knowledge. It's highly recommended to have a professional perform this repair, especially if you're not experienced with automotive A/C systems. However, here's a general overview of the process:
- Recover the Refrigerant: This is a critical step. Refrigerant is harmful to the environment, and venting it into the atmosphere is illegal. A professional will use a refrigerant recovery machine to safely remove the refrigerant from the system.
- Disconnect the Battery: Always disconnect the negative battery cable before working on any electrical components.
- Remove the Serpentine Belt: The serpentine belt drives the A/C compressor. You'll need to remove it to access the compressor.
- Disconnect the A/C Lines and Electrical Connector: Carefully disconnect the A/C lines from the compressor, using appropriate line wrenches to avoid damaging the fittings. Disconnect the electrical connector to the compressor clutch.
- Remove the Old Compressor: Unbolt the compressor from its mounting brackets and remove it from the vehicle.
- Install the New Compressor: Install the new compressor in the reverse order of removal. Be sure to use new O-rings on the A/C line connections.
- Replace the Receiver Drier/Accumulator: It is highly recommended to replace the receiver drier (on systems with an expansion valve) or accumulator (on systems with an orifice tube) whenever replacing the compressor. This part filters moisture and debris from the refrigerant.
- Evacuate and Recharge the System: After installing the new compressor and receiver drier/accumulator, the system must be evacuated to remove air and moisture. Then, it's recharged with the correct amount of R-134a refrigerant and oil.
Cost Considerations
The cost of replacing an A/C compressor in a 2006 Chrysler 300 can vary depending on factors such as the brand of the compressor (OEM vs. aftermarket), labor rates, and location. Generally, expect to pay anywhere from $500 to $1000 for the complete job, including parts and labor. Aftermarket compressors are typically less expensive, but OEM compressors often offer better reliability. The labor cost will often represent a significant portion of the total expense.
Prevention and Maintenance
Regular A/C system maintenance can help prevent premature compressor failure. Have the system inspected annually for leaks and proper refrigerant levels. Periodically run the A/C system, even during the winter months, to keep the compressor lubricated. Addressing minor A/C problems promptly can prevent them from escalating into more costly repairs.