2016 Chevy Malibu Ac Compressor Replacement
The 2016 Chevrolet Malibu, a popular choice for its fuel efficiency and comfortable ride, relies on a well-functioning air conditioning (AC) system to maintain cabin comfort, especially in warmer climates. At the heart of this system lies the AC compressor, a crucial component responsible for circulating refrigerant and enabling the cooling process. When this compressor fails, the consequences can range from ineffective cooling to complete AC system failure. This guide provides an in-depth look at the process of replacing the AC compressor on a 2016 Chevy Malibu, offering insights into the underlying principles and potential pitfalls of this repair.
Understanding the AC System and Compressor Function
Before delving into the replacement procedure, it's essential to grasp the basics of the AC system and the compressor's role within it. The AC system is a closed-loop system containing refrigerant (typically R-134a), which undergoes phase changes to absorb and release heat. The compressor is the pump that drives this cycle. It compresses the low-pressure, gaseous refrigerant, increasing its temperature and pressure. This high-pressure, high-temperature refrigerant then flows to the condenser, where it releases heat and condenses into a liquid. The liquid refrigerant passes through an expansion valve or orifice tube, where its pressure and temperature are reduced. Finally, the cold, low-pressure refrigerant enters the evaporator coil inside the vehicle's cabin. As air is blown across the evaporator, the refrigerant absorbs heat, cooling the air before it's distributed through the vents. The refrigerant then returns to the compressor, completing the cycle.
The AC compressor itself is a complex electromechanical device. It typically consists of a crankshaft, pistons, valves, and an electromagnetic clutch. The clutch engages when the AC is turned on, connecting the compressor's pulley to the engine's crankshaft via a belt. This allows the engine to drive the compressor, initiating the refrigerant circulation. Common types of compressors include scroll, rotary, and piston compressors. The 2016 Malibu typically uses a scroll or piston type.
Diagnosing a Faulty AC Compressor
Several symptoms can indicate a failing AC compressor. These include:
- Lack of Cold Air: This is the most obvious symptom. If the compressor isn't pumping refrigerant effectively, the system won't cool the air.
- Unusual Noises: Grinding, squealing, or rattling noises from the compressor area can indicate internal damage or a failing clutch bearing.
- Clutch Not Engaging: If the AC clutch isn't engaging, the compressor won't be driven by the engine. This could be due to a faulty clutch, a problem with the electrical circuit controlling the clutch, or low refrigerant pressure (which can trigger a safety cutoff).
- Refrigerant Leaks: Leaks around the compressor can indicate a faulty seal or damaged housing.
- Burning Smell: A burning smell could indicate a seized compressor clutch or a problem with the compressor's internal components.
Before replacing the compressor, it's crucial to perform thorough diagnostics to confirm that the compressor is indeed the problem. This typically involves checking refrigerant pressure with a manifold gauge set, inspecting the compressor clutch and wiring, and listening for unusual noises. Proper diagnosis is critical to avoid unnecessary repairs and ensure the new compressor functions correctly.
Replacing the AC Compressor: A Step-by-Step Guide
Replacing the AC compressor is a moderately complex task that requires specialized tools and knowledge. It's recommended to consult a qualified technician if you're not comfortable working on automotive AC systems. This procedure outlines the general steps involved:
1. Safety Precautions
Before starting any work on the AC system, it's crucial to disconnect the negative battery cable to prevent electrical shock. Wear safety glasses and gloves to protect yourself from refrigerant and other fluids. Never release refrigerant into the atmosphere. It's illegal and harmful to the environment.
2. Refrigerant Recovery
The first step is to evacuate the refrigerant from the system using a refrigerant recovery machine. This requires specialized equipment and training. If you don't have access to a recovery machine, take the vehicle to a certified AC technician to have the refrigerant removed properly.
3. Accessing the Compressor
Locate the AC compressor on the engine. Its location can vary depending on the engine configuration, but it's typically mounted on the front of the engine, driven by a belt. You may need to remove other components, such as the engine splash shield or air intake ducting, to gain access to the compressor.
4. Disconnecting the Compressor
Disconnect the electrical connector from the compressor clutch. Loosen the belt tensioner and remove the drive belt from the compressor pulley. Disconnect the refrigerant lines from the compressor. These lines are typically held in place by bolts or quick-connect fittings. Use two wrenches when loosening the fittings to prevent damage to the lines. Be prepared for a small amount of oil to leak out when the lines are disconnected. Cap the lines immediately to prevent contamination.
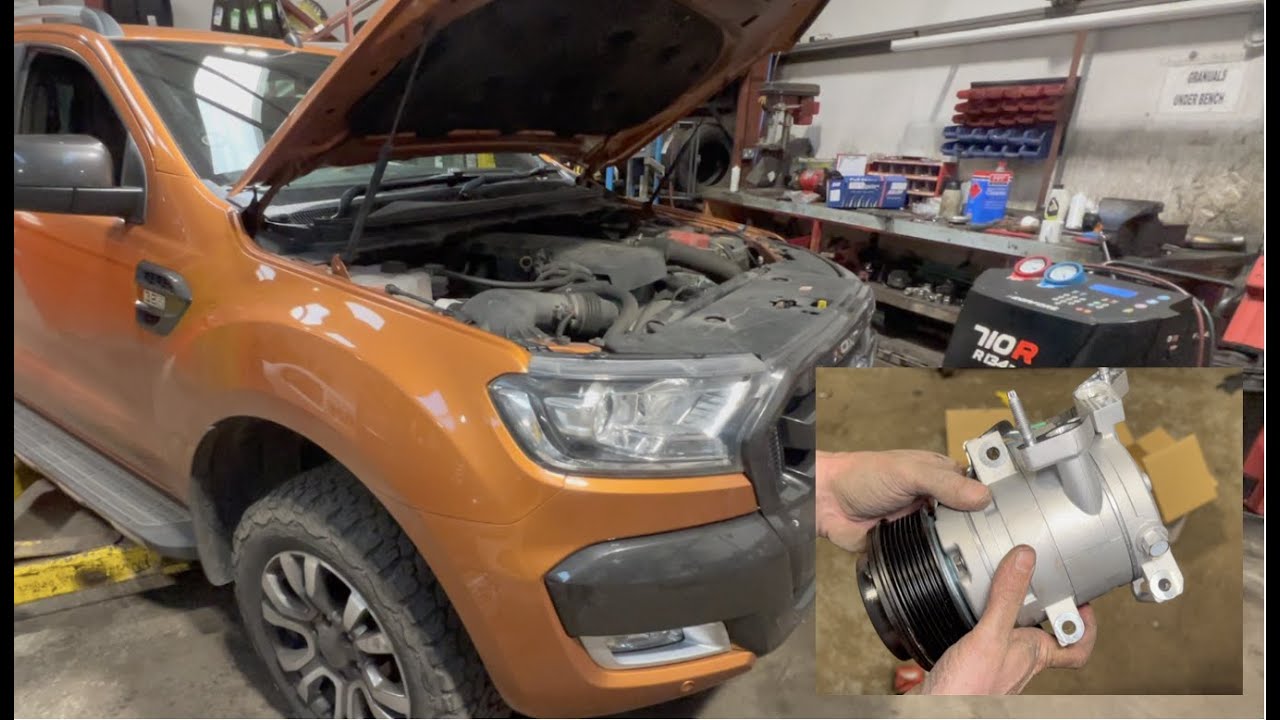
5. Removing the Compressor
Remove the bolts that secure the compressor to the engine bracket. Carefully remove the compressor from the vehicle.
6. Preparing the New Compressor
Before installing the new compressor, compare it to the old one to ensure it's the correct part. Add the correct amount of PAG oil (the type and amount will be specified in the vehicle's service manual or on the compressor itself) to the new compressor. Rotate the compressor shaft several times to distribute the oil evenly. Do not overfill the compressor with oil.
7. Installing the New Compressor
Install the new compressor onto the engine bracket and secure it with the bolts. Connect the refrigerant lines to the compressor, using new O-rings lubricated with refrigerant oil. Tighten the fittings to the correct torque specifications. Reinstall the drive belt and release the belt tensioner. Connect the electrical connector to the compressor clutch.
8. Evacuating and Recharging the System
This is a crucial step that requires specialized equipment. Use a vacuum pump to evacuate the AC system for at least 30 minutes to remove any air and moisture. Once the system is evacuated, recharge it with the correct amount of refrigerant (specified in the vehicle's service manual). Use a manifold gauge set to monitor the pressures during the charging process.
9. Testing the System
Start the engine and turn on the AC. Verify that the compressor clutch is engaging and that cold air is blowing from the vents. Check the refrigerant pressures with the manifold gauge set to ensure they are within the correct range. Inspect for any leaks around the compressor and refrigerant lines.
Post-Replacement Considerations
After replacing the AC compressor, it's essential to monitor the system's performance closely. Check for any unusual noises or leaks. Consider having the system professionally inspected after a week or two to ensure everything is functioning correctly. Replacing the receiver drier (also known as an accumulator) is often recommended when replacing the compressor. The receiver drier filters the refrigerant and removes moisture, preventing damage to the new compressor. Failure to replace it can shorten the lifespan of the new compressor. Also, depending on the failure mode of the original compressor, it might be necessary to flush the system to remove any debris or contaminants. This process involves using a specialized flushing agent to clean the refrigerant lines, condenser, and evaporator. If the original compressor failed catastrophically (e.g., shattered internally), flushing the system is essential to prevent damage to the new compressor.
By understanding the AC system, diagnosing the problem correctly, and following the proper replacement procedures, you can successfully replace the AC compressor on your 2016 Chevy Malibu and restore its cooling performance. However, always prioritize safety and consult a qualified technician if you're unsure about any aspect of the repair.