2016 Toyota Rav4 Headlight Bulb Replacement
The 2016 Toyota RAV4, a popular choice for its reliability and practicality, will inevitably require headlight bulb replacements over its lifespan. This procedure, while straightforward, requires a degree of care and the correct tools to ensure proper functionality and avoid damaging sensitive components. This guide will walk you through the process, providing detailed steps and essential considerations for a successful headlight bulb replacement.
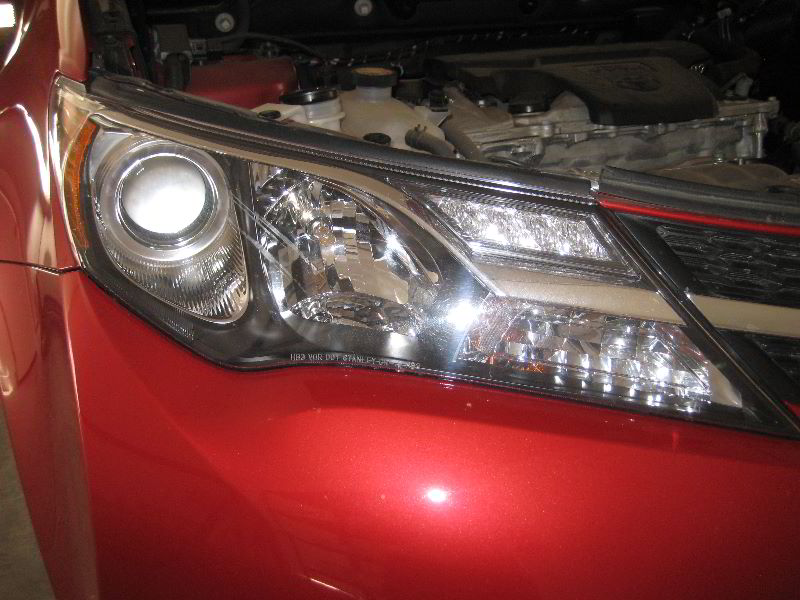
Understanding the 2016 RAV4 Headlight System
The 2016 RAV4 typically uses a halogen headlight system, employing H11 bulbs for the low beams and 9005 (HB3) bulbs for the high beams. It’s crucial to verify the specific bulb type for your RAV4 by consulting your owner's manual or referencing a reliable online bulb compatibility chart. Using the incorrect bulb can lead to improper fitment, reduced light output, and potentially damage to the headlight assembly. Some trims may have different headlight configurations so always double check.
Tools and Materials Required
Before commencing the replacement, gather the necessary tools and materials:
- New headlight bulbs (H11 and/or 9005/HB3 as applicable)
- Gloves (to protect the bulb and your hands)
- Screwdriver (Phillips head or flathead, depending on the headlight access panel)
- Optional: Headlamp or flashlight for improved visibility
Step-by-Step Headlight Bulb Replacement Procedure
1. Safety First: Begin by ensuring the vehicle is parked on a level surface, the engine is off, and the parking brake is engaged. Allow the headlights to cool down completely before attempting to handle the bulbs, as they can become extremely hot during operation.
2. Accessing the Headlight Assembly: Accessing the headlight bulb is typically achieved through an access panel located in the engine bay behind the headlight assembly. The location of this panel can vary slightly depending on the specific trim level, but it's usually a circular or rectangular cover secured with clips or screws. Consult your owner's manual for the exact location and removal procedure.
3. Removing the Access Panel: Using the appropriate screwdriver, carefully remove any screws or clips securing the access panel. Avoid forcing the panel open, as this can damage the retaining clips or the panel itself. Once the fasteners are removed, gently pull the panel away to expose the back of the headlight assembly.
4. Disconnecting the Electrical Connector: Locate the electrical connector attached to the back of the headlight bulb. Press the retaining clip on the connector (if present) and gently pull the connector straight back to disconnect it from the bulb. Never pull on the wires themselves, as this can damage the wiring or the connector. Remember to never touch the glass part of the new bulb. The oils from your fingers can cause premature failure.
5. Removing the Old Bulb: The headlight bulb is typically secured within the headlight assembly by a retaining clip or a twist-lock mechanism. Depending on the specific design, you may need to either release the retaining clip (by pressing or sliding it) or rotate the bulb counterclockwise to unlock it. Once the bulb is released, carefully pull it straight out of the housing.
6. Installing the New Bulb: Align the new bulb with the opening in the headlight assembly and insert it gently until it seats fully. Ensure that the bulb is properly oriented, aligning the tabs or notches on the bulb base with the corresponding slots in the housing. Secure the bulb in place by either engaging the retaining clip or rotating the bulb clockwise until it locks.
7. Reconnecting the Electrical Connector: Reconnect the electrical connector to the back of the new bulb, ensuring that it clicks into place securely. Give the connector a gentle tug to verify that it's properly connected.
8. Replacing the Access Panel: Align the access panel with the opening in the engine bay and re-secure it with the screws or clips that were previously removed. Ensure that the panel is properly seated and that all fasteners are tightened securely.
9. Testing the Headlight: Turn on the headlights to verify that the new bulb is functioning correctly. Check both the low beam and high beam settings to ensure proper operation.
Important Considerations
- Bulb Quality: Opt for reputable brand bulbs to ensure optimal performance and longevity.
- Symmetry: It's often recommended to replace both headlight bulbs simultaneously, even if only one has failed, to maintain consistent light output and color.
- Adjustment: After replacing the bulbs, it may be necessary to adjust the headlight alignment to ensure proper beam direction. This can be done by adjusting the screws located on the headlight assembly. Consult a professional if you are unsure how to properly adjust the headlights.
- Professional Assistance: If you are uncomfortable performing the headlight bulb replacement yourself, seek assistance from a qualified mechanic.
By following these steps carefully, you can successfully replace the headlight bulbs on your 2016 Toyota RAV4 and ensure safe and reliable nighttime driving.