2018 Chevy Tahoe Headlight Bulb Replacement
Replacing the headlight bulbs on a 2018 Chevy Tahoe is a task that many experienced DIYers can tackle with the right tools and a bit of patience. While some repairs are best left to certified mechanics, a headlight bulb replacement is generally straightforward. This guide will walk you through the process, providing you with the technical details and practical tips you need to succeed. Remember to always prioritize safety and disconnect the negative battery terminal before working on any electrical components of your vehicle.
Preparing for the Replacement
Before you even think about touching a wrench, let's gather the necessary equipment and understand the bulb specifications. This ensures a smooth and efficient replacement process.
Required Tools & Materials:
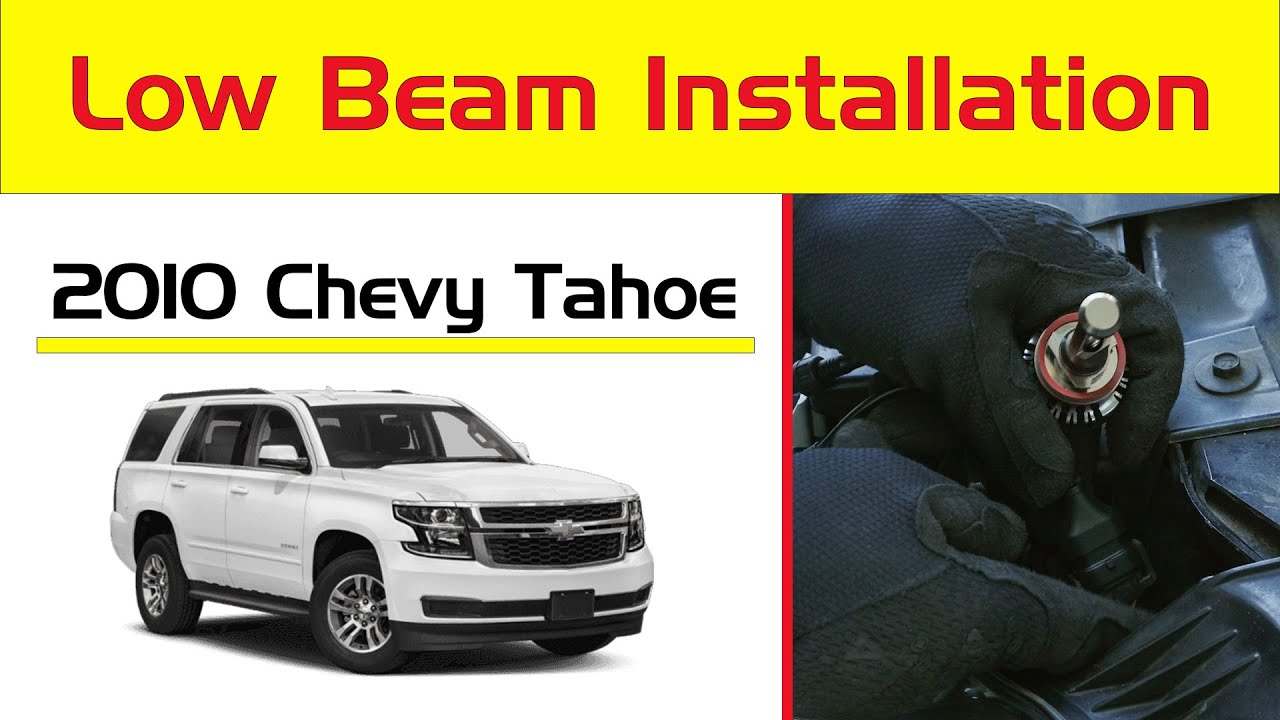
- New Headlight Bulbs: The 2018 Chevy Tahoe typically uses an H11 bulb for the low beams and 9005 (also known as HB3) for the high beams. Refer to your owner's manual to confirm the exact bulb type for your specific vehicle trim and configuration. Using the wrong bulb can lead to improper fitment, reduced light output, and potential electrical problems.
- Gloves: Crucial! The oils from your skin can significantly shorten the lifespan of a halogen bulb.
- Ratchet and Socket Set: A small ratchet and a selection of sockets are usually needed to remove any retaining bolts or clips. A 10mm socket is a common size used in headlight assemblies.
- Screwdrivers: Both a Phillips head and a flathead screwdriver might be necessary to remove any plastic covers or access panels.
- Pliers (Optional): Needle-nose pliers can be helpful for manipulating stubborn clips or connectors.
- Shop Towels: Keep things clean and prevent scratching delicate surfaces.
- Work Light or Flashlight: Essential for visibility, especially if you're working in a garage with limited lighting.
- Safety Glasses: Protect your eyes from debris.
Understanding Bulb Types and Specifications
The 2018 Tahoe primarily uses halogen bulbs. Halogen bulbs contain a tungsten filament surrounded by halogen gas. When electricity passes through the filament, it heats up and emits light. The halogen gas helps to recycle the tungsten, extending the bulb's lifespan. While LED and HID (High-Intensity Discharge) conversions are popular upgrades, this guide focuses on replacing the original halogen bulbs.
Understanding bulb specifications is crucial. Look for the DOT (Department of Transportation) marking on the bulb to ensure it's legal for road use. Also, note the wattage. Using a bulb with a higher wattage than specified can overload the electrical system and potentially damage the wiring or headlight assembly.
Step-by-Step Headlight Bulb Replacement
Now, let's get to the actual replacement process. Follow these steps carefully, and remember to take your time and double-check each step before moving on.
- Safety First: Disconnect the negative (-) battery terminal. This prevents accidental shorts or electrical shocks during the replacement process. Locate the negative terminal on your battery (it's usually marked with a "-" symbol) and use a wrench to loosen the nut securing the cable. Carefully remove the cable from the terminal and tuck it away so it doesn't accidentally reconnect.
- Accessing the Headlight Assembly: The method for accessing the headlight bulbs varies slightly depending on whether you're working on the driver's side or the passenger's side. Typically, you will need to remove a plastic cover or access panel located in the engine bay behind the headlight assembly. Consult your owner's manual or a repair manual for specific instructions on removing this cover. Some models might require you to partially remove the air intake housing on the driver's side.
- Disconnecting the Electrical Connector: Once you have access to the back of the headlight assembly, locate the electrical connector attached to the bulb. This connector usually has a locking mechanism or clip that needs to be released. Carefully press the clip or tab and pull the connector straight off the bulb. Avoid pulling on the wires themselves, as this can damage the connector or the wiring.
- Removing the Old Bulb: After disconnecting the electrical connector, you'll need to remove the old bulb from the headlight assembly. The bulb is typically held in place by a retaining clip or a twist-lock mechanism.
- Retaining Clip: If your Tahoe uses a retaining clip, carefully unhook the clip from the bulb. Note how the clip is positioned before removing the bulb, as you'll need to reattach it in the same way when installing the new bulb.
- Twist-Lock: If your Tahoe uses a twist-lock mechanism, grasp the base of the bulb and rotate it counterclockwise (usually about a quarter turn) to release it.
- Installing the New Bulb: Now it's time to install the new bulb. Remember to wear gloves to avoid touching the glass portion of the bulb.
- Alignment: Carefully align the new bulb with the socket in the headlight assembly. The bulb has a specific orientation and will only fit properly in one direction.
- Retaining Clip: If using a retaining clip, carefully reattach the clip to secure the bulb in place. Ensure the clip is properly seated and that the bulb is firmly held in position.
- Twist-Lock: If using a twist-lock mechanism, insert the new bulb into the socket and rotate it clockwise to lock it in place.
- Reconnecting the Electrical Connector: After installing the new bulb, reconnect the electrical connector. Ensure the connector is fully seated and that the locking mechanism or clip is properly engaged.
- Testing the New Bulb: Before reassembling everything, reconnect the negative battery terminal. Turn on the headlights to verify that the new bulb is working properly. If the bulb doesn't light up, double-check the electrical connector and the bulb's alignment.
- Reassembling the Headlight Assembly: If the new bulb is working correctly, disconnect the negative battery terminal again and reassemble the headlight assembly. Reinstall the plastic cover or access panel that you removed earlier. Ensure all screws and clips are properly secured.
- Final Check: Reconnect the negative battery terminal. Turn on the headlights again and verify that both the low beams and high beams are functioning correctly.
Troubleshooting Tips
Even with careful preparation, you might encounter some challenges during the headlight bulb replacement process. Here are some troubleshooting tips to help you overcome common issues:
- Bulb Doesn't Light Up:
- Check the Connector: Make sure the electrical connector is securely attached to the bulb.
- Check the Fuse: The headlight circuit might have a blown fuse. Consult your owner's manual to locate the headlight fuse and replace it if necessary.
- Check the Bulb: The new bulb itself might be defective. Try installing another new bulb to rule out this possibility.
- Difficulty Removing the Old Bulb:
- Stubborn Retaining Clip: Use a small screwdriver or pliers to gently manipulate the retaining clip. Be careful not to damage the clip or the surrounding components.
- Stuck Twist-Lock: Apply gentle pressure and try rotating the bulb in both directions. A small amount of lubricant (such as WD-40) might help to loosen the bulb.
- Difficulty Accessing the Headlight Assembly:
- Consult the Manual: Refer to your owner's manual or a repair manual for specific instructions on accessing the headlight assembly on your vehicle.
- Seek Assistance: If you're struggling to access the headlight assembly, don't hesitate to seek assistance from a qualified mechanic.
Final Thoughts
Replacing the headlight bulbs on your 2018 Chevy Tahoe is a manageable task for experienced DIYers. By following these steps carefully and taking your time, you can save money and gain valuable experience working on your vehicle. Remember to prioritize safety and consult your owner's manual or a repair manual for specific instructions related to your vehicle's make and model. If you're unsure about any aspect of the replacement process, don't hesitate to seek assistance from a qualified mechanic.