How To Adjust The Carburetor On A Weedeater
The humble Weedeater, or string trimmer, is a workhorse of suburban lawns. But behind its simple exterior lies a surprisingly sophisticated piece of engineering: the carburetor. Like its bigger brothers in cars and motorcycles, the carburetor on a Weedeater is responsible for precisely mixing air and fuel to create the combustible mixture that powers the engine. When it's out of adjustment, the Weedeater will run poorly, refuse to start, or stall frequently. This guide will walk you through the principles of Weedeater carburetor operation and how to adjust it for optimal performance. This is a technical explanation, so we will get in the weeds.
Understanding the Weedeater Carburetor: A Miniature Marvel
Unlike modern fuel-injected engines, Weedeater carburetors are typically simple, mechanical devices. This simplicity makes them robust but also more susceptible to variations in fuel quality, air pressure, and temperature. Most Weedeaters use a diaphragm carburetor, favored for its compact size and ability to function in any orientation.
Key Components and Their Functions:
- Fuel Tank and Filter: Obviously, this is where the fuel is stored, and the filter prevents debris from entering the carburetor. A clean fuel filter is crucial for reliable operation.
- Fuel Pump Diaphragm: This flexible membrane, often made of rubber or a similar material, is actuated by pressure pulses from the engine crankcase. It draws fuel from the tank and delivers it to the metering chamber.
- Metering Chamber: This small reservoir holds a supply of fuel at a regulated pressure. A metering lever and needle valve control the fuel flow into the chamber based on engine demand.
- Throttle Plate: This rotating plate restricts or allows airflow into the engine's intake manifold. It's directly controlled by the trigger on the Weedeater handle. The more you squeeze the trigger, the more the throttle plate opens, allowing more air (and consequently fuel) into the engine.
- Choke: The choke is a valve that restricts airflow into the carburetor. When closed, it enriches the fuel mixture, making it easier to start a cold engine.
- Jets (High-Speed and Low-Speed): These are precision-drilled orifices that regulate the amount of fuel delivered to the engine at different throttle settings. The high-speed jet controls fuel flow at full throttle, while the low-speed jet governs fuel flow at idle and low speeds.
How it Works: The Cycle of Combustion
The process starts with the engine creating suction, drawing air into the carburetor. As air flows through the venturi (a narrowed section within the carburetor), it creates a pressure drop. This pressure drop draws fuel from the metering chamber through the jets and into the airstream. The throttle plate controls the amount of air entering the engine, and the jets control the amount of fuel mixed with that air. The resulting air-fuel mixture is then drawn into the engine's cylinder, where it is compressed and ignited by the spark plug, creating power.
Identifying Carburetor Problems
Before you start adjusting the carburetor, it's crucial to identify if it's truly the source of your Weedeater's woes. Here are some common symptoms of carburetor problems:
- Hard Starting: The engine cranks but refuses to start, even with the choke engaged. This often indicates a lean fuel mixture.
- Rough Idle: The engine idles erratically or stalls frequently at idle. This could be due to a lean or rich mixture at low speeds.
- Stalling Under Load: The engine runs fine at idle but stalls when you try to cut grass. This often points to a lean mixture at high speeds.
- Poor Acceleration: The engine hesitates or bogs down when you accelerate. This can be caused by either a lean or rich mixture.
- Black Smoke: Excessive black smoke from the exhaust indicates a rich fuel mixture.
However, keep in mind that other issues can mimic carburetor problems. Check the following before diving into carburetor adjustments:
- Spark Plug: A fouled or worn spark plug can cause starting and running problems.
- Air Filter: A dirty air filter restricts airflow and can cause a rich fuel mixture.
- Fuel Lines: Cracked or leaking fuel lines can allow air to enter the fuel system, causing a lean mixture.
- Exhaust Port: A clogged exhaust port can restrict exhaust flow and affect engine performance.
The Adjustment Procedure: A Step-by-Step Guide
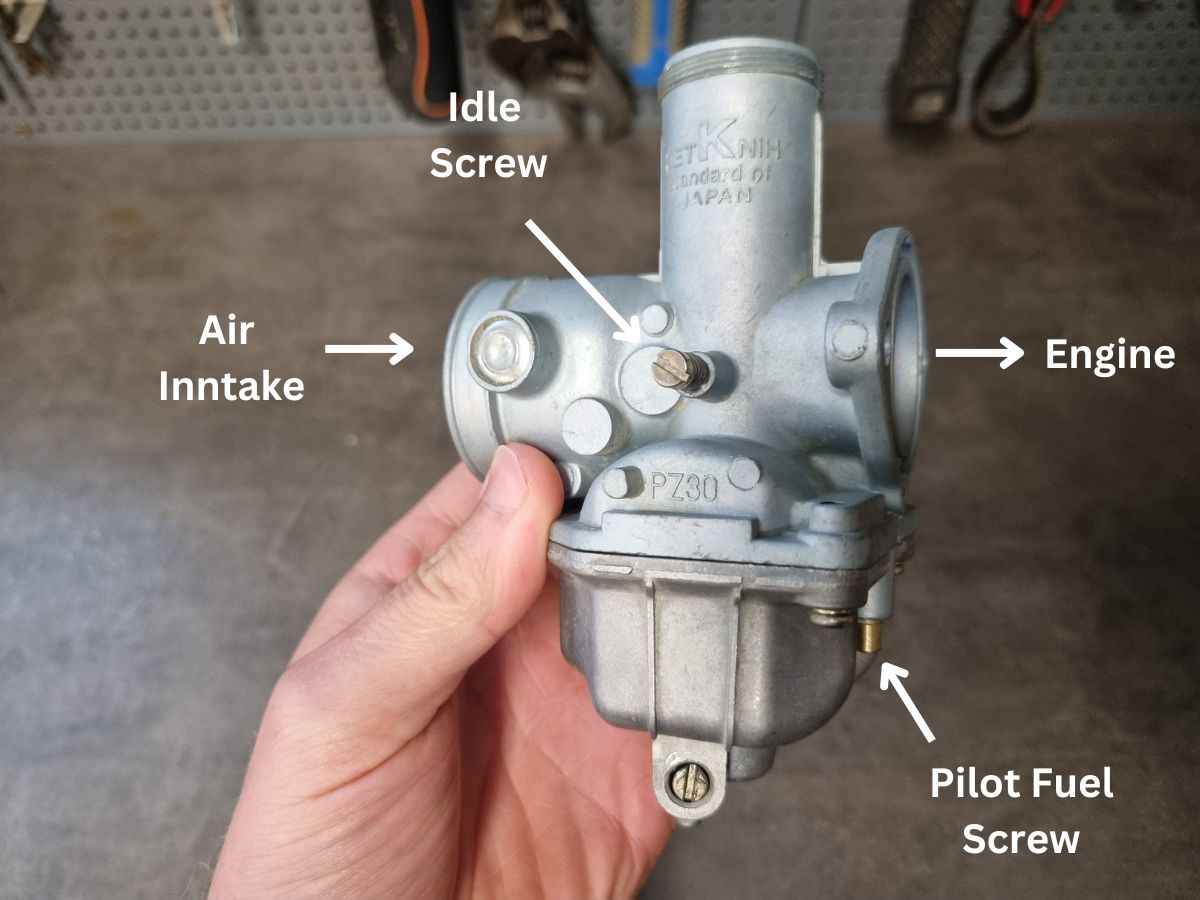
Now that you understand the fundamentals, let's move on to the adjustment procedure. Locate the adjustment screws on your Weedeater's carburetor. They are usually marked with "H" (High-Speed), "L" (Low-Speed), and sometimes "T" (Idle Speed). The location and number of adjustment screws can vary depending on the carburetor model.
Important Safety Tip: Always wear eye protection and gloves when working on a Weedeater. Work in a well-ventilated area and avoid smoking or open flames near fuel.
- Locate the Adjustment Screws: Carefully examine the carburetor for the "H" and "L" screws. On some newer models, these screws may be concealed under plastic caps. If so, you'll need to carefully remove these caps using a small screwdriver or pick. Be extremely careful not to damage the screws themselves.
- Start with the Factory Settings: As a baseline, start by turning both the "H" and "L" screws all the way in gently (clockwise). Then, back them out to the factory-recommended settings. This information is typically found in your Weedeater's owner's manual or on a sticker near the carburetor. A common starting point is 1 to 1.5 turns out from fully closed.
- Start the Engine and Warm it Up: Allow the engine to run for several minutes to reach operating temperature. This is crucial for accurate carburetor adjustments.
- Adjust the Low-Speed ("L") Screw: With the engine idling, slowly turn the "L" screw clockwise (in) until the engine starts to stumble or stall. Then, slowly turn it counterclockwise (out) until the engine starts to run smoothly and the idle speed increases slightly. Find the "sweet spot" where the engine idles smoothly without hesitating or sputtering. If the engine speed becomes too high, you might need to adjust the idle speed screw ("T") to bring it down.
- Adjust the High-Speed ("H") Screw: With the engine warmed up, run the Weedeater at full throttle. Slowly turn the "H" screw clockwise (in) until the engine starts to lose power or surge. Then, slowly turn it counterclockwise (out) until the engine runs smoothly at full throttle without hesitation. The goal is to find the setting that provides maximum power without causing the engine to overheat or run lean. A slightly rich mixture is generally safer than a lean mixture.
- Fine-Tune the Idle Speed: After adjusting the "H" and "L" screws, you may need to fine-tune the idle speed using the "T" screw. Adjust this screw until the engine idles smoothly without stalling, but also without the cutting head spinning.
- Test and Repeat: Test the Weedeater under various load conditions (e.g., cutting thick grass) to ensure it runs smoothly and doesn't stall. If necessary, repeat the adjustment process to fine-tune the carburetor settings. Small adjustments can make a big difference.
Important Considerations and Troubleshooting
- Restricted Adjustment Screws: As mentioned, some newer carburetors have restricted adjustment screws to meet emissions regulations. These screws often have a special "D" or "double D" shape. You'll need a special tool to adjust them.
- Non-Adjustable Carburetors: Some very basic Weedeaters have carburetors with no adjustment screws. In these cases, if the carburetor is malfunctioning, you may need to replace it.
- Lean vs. Rich: A lean mixture means there is too much air and not enough fuel. This can cause the engine to run hot, surge, and potentially damage the engine. A rich mixture means there is too much fuel and not enough air. This can cause the engine to smoke, run poorly, and foul the spark plug.
- Altitude: Carburetor settings are affected by altitude. If you live at a high altitude, you may need to lean out the mixture slightly to compensate for the thinner air.
Adjusting a Weedeater carburetor can seem daunting at first, but with a basic understanding of how it works and a methodical approach, you can often get your trimmer running smoothly again. Remember to prioritize safety, take your time, and make small adjustments. If you're unsure about any part of the process, consult a qualified mechanic.