How To Calculate Compression Ratio From Psi
Understanding your engine's performance is crucial for both routine maintenance and performance upgrades. One key indicator of engine health and potential power output is the compression ratio. While sophisticated tools and professional measurements exist, it's often helpful to estimate the compression ratio yourself. While you cannot *directly* calculate compression ratio *from* PSI readings alone, you *can* infer information about its integrity based on compression test results. This article will explain the concept of compression ratio, detail how a compression test is performed, how to interpret the results as they relate to compression ratio health, and other factors that impact compression.
Understanding Compression Ratio
The compression ratio is a fundamental parameter of an internal combustion engine. It's the ratio between the volume of the cylinder when the piston is at the bottom of its stroke (Bottom Dead Center or BDC) and the volume of the cylinder when the piston is at the top of its stroke (Top Dead Center or TDC). A higher compression ratio generally means more power and efficiency, but it also places greater stress on engine components and often requires higher octane fuel to prevent knocking or detonation.
The formula for compression ratio is simple:
Compression Ratio = (Cylinder Volume at BDC) / (Cylinder Volume at TDC)
Cylinder Volume at BDC is the *swept volume* (the volume displaced by the piston as it moves from BDC to TDC) plus the volume of the combustion chamber when the piston is at TDC.
Cylinder Volume at TDC is simply the volume of the combustion chamber when the piston is at TDC.
Since we often don't have access to the exact measurements of these volumes, we'll explore how a compression test gives us clues.
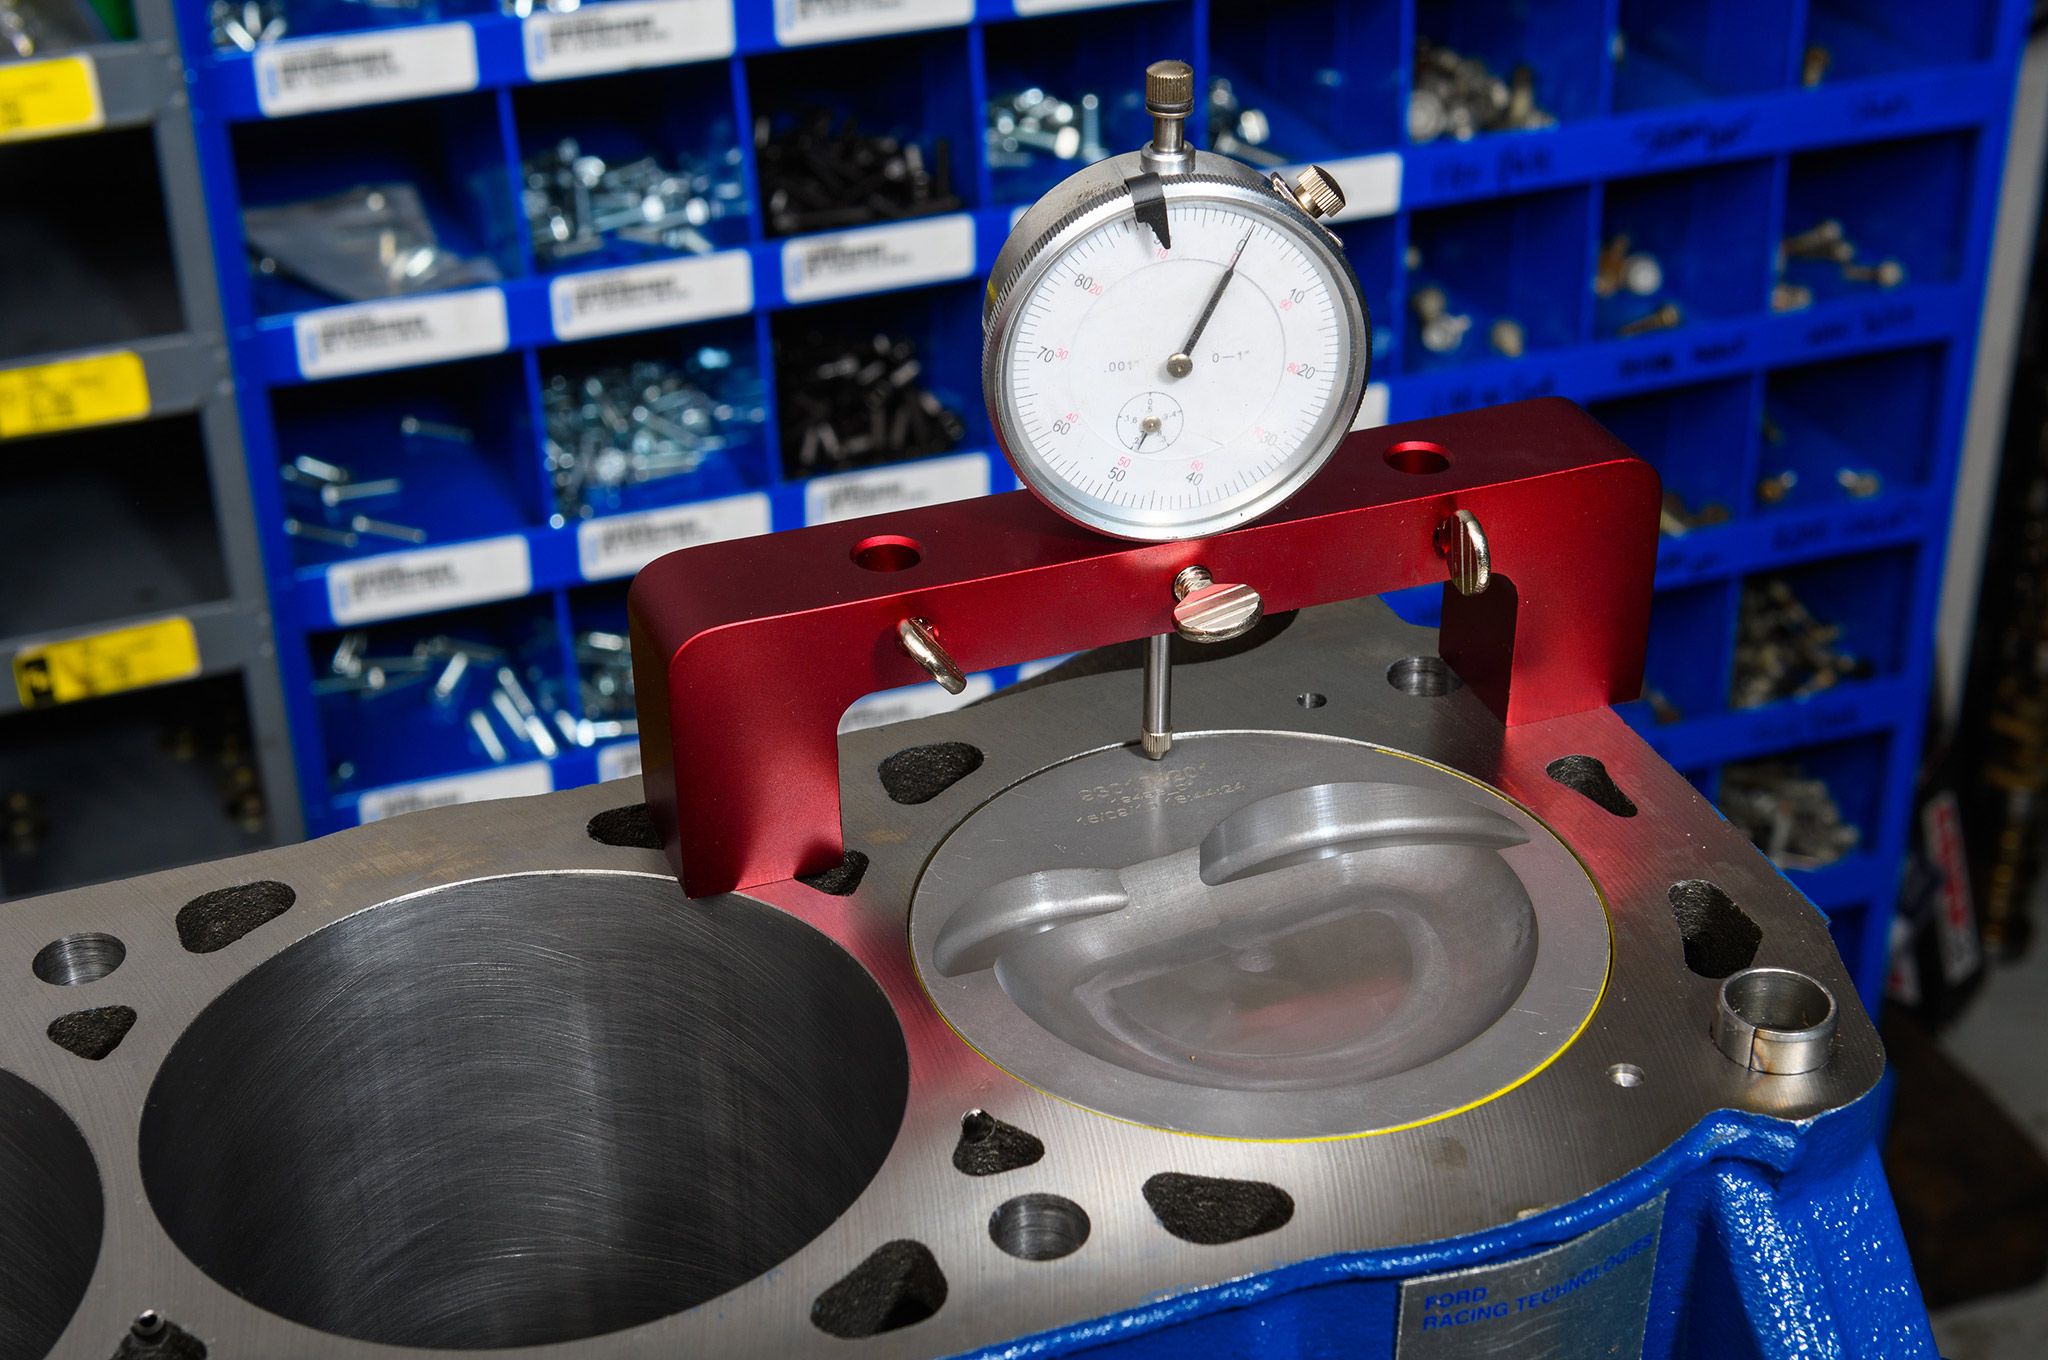
Performing a Compression Test
A compression test measures the maximum pressure within a cylinder as the engine is cranked. It helps identify issues like worn piston rings, leaky valves, or a damaged cylinder head gasket, all of which affect the engine's ability to compress the air-fuel mixture.
Steps for a Compression Test:
- Prepare the Engine: The engine should be at operating temperature. This ensures that all parts are expanded to their normal running size and that any oil present is properly distributed.
- Disable the Ignition System: This is crucial to prevent the engine from starting. Remove the fuel pump fuse or disable the fuel injectors. Also, disconnect the ignition coil to prevent sparking. Safety first!
- Remove Spark Plugs: Carefully remove all the spark plugs. Make sure to note which spark plug came from which cylinder, as this might be useful for diagnosis later.
- Install Compression Tester: Screw the compression tester hose into the spark plug hole of the cylinder you are testing. Make sure it's snug but not overtightened.
- Crank the Engine: With the throttle fully open, crank the engine for approximately 5-7 seconds or until the pressure reading on the compression tester stabilizes. The open throttle is important to ensure adequate airflow during the test.
- Record the Reading: Note the maximum pressure reading shown on the tester.
- Repeat for All Cylinders: Repeat steps 4-6 for each cylinder in the engine.
Interpreting Compression Test Results in Relation to Compression Ratio Health
While you cannot directly calculate the compression ratio from PSI readings obtained during a compression test, you can assess the health of the cylinders and their ability to achieve their designed compression.
Here's how to interpret the results:
- Overall Compression: Check the readings against the manufacturer's specifications for your engine. This information can usually be found in the vehicle's repair manual or online resources. A healthy engine will have compression readings within a specified range, usually between 130 and 200 PSI.
- Consistency Between Cylinders: This is often more important than the absolute value. Ideally, all cylinders should have compression readings that are very close to each other (within 10% or so). Significant variations can indicate problems in one or more cylinders.
- Low Compression in One Cylinder: This could indicate a leaky valve, worn piston rings, or a damaged cylinder head gasket in that particular cylinder.
- Low Compression in Adjacent Cylinders: This could suggest a blown head gasket between those cylinders.
- Very High Compression: While uncommon, very high compression can be caused by carbon buildup in the combustion chamber, effectively reducing the cylinder volume at TDC and thus increasing the ratio.
Example: Let's say your engine should have a compression range of 150-180 PSI. You perform a compression test and get the following readings:
- Cylinder 1: 170 PSI
- Cylinder 2: 165 PSI
- Cylinder 3: 175 PSI
- Cylinder 4: 130 PSI
In this scenario, cylinders 1, 2, and 3 look healthy. However, cylinder 4 is significantly lower than the others. This suggests a potential problem in cylinder 4, such as a leaky valve or worn piston rings.
Factors Affecting Compression Readings
Several factors can influence the results of a compression test. It's essential to consider these when interpreting the readings:
- Engine Condition: A worn engine will naturally have lower compression due to worn piston rings and valve seats.
- Altitude: Higher altitudes have lower atmospheric pressure, which can result in slightly lower compression readings.
- Battery Condition: A weak battery can cause the engine to crank slowly, leading to lower compression readings. Ensure the battery is fully charged before performing the test.
- Tester Calibration: Ensure your compression tester is accurate and properly calibrated. Using a faulty tester can provide misleading results.
- Oil in Cylinder: If you suspect worn piston rings, adding a small amount of oil into the cylinder before the test can temporarily seal the rings and increase the compression reading. If the reading increases significantly after adding oil, it strongly suggests worn piston rings are the issue. This is often called a "wet" compression test.
Wet vs. Dry Compression Test
As mentioned above, performing a "wet" compression test involves adding a small amount of oil (typically a tablespoon) into the cylinder through the spark plug hole before performing the test. The oil helps to temporarily seal the piston rings against the cylinder walls.
Dry Compression Test: This is the standard compression test performed without adding any oil.
Comparison:
- If the compression reading increases significantly after adding oil during the wet test, it indicates that the piston rings are the primary source of the compression loss.
- If the compression reading remains low even after adding oil, it suggests that the problem is likely with the valves (e.g., leaky valve seats) or a damaged cylinder head gasket.
Beyond PSI: Understanding the Bigger Picture
While a compression test provides valuable insights into the health of your engine, it's just one piece of the puzzle. It's crucial to consider other diagnostic tests and observations to accurately pinpoint the root cause of any performance issues.
Consider the following:
- Leak-Down Test: A leak-down test is more precise than a compression test and can help you determine exactly where the compression is leaking from (e.g., valves, rings, or head gasket).
- Spark Plug Condition: Inspect the spark plugs for signs of damage, oil fouling, or other anomalies. This can provide clues about the condition of each cylinder.
- Exhaust Smoke: Blue smoke indicates burning oil, which can be caused by worn piston rings or valve stem seals. White smoke suggests coolant is entering the combustion chamber, possibly due to a blown head gasket. Black smoke indicates a rich air-fuel mixture.
- Engine Noise: Unusual engine noises, such as knocking or tapping, can indicate serious mechanical problems.
Conclusion
While you can't directly calculate the compression ratio from PSI readings, a compression test is an invaluable tool for assessing the health of your engine's cylinders. By understanding how to perform the test, interpret the results, and consider other diagnostic information, you can gain a better understanding of your engine's condition and identify potential problems before they lead to costly repairs. Remember to always consult your vehicle's repair manual or a qualified mechanic for specific recommendations and guidance.