How To Change A Clock Spring
Alright, let's talk about clock springs. This is a component that many DIYers are intimidated by, but with a careful approach and the right knowledge, you can definitely tackle this job. Consider this article your detailed guide to understanding and, if necessary, replacing the clock spring in your car.
Purpose of Understanding the Clock Spring
Why bother learning about the clock spring? Well, a properly functioning clock spring is crucial for several key safety and convenience features in your vehicle. Primarily, it maintains the electrical connection to your steering wheel-mounted components while allowing the wheel to turn freely. This means your horn, airbag, radio controls, cruise control, and other features all rely on the clock spring. When it fails, you'll often experience warning lights (especially the airbag light), a non-functional horn, or unresponsive steering wheel controls. This guide will help you diagnose problems, understand the component's inner workings, and potentially save yourself a significant repair bill by performing the replacement yourself. Plus, understanding the clock spring can be valuable knowledge if you're modifying your steering wheel or adding aftermarket controls.
Key Specs and Main Parts
The clock spring, sometimes called a steering wheel coil or airbag clock spring, isn’t just a single part. It’s an assembly consisting of several crucial elements:
- The Housing: This is the plastic casing that encloses and protects the coiled ribbon cable. It also provides mounting points for attaching the clock spring to the steering column.
- The Ribbon Cable (Flex Circuit): This is the heart of the clock spring. It's a flat, multi-wire cable wound in a spiral inside the housing. This allows it to extend and retract as the steering wheel turns, maintaining a constant electrical connection. This is the most fragile part of the assembly.
- The Connector(s): These are the electrical connectors that plug into the vehicle's wiring harness and the steering wheel components. There are usually multiple connectors for different functions (airbag, horn, radio, cruise control, etc.).
- The Centering Mechanism: Many clock springs have a mechanism (often a locking pin or tabs) to keep them centered during installation. This is absolutely critical for proper function and prevents the ribbon cable from being over-extended and damaged.
- The Rotating Contact: This is the point where the ribbon cable makes contact with the vehicle's wiring harness, allowing for continuous electrical flow while the wheel turns.
Clock spring specifications vary depending on the vehicle make and model. Some key specs to consider include:
- Number of Circuits: This refers to the number of wires or circuits within the ribbon cable. More circuits mean more functions are supported.
- Operating Angle: This is the maximum number of turns the steering wheel can make in each direction without damaging the clock spring. Exceeding this limit during installation will destroy the clock spring.
- Connector Type: The type of electrical connectors used to interface with the vehicle's wiring.
How It Works
The clock spring's operation is deceptively simple. The ribbon cable is coiled inside the housing, allowing it to unwind and wind up as the steering wheel is turned. Imagine a coiled garden hose; as you pull the hose out, the coil unwinds. The clock spring works on the same principle. The electrical signals are transmitted through the ribbon cable to the various components on the steering wheel. The centering mechanism ensures that the ribbon cable is centered when the steering wheel is in the straight-ahead position. This is important because it ensures that the ribbon cable has enough slack to turn the wheel in both directions.
When the steering wheel is turned, the inner part of the clock spring rotates with the steering wheel, while the outer part remains stationary, connected to the vehicle's wiring harness. The coiled ribbon cable allows for this relative motion while maintaining a continuous electrical connection.
Without the clock spring, you'd have a bundle of wires wrapped around the steering column. Every time you turned the wheel, the wires would twist and eventually break. The clock spring elegantly solves this problem by allowing the wires to coil and uncoil with the steering wheel's movements.
Real-World Use - Basic Troubleshooting Tips
Here are some common symptoms and troubleshooting tips to help you diagnose clock spring issues:
- Airbag Warning Light: This is the most common symptom of a faulty clock spring. If the light comes on and stays on, have the system scanned with an OBDII scanner that can read airbag codes. This will help you determine if the clock spring is indeed the culprit.
- Horn Malfunction: If your horn doesn't work, check the fuse first. If the fuse is good, the clock spring is a likely suspect.
- Steering Wheel Control Issues: If your radio, cruise control, or other steering wheel-mounted controls are not working, the clock spring may be damaged.
- Clicking or Grinding Noise: Sometimes, a damaged clock spring will make a clicking or grinding noise when you turn the steering wheel. This is a sign that the ribbon cable is damaged or the housing is cracked.
Simple Test: Disconnect the negative battery terminal (for safety!). Carefully remove the airbag (following safety precautions – see below!). Inspect the clock spring connector for corrosion or damage. If you have a multimeter, you can perform a continuity test on the circuits within the clock spring, but this requires a wiring diagram for your specific vehicle. However, without specialized knowledge and vehicle-specific wiring diagrams, diagnosing beyond these simple checks is best left to a qualified technician.
Safety - Highlight Risky Components
WARNING: Working with the airbag system can be extremely dangerous. Airbags are explosive devices, and accidental deployment can cause serious injury. ALWAYS disconnect the negative battery terminal and wait at least 15 minutes before working on the airbag system. This allows the capacitors in the airbag control module to discharge, reducing the risk of accidental deployment. Never probe the airbag connectors with a multimeter or other test equipment, as this can also trigger deployment. Consult your vehicle's repair manual for specific instructions on how to safely remove and handle the airbag. If you are not comfortable working with the airbag system, take your vehicle to a qualified technician.
In addition to the airbag, be mindful of the steering wheel locking mechanism. On many vehicles, the steering wheel will lock when the ignition is off and the key is removed. This can make it difficult to remove and install the clock spring. Be sure to disable the steering wheel lock before you start working on the clock spring.
Clock Spring Replacement Procedure (General Overview)
While vehicle-specific procedures will vary, the general steps for replacing a clock spring are as follows:
- Safety First: Disconnect the negative battery terminal and wait at least 15 minutes.
- Remove the Airbag: Follow your vehicle's service manual for the correct procedure. Be extremely careful!
- Remove the Steering Wheel: You'll likely need a steering wheel puller tool. Mark the steering wheel's position relative to the steering shaft before removal.
- Remove the Steering Column Covers: These are usually held in place by screws or clips.
- Disconnect Electrical Connectors: Carefully disconnect all electrical connectors attached to the clock spring.
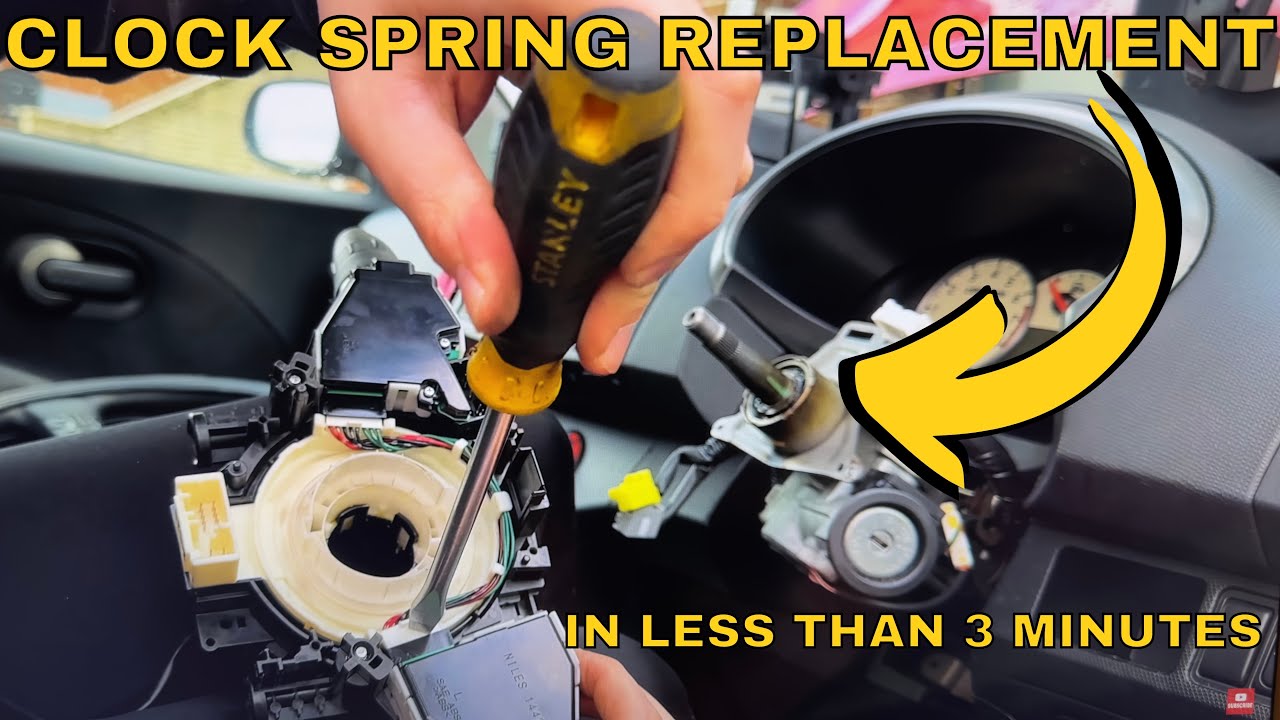
- Remove the Old Clock Spring: Unbolt or unclip the old clock spring from the steering column.
- Install the New Clock Spring: Align the new clock spring and secure it to the steering column. Ensure the clock spring is properly centered before installation. Most new clock springs come with a centering pin or tape that needs to be removed *AFTER* installation. Following this step incorrectly will immediately damage the new clock spring.
- Reconnect Electrical Connectors: Reconnect all electrical connectors.
- Reinstall the Steering Column Covers: Secure the steering column covers.
- Reinstall the Steering Wheel: Align the steering wheel with the marks you made earlier and tighten the steering wheel nut to the specified torque.
- Reinstall the Airbag: Carefully reinstall the airbag, following the reverse of the removal procedure.
- Reconnect the Battery: Reconnect the negative battery terminal.
- Test: Start the engine and test all steering wheel functions (horn, radio controls, cruise control, etc.). Check for any airbag warning lights.
Important Note: After replacing the clock spring, you may need to have the airbag system reset by a qualified technician. This is because the airbag control module may have stored error codes related to the faulty clock spring.
Replacing a clock spring is within the reach of experienced DIYers, but safety is paramount. When in doubt, consult a professional mechanic.