How To Check Compression On A Diesel Engine
Diesel engines, known for their robust power and fuel efficiency, rely on high compression ratios to ignite fuel. A healthy compression reading is crucial for optimal performance, fuel economy, and longevity. Low compression can lead to hard starting, rough idling, reduced power, and increased emissions. This article will guide you through the process of checking the compression on your diesel engine, providing you with the knowledge and techniques to diagnose potential problems.
Understanding Compression Testing
Before diving into the procedure, let's clarify some key concepts. Compression testing measures the maximum pressure achieved inside each cylinder during the compression stroke. This pressure, measured in PSI (pounds per square inch) or bar, indicates the cylinder's ability to seal and compress the air-fuel mixture (or in the case of a diesel, air alone). A significant drop in compression in one or more cylinders suggests issues like worn piston rings, damaged valves, a blown head gasket, or cylinder wall damage.
There are two main types of compression tests: dry compression test and wet compression test. The dry test is the initial diagnostic step. If the results are low, a wet test is performed to help pinpoint the source of the leak. Adding a small amount of oil to the cylinder during a wet test helps to temporarily seal the piston rings, which can indicate if the rings are the primary source of compression loss.
Tools and Materials Required
Gather the following tools and materials before starting:
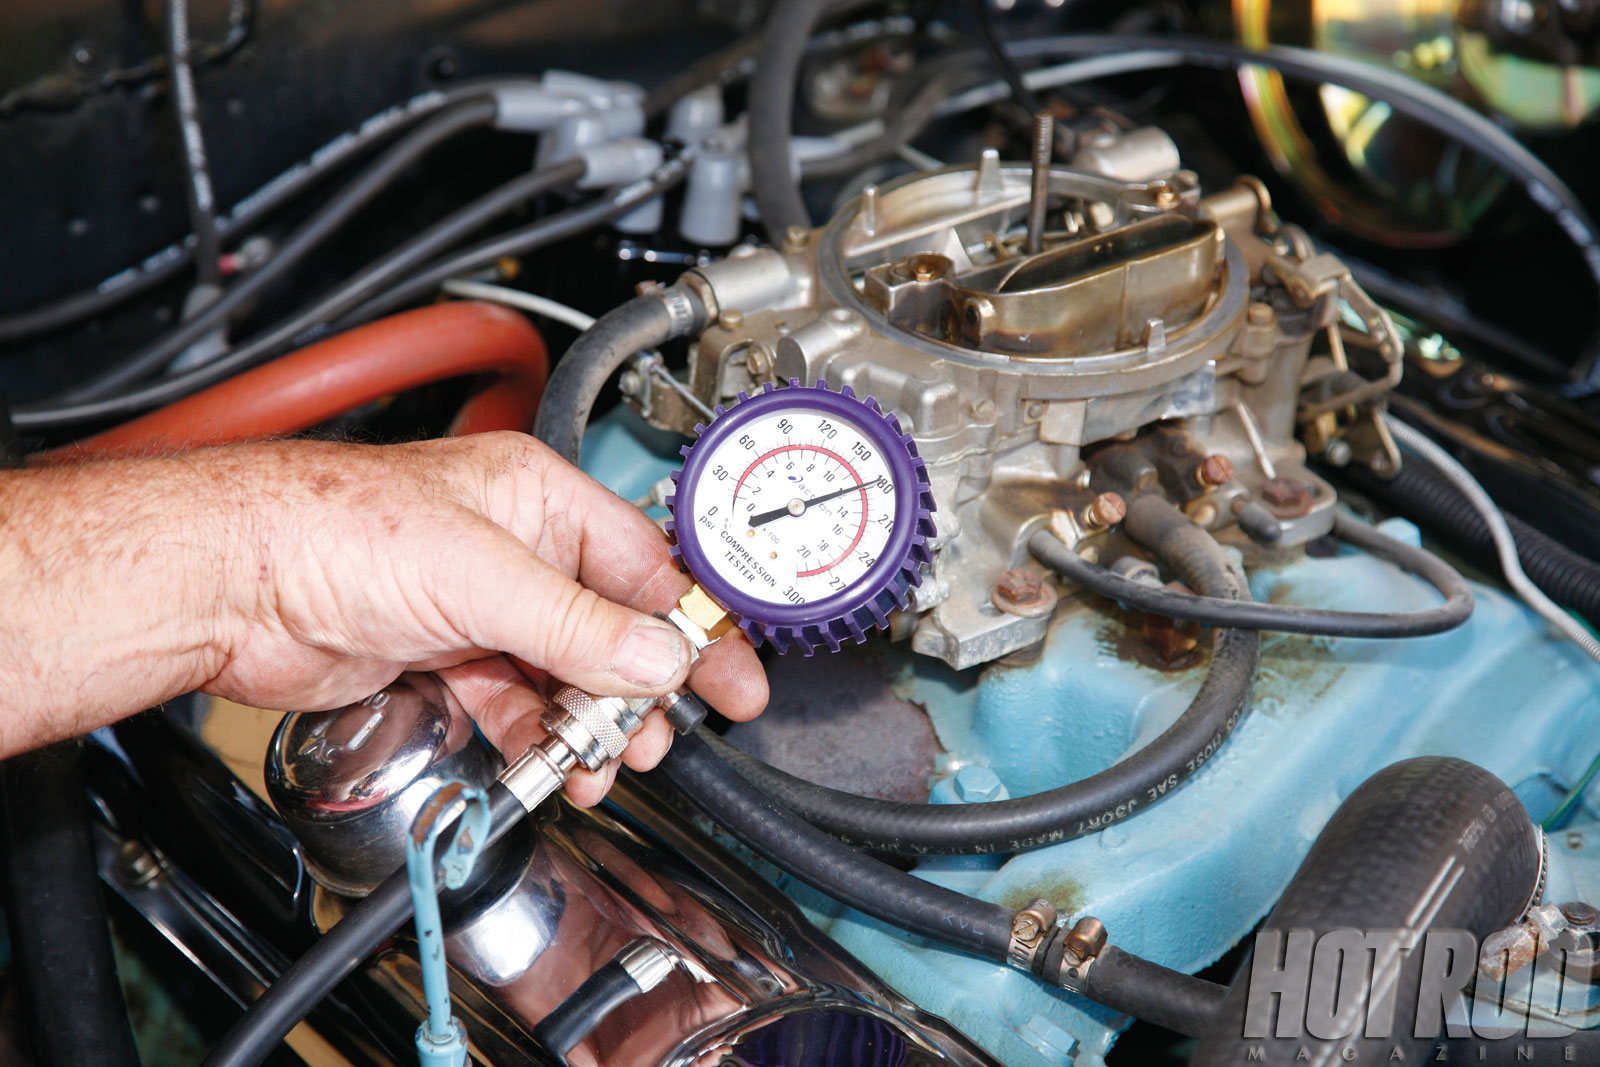
- Diesel Compression Tester: This specialized tool is essential for accurately measuring the high compression pressures found in diesel engines. It typically includes a gauge, a hose, and various adapters to fit different injector ports.
- Socket Set & Wrenches: Needed to remove the glow plugs or injectors. Refer to your vehicle's service manual for the correct sizes.
- Glow Plug or Injector Socket: Depending on your engine, you'll need the correct socket to remove these components without damage.
- Torque Wrench: For properly re-installing the glow plugs or injectors.
- Screwdrivers: For removing any necessary covers or components.
- Safety Glasses: Protect your eyes from debris and potential fuel spray.
- Gloves: Protect your hands from dirt, oil, and fuel.
- Shop Rags: For cleaning up spills and wiping down components.
- Pen and Paper: To record your compression readings for each cylinder.
- Diesel Fuel Injector Cleaner (Optional): Can be helpful for cleaning around the injectors before removal.
- Engine Oil (SAE 30 or similar): For the wet compression test.
- Small Oil Squirt Can or Syringe: For introducing oil into the cylinders.
- Vehicle Service Manual: Crucial for locating components, torque specifications, and compression specifications for your specific engine.
- Battery Charger (Optional): To maintain battery voltage during the test, as repeated cranking can drain the battery.
Preparation is Key: Safety and Access
Safety First! Diesel fuel is flammable. Work in a well-ventilated area and avoid open flames or sparks. Disconnect the fuel supply to the engine to prevent fuel from being injected during the test. This might involve removing a fuel pump relay or disabling the fuel injectors electrically – consult your service manual. Disconnect the negative battery terminal to prevent accidental starting. Allow the engine to cool down to a comfortable working temperature. Working on a hot engine can lead to burns.
Accessing the Cylinders: The next step involves gaining access to the cylinders by removing either the glow plugs or the fuel injectors. Glow plugs are generally easier to remove, especially for a beginner. However, some engines may require injector removal. Refer to your service manual for the recommended method and any specific precautions. Be extremely careful when removing injectors, as they are precision components and can be easily damaged. Clean around the glow plugs or injectors before removal to prevent debris from falling into the cylinders. Use compressed air to blow away any loose dirt or grime.
Performing the Dry Compression Test
- Remove Glow Plugs or Injectors: Carefully remove all glow plugs or injectors. Store them in a safe place, labeled to indicate which cylinder they came from.
- Install Compression Tester: Install the appropriate adapter from the compression tester into the glow plug or injector port of the first cylinder. Ensure a tight seal.
- Disable Fuel System: Double-check that the fuel system is disabled to prevent fuel injection.
- Crank the Engine: With the ignition key, crank the engine for approximately 5-7 seconds, or until the compression gauge reaches its maximum reading and stabilizes. Observe the gauge reading and record it on your notepad.
- Repeat for Each Cylinder: Repeat steps 2-4 for each of the remaining cylinders, making sure to record the compression reading for each.
Analyzing the Dry Compression Test Results
Compare the compression readings for each cylinder. Key indicators of potential problems include:
- Low Compression in One Cylinder: Indicates a potential issue with that cylinder's piston rings, valves, or head gasket.
- Low Compression in Adjacent Cylinders: Might suggest a blown head gasket between those cylinders.
- Significant Variation Between Cylinders: A difference of more than 10-15% between the highest and lowest readings is a cause for concern. Consult your service manual for acceptable compression ranges for your specific engine.
If the dry compression test reveals low or inconsistent readings, proceed to the wet compression test to further diagnose the problem.
Performing the Wet Compression Test
- Introduce Oil into Cylinder: Using the oil squirt can or syringe, introduce a small amount of engine oil (approximately 1-2 tablespoons) into the cylinder you tested previously with low compression.
- Re-install Compression Tester: Re-install the compression tester adapter into the same cylinder.
- Crank the Engine: Crank the engine again for 5-7 seconds, or until the compression gauge reaches its maximum reading. Record the new reading.
- Repeat for Other Low Cylinders: Repeat steps 1-3 for any other cylinders that showed low compression during the dry test.
Interpreting the Wet Compression Test Results
Compare the wet compression readings to the dry compression readings:
- Significant Increase in Compression (Wet Test): If the compression reading increases significantly after adding oil, it suggests that the piston rings are likely worn or damaged. The oil helps to temporarily seal the rings, improving compression.
- No Significant Increase in Compression (Wet Test): If the compression reading remains low even after adding oil, it indicates that the problem is likely not with the piston rings. The issue could be with the valves (burnt, bent, or not sealing properly), a blown head gasket, or damage to the cylinder head or cylinder walls.
Final Steps and Considerations
After completing the compression tests, carefully reinstall the glow plugs or injectors, torquing them to the manufacturer's specifications using a torque wrench. Reconnect the fuel system and the negative battery terminal. Start the engine and observe its performance. Note any unusual noises, smoke, or rough idling. If you are unsure about the diagnosis or repair, consult a qualified diesel mechanic.
Important Considerations:
- Altitude: Compression readings will be lower at higher altitudes due to reduced atmospheric pressure.
- Engine Condition: A well-maintained engine will generally have higher and more consistent compression readings.
- Starter Motor Speed: A weak starter motor can affect the compression readings. Ensure the battery is fully charged and the starter is functioning properly.
By following these steps and carefully analyzing the results, you can effectively check the compression on your diesel engine and gain valuable insights into its internal health. Remember to always consult your vehicle's service manual for specific instructions and specifications related to your engine.