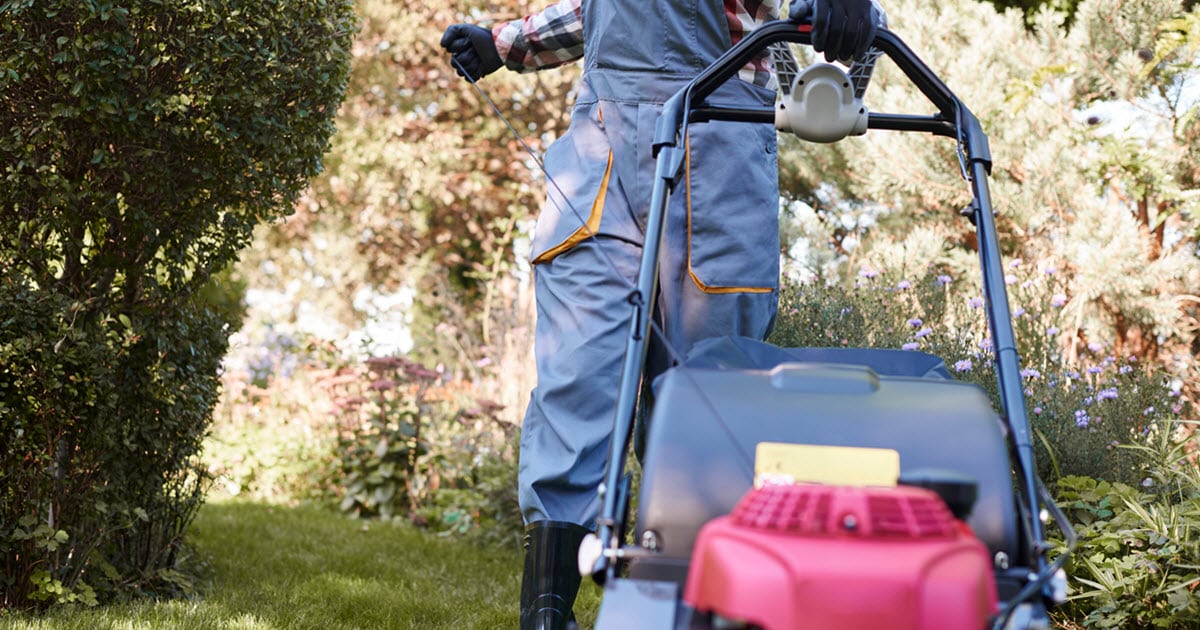
How To Repair The Pull Cord On A Lawn Mower
Just like your car needs a functioning starter motor to roar to life, your lawn mower relies on a well-maintained pull cord system to kickstart its engine. When that cord snaps, frays, or refuses to retract, your mowing routine grinds to a halt. Don't despair! Repairing a lawn mower pull cord is a manageable task, even for those more familiar with the intricacies of car engines than small engine mechanics. Think of it as troubleshooting a sticky throttle cable – a bit fiddly, but entirely doable with the right approach.
Understanding the Lawn Mower Starter System
The pull cord system, also known as the recoil starter, is a surprisingly simple yet effective piece of engineering. It’s essentially a manual cranking mechanism for the engine. Here's a breakdown:
- Rope and Handle: This is the obvious part – the rope you physically pull and the handle you grip.
- Recoil Spring: This coiled spring is the heart of the system. It stores the energy you input when pulling the cord and then uses that energy to rewind the cord back into the housing. Think of it like the spring in a parking brake mechanism; it provides the restoring force.
- Pulley (or Sheave): The rope wraps around this pulley. As you pull the rope, the pulley rotates.
- Pawls (or Dogs): These are small, spring-loaded levers that engage with the engine's crankshaft or flywheel. When you pull the rope and rotate the pulley, the pawls extend and “grab” onto the engine, forcing it to turn over. Think of them as similar to the locking mechanisms in a ratchet wrench – they only allow rotation in one direction.
- Housing: This encases all the components, protecting them from dirt and debris.
When you pull the cord, you're transferring energy through these components to the engine, spinning the crankshaft and initiating the combustion process. Just like jump-starting a car requires transferring electrical energy to the starter motor, pulling the cord transfers mechanical energy to the lawn mower engine.
Diagnosing the Problem
Before diving into repairs, it's crucial to pinpoint the cause of the issue. Common problems include:
- Broken Cord: This is the most straightforward. The cord has simply snapped, usually near the handle or where it enters the housing.
- Frayed Cord: The cord is wearing thin and likely to break soon. Similar to a worn serpentine belt on a car, it needs replacement.
- Cord Won't Retract: This usually indicates a problem with the recoil spring. It might be broken, dislodged, or simply needs lubrication. Imagine this like a weak or broken valve spring in a car engine – it can't do its job effectively.
- Cord Pulls Hard or Gets Stuck: This could be due to dirt, debris, or corrosion within the recoil starter assembly. It can also signify that the pawls are sticking or the engine itself is having trouble turning over, perhaps due to a seized piston (a more serious issue). Think of it like trying to crank an engine with extremely thick oil in cold weather – it's very difficult.
Tools and Materials You'll Need
Gathering the right tools and materials beforehand will make the repair process smoother:
- New Pull Cord: Purchase a replacement cord specifically designed for your lawn mower model or a universal cord with the appropriate diameter and length. Ensure the cord is rated for the engine's horsepower; just like choosing the right spark plugs for a performance car, the cord needs to handle the job.
- Screwdrivers (various sizes): You'll need these to remove the starter housing.
- Pliers: For gripping and manipulating small parts.
- Needle-Nose Pliers: Especially useful for working with the recoil spring.
- Socket Set or Wrench Set: Depending on the model, you might need these to remove the starter housing.
- Lubricant: A multi-purpose lubricant like WD-40 or a silicone-based spray can help free up stuck parts and prevent corrosion. Like using anti-seize on exhaust manifold bolts, lubrication makes reassembly easier and protects components.
- Safety Glasses: Always protect your eyes when working with tools.
- Work Gloves: Protect your hands and improve your grip.
- Camera or Smartphone: Take pictures as you disassemble the unit. This serves as a valuable reference for reassembly, much like documenting the wiring harness connections when working on a car's electrical system.
Step-by-Step Repair Guide
Now, let's get down to the repair itself:
- Safety First: Disconnect the spark plug wire to prevent accidental starting. This is like disconnecting the battery on your car before working on the electrical system – a vital safety precaution.
- Remove the Starter Housing: Locate the screws or bolts holding the starter housing to the engine. Carefully remove them and set the housing aside. Note how it's oriented; this will help with reassembly.
- Inspect the Components: Examine the cord, recoil spring, pulley, and pawls for damage, wear, or debris.
- Replacing the Cord: If the cord is broken or frayed, remove the old cord from the pulley. There's usually a knot or a clamp securing it. Thread the new cord through the hole in the pulley and secure it with a knot or clamp. Ensure the knot is strong and won't slip.
- Addressing Recoil Spring Issues:
Caution: The recoil spring is under tension. Handle it with care to avoid injury. Consider wearing safety glasses during this step.
If the cord isn't retracting, the spring is likely the culprit. If the spring is obviously broken, it needs replacing. If it's just dislodged, carefully re-seat it in its housing. Apply a small amount of lubricant to the spring to improve its function. Sometimes, simply winding the pulley a few extra rotations (in the direction of winding) can restore tension to the spring, similar to adjusting the preload on a coilover suspension.
- Reassembling the Starter: Carefully reassemble the starter housing, making sure all the components are properly aligned. Refer to the photos you took earlier.
- Testing the Retraction: Before securing the housing completely, test the cord retraction. It should rewind smoothly and completely. If it doesn't, recheck the spring tension and alignment.
- Reattaching the Housing: Once you're satisfied with the retraction, secure the starter housing with the screws or bolts.
- Reconnecting the Spark Plug Wire: Reconnect the spark plug wire.
- Testing the Mower: Start the lawn mower to ensure the repair was successful.
Practical Takeaways
- Preventative Maintenance: Regularly inspect the pull cord for signs of wear and tear. Replace it before it breaks. Like changing your car's oil regularly, preventative maintenance saves you headaches down the road.
- Proper Cord Handling: Avoid yanking the cord forcefully. A smooth, controlled pull is less likely to damage the cord or the recoil spring. Treat it like you would treat the shift linkage on a classic car – gentle and deliberate.
- Lubrication: Periodically lubricate the recoil starter mechanism to keep it operating smoothly.
- Don't Force It: If the engine is difficult to turn over, don't keep yanking on the cord. This could damage the cord or the starter mechanism. Investigate the underlying cause of the engine problem. This is similar to diagnosing why your car won't start before continuously cranking the engine, which can damage the starter motor.
- Know Your Limits: If you're uncomfortable working with the recoil spring or suspect a more serious engine problem, take the lawn mower to a qualified repair technician. Just like knowing when to take your car to a mechanic for complex repairs, recognizing your limits will prevent further damage and potential injury.
Repairing a lawn mower pull cord is a rewarding task that can save you money and extend the life of your equipment. By understanding the components involved, following a systematic approach, and practicing preventative maintenance, you can keep your lawn mower running smoothly for years to come. Good luck, and happy mowing!