How To Repair Tire With Nail
So, you've got a nail in your tire. It happens to the best of us. Before you rush off to the tire shop, let's talk about fixing it yourself. While it’s tempting to just ignore it, a slow leak can lead to a flat at the worst possible moment, compromise your fuel efficiency, and even damage your tire beyond repair. This guide will walk you through the process of safely and effectively repairing a tire puncture caused by a nail or similar object.
Understanding Tire Repair: When to DIY and When to Call a Pro
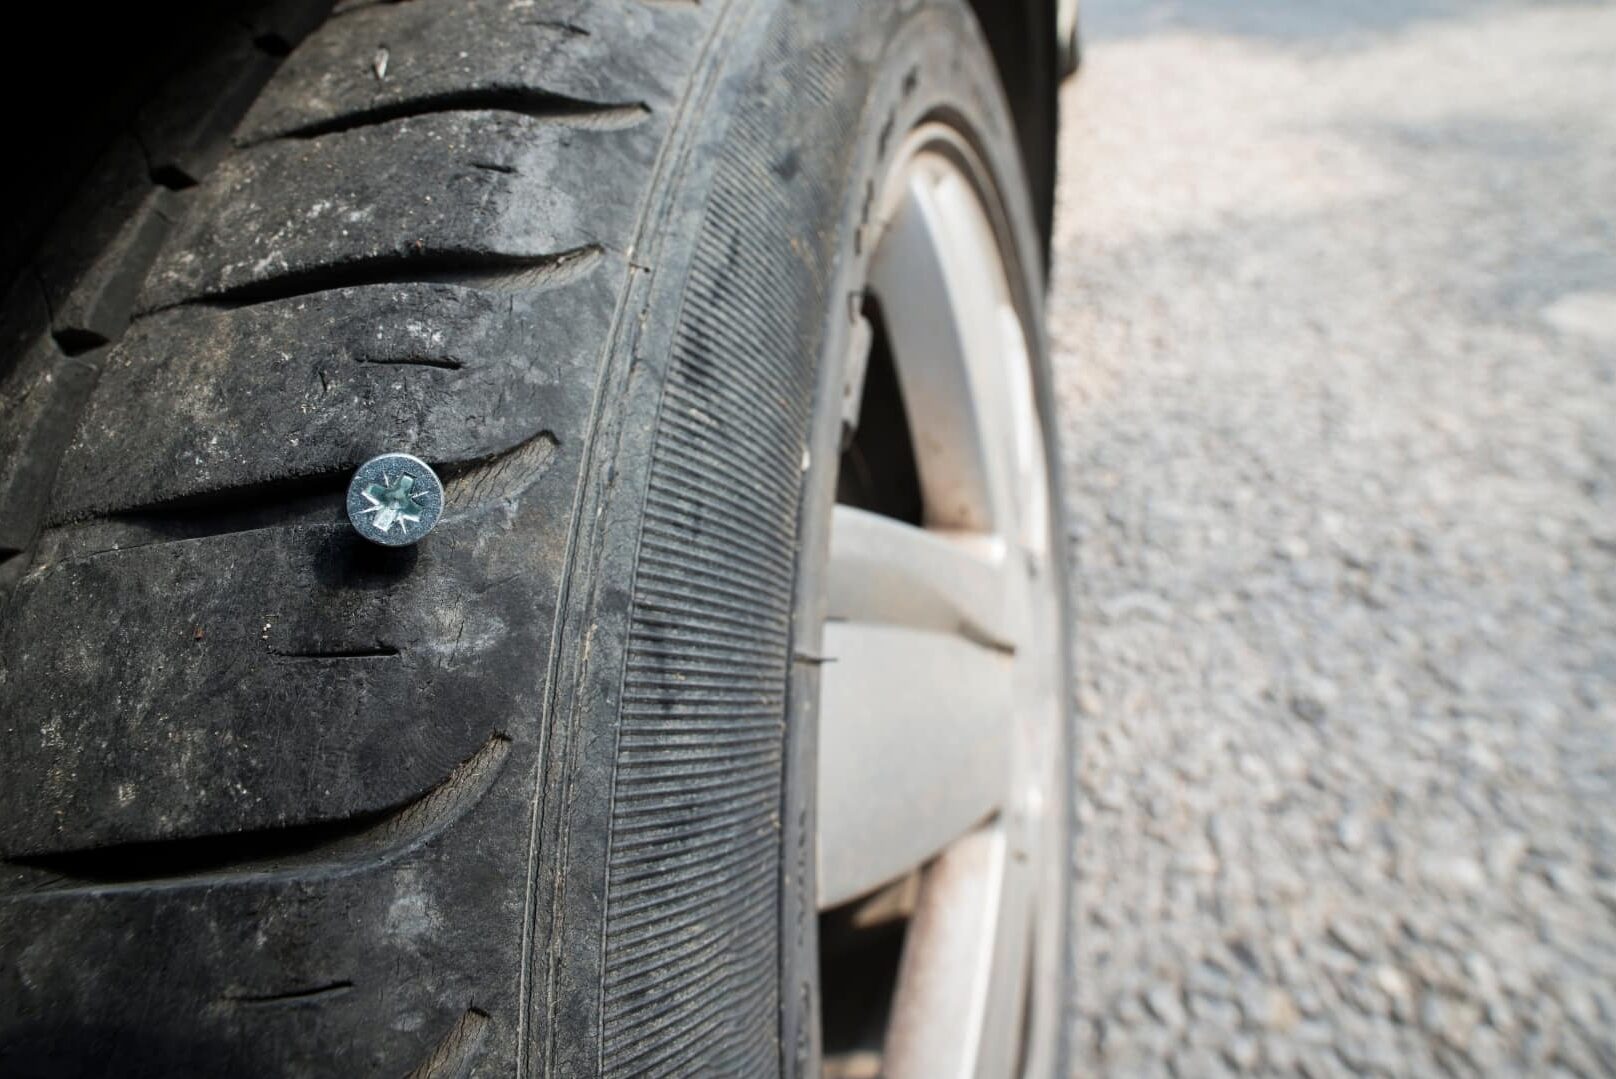
Before we dive into the nuts and bolts (pun intended!), it’s crucial to understand the limitations of DIY tire repair. Not all punctures are created equal. We're focusing on repairs that fall within the safe zone for a plug or patch. This usually means punctures that are:
- Less than ¼ inch (6mm) in diameter: Anything larger is likely too big to seal properly.
- Located in the tread area: Repairs to the sidewall are generally unsafe and should always be handled by a professional. The sidewall experiences significant flexing, and a repair here is likely to fail, leading to a blowout.
- Not too close to the edge of the tread: The closer the puncture is to the sidewall, the more stress the repair will experience. Aim for at least an inch away from the sidewall.
If your puncture doesn't meet these criteria, do not attempt a DIY repair. Take your tire to a qualified tire technician. Sidewall damage or punctures too close to the edge require expert assessment and potentially tire replacement. Your safety is paramount.
Key Specs and Main Parts for Tire Repair
To perform a safe and effective tire repair, you'll need the right tools and materials. Here's a breakdown:
Tire Repair Kit:
These kits typically include the following:
- Reamer/Rasp Tool: A rough, often spiral-shaped tool used to clean and enlarge the puncture hole. This prepares the area for the plug. Think of it like preparing a surface for adhesive.
- Insertion Tool: A tool designed to insert the repair plug into the prepared hole.
- Repair Plugs: These are sticky, pliable rubber strips that are inserted into the puncture to seal it. Different types exist, but self-vulcanizing plugs are common. These plugs chemically bond with the tire rubber to create a lasting seal.
- Rubber Cement (Vulcanizing Solution): A special adhesive used to further enhance the seal between the plug and the tire.
- Cutting Tool: Used to trim the excess plug material after insertion. A simple utility knife works fine.
Other Essential Tools:
- Jack and Jack Stands: To safely lift and support the vehicle. Never work under a vehicle supported only by a jack.
- Lug Wrench: To remove the wheel.
- Pliers or Vice Grips: To remove the nail or object from the tire.
- Tire Pressure Gauge: To check and adjust the tire pressure after the repair.
- Spray Bottle with Soapy Water: To check for leaks after the repair.
Step-by-Step Tire Repair Procedure
Here's a detailed breakdown of the tire repair process:
- Safety First: Park the vehicle on a level surface, engage the parking brake, and chock the wheels opposite the one you’re removing.
- Loosen the Lug Nuts: Use the lug wrench to loosen the lug nuts on the affected wheel. Loosen them before you lift the vehicle.
- Lift the Vehicle: Position the jack according to your vehicle's owner's manual and raise the vehicle until the tire is off the ground. Securely place jack stands under the vehicle's frame for support.
- Remove the Wheel: Finish unscrewing the lug nuts and remove the wheel from the vehicle.
- Locate and Remove the Nail: Carefully examine the tire to find the nail or object. Use pliers or vice grips to remove it. Note the angle of penetration.
- Prepare the Puncture: Insert the reamer/rasp tool into the puncture hole and work it in and out to clean and enlarge the hole. This creates a rough surface for the plug to adhere to. Follow the angle of the original penetration.
- Prepare the Plug: Thread the repair plug through the eye of the insertion tool.
- Apply Rubber Cement: Apply a liberal amount of rubber cement to the plug and the prepared hole.
- Insert the Plug: Force the insertion tool (with the plug) into the prepared hole until about half of the plug is inside the tire.
- Remove the Insertion Tool: Carefully remove the insertion tool, leaving the plug in place.
- Trim the Excess Plug: Use the cutting tool to trim the excess plug material, leaving about ¼ inch protruding from the tire.
- Reinstall the Wheel: Carefully mount the wheel back onto the vehicle.
- Tighten the Lug Nuts: Hand-tighten the lug nuts in a star pattern.
- Lower the Vehicle: Remove the jack stands and lower the vehicle to the ground.
- Torque the Lug Nuts: Use a torque wrench to tighten the lug nuts to the manufacturer's specified torque. This is crucial for safety and preventing wheel damage. Consult your owner's manual for the correct torque specification.
- Inflate the Tire: Inflate the tire to the correct pressure, as indicated on the tire placard (usually located on the driver's side doorjamb or in the owner's manual).
- Check for Leaks: Spray the repaired area with soapy water. Look for bubbles, which indicate a leak. If you find a leak, remove the plug and repeat the repair process.
Real-World Use – Basic Troubleshooting Tips
Even with the best preparation, things can sometimes go wrong. Here are a few common troubleshooting tips:
- Plug Won't Stay In: Make sure you've reamed the hole sufficiently and applied enough rubber cement. Also, ensure the plug is properly inserted into the insertion tool.
- Leak After Repair: The puncture may be too large, or the plug may not be properly sealed. Remove the plug and try again, using a larger plug if necessary. If the leak persists, the tire may be unrepairable.
- Difficulty Removing the Nail: Try using penetrating oil to loosen the nail. Be careful not to damage the tire further.
Safety – Highlight Risky Components
Tire repair involves working with potentially dangerous tools and machinery. Here are some critical safety considerations:
- Jack Safety: Always use jack stands when working under a vehicle. A jack can fail, causing serious injury or death.
- Tire Pressure: Over-inflating a tire can cause it to explode. Always check the tire pressure with a gauge and adhere to the manufacturer's recommendations.
- Proper Tools: Use the correct tools for the job. Using the wrong tool can damage the tire or cause injury.
- Sidewall Damage: As mentioned earlier, never attempt to repair a puncture in the sidewall. This is extremely dangerous and can lead to a blowout.
- Eye Protection: Wear safety glasses to protect your eyes from debris when reaming the puncture hole.
Disclaimer: This guide provides general information about tire repair. Always consult your vehicle's owner's manual and follow the manufacturer's recommendations. If you are unsure about any aspect of the repair, seek professional assistance.
Remember, a properly repaired tire can save you money and keep you safe on the road. By understanding the process and taking the necessary precautions, you can confidently tackle this DIY project.
We have a detailed diagram that visually explains the entire tire repair process, including the tools, steps, and safety precautions. You can download the diagram here.