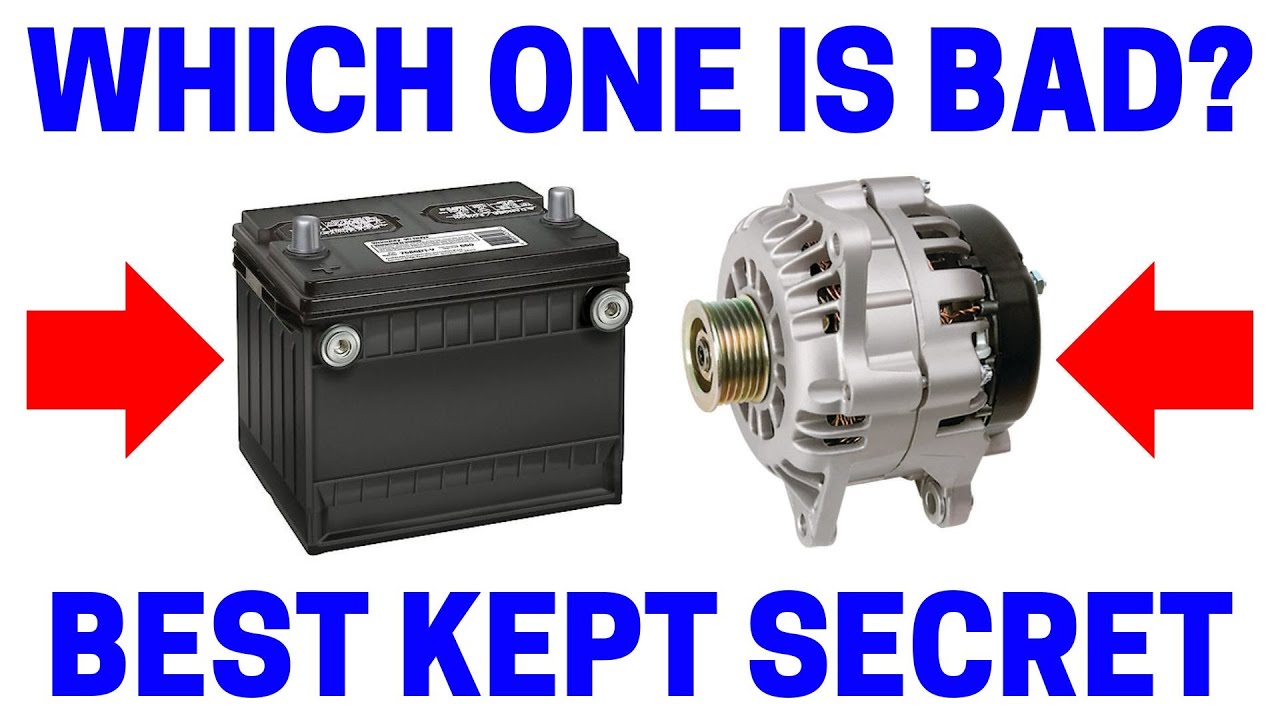
How To Tell A Bad Alternator
Alright, let's talk alternators. You're an experienced DIYer, so you know a malfunctioning alternator can leave you stranded. But diagnosing it isn't always straightforward. This article provides a deep dive into recognizing the symptoms of a failing alternator, understanding its components, and using common troubleshooting techniques. Knowing the ins and outs of your alternator can save you time, money, and a whole lot of frustration.
Purpose of Understanding Alternator Diagnostics
Why bother diving into alternator diagnostics? Well, for starters, you can save yourself a tow truck bill and the cost of labor at a shop. More importantly, understanding how your alternator works helps you troubleshoot electrical issues throughout your vehicle. An underperforming alternator can mask itself as other problems, leading you down expensive and unnecessary repair paths. Whether you're performing routine maintenance, tackling a complex electrical issue, or even planning modifications that add electrical load to your car, knowing how to diagnose a bad alternator is a critical skill.
Key Specs and Main Parts
Before we get into the nitty-gritty of symptoms and testing, let's cover the key components and specs you should be aware of.
- Voltage Output: A healthy alternator should typically output between 13.5 and 14.5 volts when the engine is running. This is what keeps your battery charged and powers all your electrical accessories.
- Amperage Output: This varies widely depending on the vehicle and alternator model. It's a measure of how much electrical current the alternator can supply. A higher amperage alternator is necessary for vehicles with lots of electrical accessories. Check your vehicle's service manual or the alternator's label for its rated amperage.
Here's a breakdown of the main parts inside your alternator:
- Stator: The stationary part of the alternator, consisting of a set of copper windings. It's where the AC voltage is generated. Think of it as the heart of the electrical power generation.
- Rotor (or Armature): The rotating part, typically driven by a belt connected to the engine's crankshaft. It contains the field windings, which create a magnetic field when energized.
- Voltage Regulator: This crucial component controls the amount of current supplied to the rotor, thereby regulating the alternator's output voltage. A bad voltage regulator is a very common cause of alternator failure.
- Rectifier (Diode Bridge): The alternator generates AC voltage, but your car runs on DC. The rectifier converts the AC voltage from the stator into DC voltage. It's typically a set of diodes.
- Brushes: These make electrical contact with the slip rings on the rotor, delivering current to the field windings. Brushes wear down over time, which is a common cause of alternator failure.
- Pulley: Driven by the serpentine belt, it transfers rotational force from the engine to the rotor.
How It Works
The alternator's function is fairly straightforward, but understanding the underlying principles is key to diagnosing issues.
The engine drives the rotor, which spins inside the stator. When the rotor's field windings are energized (by battery voltage initially, and then by the alternator itself once it's running), they create a rotating magnetic field. This rotating magnetic field induces an alternating current (AC) in the stator windings.
However, your car's electrical system needs direct current (DC). That's where the rectifier comes in. The rectifier, made up of diodes, acts like a one-way valve for electricity, converting the AC from the stator into DC.
The voltage regulator monitors the alternator's output voltage and adjusts the amount of current supplied to the rotor's field windings. This ensures that the alternator produces a consistent voltage, typically around 14 volts, regardless of engine speed or electrical load.
Think of it this way: The engine spins the rotor, the rotor generates electricity in the stator, the rectifier turns the AC into DC, and the voltage regulator keeps everything stable.
Real-World Use – Basic Troubleshooting Tips
Okay, let's get practical. Here are some common symptoms of a failing alternator and how to investigate them:
- Dim or Flickering Headlights: This is a classic sign of an underperforming alternator. The alternator isn't providing enough power to run the headlights at their full brightness. Check your battery terminal connections first to rule out corrosion as the cause.
- Warning Light (Battery or ALT): The battery warning light (often shaped like a battery) or an "ALT" warning light on your dashboard indicates a problem with the charging system. However, it doesn't necessarily mean the alternator is bad. It could also be a problem with the battery, the wiring, or the voltage regulator.
- Dead Battery: A consistently dead battery, even after charging it, could be a sign that the alternator isn't charging it properly.
- Strange Noises: A whining, squealing, or growling noise from the alternator area could indicate worn bearings or a loose pulley.
- Electrical Problems: Random electrical issues, such as malfunctioning power windows, erratic gauges, or a failing radio, can be caused by a fluctuating voltage from a faulty alternator.
Troubleshooting Steps:
- Visual Inspection: Check the alternator belt for cracks, wear, or looseness. Ensure the connections to the alternator are clean and tight.
- Voltage Test: Use a multimeter to measure the voltage at the battery terminals with the engine off. A healthy battery should read around 12.6 volts. Then, start the engine and measure the voltage again. It should be between 13.5 and 14.5 volts. If it's significantly lower, the alternator may be failing. Also, turn on various electrical loads (headlights, AC, radio) and observe if the voltage drops excessively.
- Load Test: Many auto parts stores offer free alternator load testing. This test puts the alternator under a load and measures its output voltage and amperage to see if it meets specifications. This is often the most reliable way to confirm an alternator failure.
- Diode Ripple Test: This test uses a multimeter set to AC voltage while the engine is running. Excessive AC voltage (over 0.5 VAC) indicates a failing diode bridge in the rectifier.
Safety – Highlight Risky Components
Working with electrical systems can be dangerous. Here are some safety precautions to keep in mind:
- Disconnect the Battery: Always disconnect the negative battery cable before working on any electrical components. This prevents accidental shorts and electrical shocks.
- Avoid Touching Terminals: Be careful not to touch the alternator's terminals with tools or your body when the engine is running. These terminals can carry high voltage and current.
- Hot Exhaust: Be mindful of the proximity of the alternator to the exhaust manifold, which can get extremely hot. Allow the engine to cool down before working in that area.
- Moving Parts: Keep your hands and clothing away from the serpentine belt and other moving parts while the engine is running. A loose belt can cause serious injury.
- Capacitors: Some alternators contain capacitors. These can store a charge even after the alternator is disconnected from the battery. Wait several minutes after disconnecting the battery before touching the alternator's internal components.
Conclusion
Diagnosing a bad alternator requires a systematic approach. By understanding the alternator's components, recognizing the symptoms of failure, and using basic troubleshooting techniques, you can confidently determine if your alternator needs replacement. Remember to always prioritize safety when working with electrical systems. With this knowledge, you are well-equipped to tackle alternator-related issues in your vehicle.