Installation Of An Nrg Innovations Harness Bar In A Nissan 240sx
Upgrading the safety and performance of your Nissan 240SX often involves more than just bolting on power-adders. For enthusiasts who track their cars or simply prioritize safety, installing an NRG Innovations harness bar is a worthwhile investment. This article provides a comprehensive guide to installing an NRG Innovations harness bar in your Nissan 240SX, ensuring a safe and secure mounting point for your racing harnesses.
Why Install a Harness Bar in Your 240SX?
Before diving into the installation process, let's understand the benefits of a harness bar. Factory seatbelts are designed for general road use, allowing a certain degree of movement. When participating in motorsports or driving aggressively, this movement can be detrimental. A harness bar offers several advantages:
- Enhanced Safety: Provides a secure and stable mounting point for racing harnesses, keeping you firmly planted in your seat during high-G maneuvers.
- Improved Control: Minimizes body roll and movement, allowing for greater control over the vehicle.
- Increased Confidence: Feeling more secure in your seat inspires confidence and allows you to push your driving limits safely.
- Aesthetic Appeal: Adds a sporty and aggressive look to the interior of your 240SX.
Specifically, the NRG Innovations harness bar is a popular choice due to its affordability, ease of installation, and compatibility with the 240SX chassis. It's designed to bolt directly to existing mounting points, minimizing the need for extensive modifications.
Tools and Materials Needed
To ensure a smooth and successful installation, gather the following tools and materials:
- NRG Innovations Harness Bar for Nissan 240SX: Ensure you have the correct model for your year and chassis (S13 or S14).
- Socket Set: Metric sockets are essential for removing and tightening bolts. Common sizes include 10mm, 12mm, 14mm, and 17mm.
- Wrench Set: A corresponding set of wrenches will be helpful.
- Torque Wrench: Crucial for tightening bolts to the manufacturer's specified torque. Incorrect torque can lead to failure of the harness bar or damage to the chassis.
- Ratchet Extension: Provides extra reach in tight spaces.
- Allen Wrench Set: Some harness bars may use Allen head bolts.
- Pry Bar or Screwdriver: May be needed to help remove stubborn trim pieces.
- Drill (Optional): Only needed if you intend to add additional mounting points or modify the existing ones. Consult a professional before drilling into your chassis.
- Measuring Tape: To ensure proper harness placement and alignment.
- Marker or Pen: For marking locations and making notes.
- Safety Glasses: Protect your eyes from debris.
- Gloves: Protect your hands from sharp edges and grease.
- Shop Rags: For cleaning up spills and wiping down surfaces.
- Threadlocker (e.g., Loctite): Recommended to prevent bolts from loosening over time due to vibration.
Installation Steps
Follow these steps carefully to install your NRG Innovations harness bar:
Step 1: Preparation and Safety
Before starting, disconnect the negative terminal of your battery. This prevents accidental electrical shorts during the installation process. Ensure the vehicle is parked on a level surface and the parking brake is engaged.
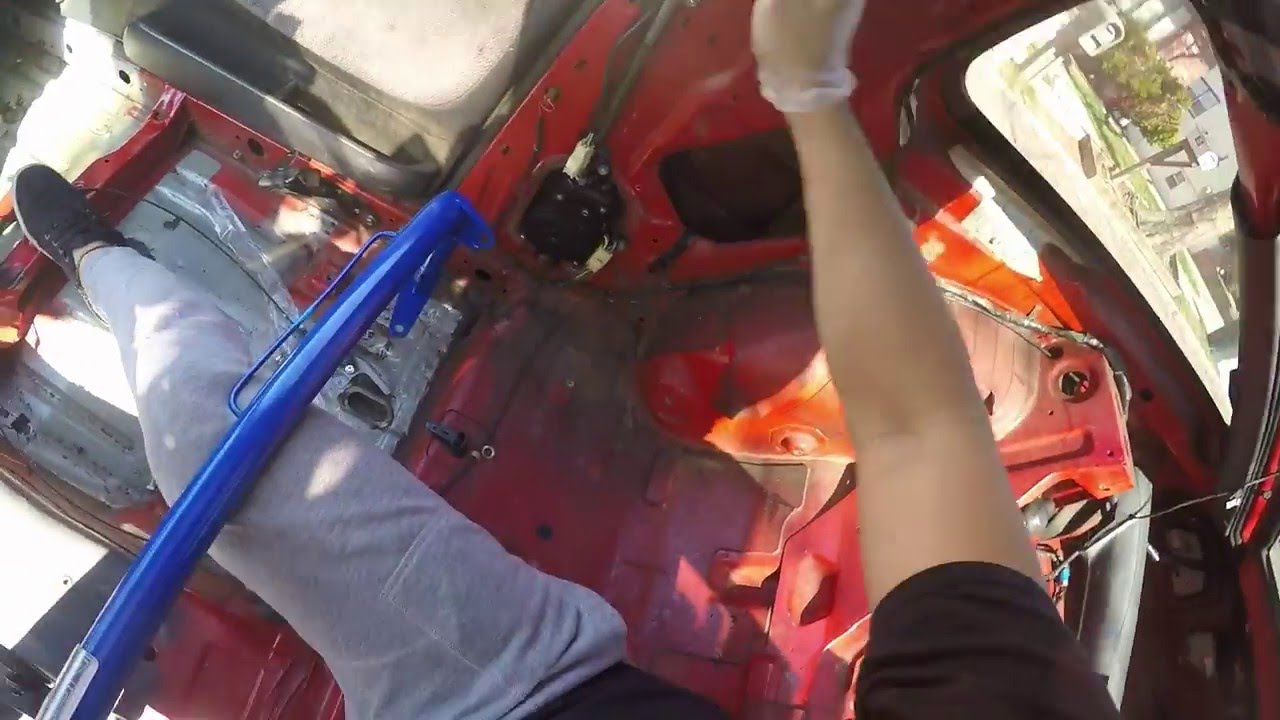
Step 2: Remove Interior Trim
The installation process usually requires removing or loosening some interior trim pieces, particularly around the rear seat area and sometimes the B-pillars. Gently pry away any necessary trim panels, taking care not to break any clips or damage the plastic. Consult your 240SX's factory service manual for specific instructions on removing trim pieces.
Step 3: Locate Mounting Points
The NRG Innovations harness bar is designed to bolt to existing mounting points in your 240SX. These points are usually located on the B-pillars (the pillar between the front and rear doors) and sometimes near the rear seatbelt anchors. Identify these mounting points and remove any existing bolts or hardware. In most 240SX applications the factory seat belt mounting points are utilized.
Step 4: Install the Harness Bar
Position the harness bar within the vehicle, aligning the mounting brackets with the corresponding mounting points. Depending on the design, you may need to install the bar in sections. Begin by loosely attaching the brackets to the mounting points using the provided hardware. Do not fully tighten the bolts yet.
Step 5: Adjust and Align
Once the harness bar is loosely in place, adjust its position to ensure it is level and properly aligned. You want to make sure it’s even from left to right, and doesn’t interfere with the driver or passenger. Some harness bars have adjustable sections that allow for fine-tuning. Pay close attention to the clearance between the bar and the headliner and any other interior components.
Step 6: Tighten the Bolts
After you're satisfied with the alignment, begin tightening the bolts. Use a torque wrench to tighten the bolts to the manufacturer's specified torque. This is a critical step. Undertightening can lead to the bar shifting or coming loose during use, while overtightening can damage the mounting points or strip the threads. Refer to the NRG Innovations installation instructions or your 240SX's factory service manual for torque specifications. If you cannot find the torque specification, it is recommended to consult with a professional mechanic for safe installation practices.
Step 7: Apply Threadlocker
Before final tightening, apply a small amount of threadlocker (e.g., Loctite) to the bolt threads. This will help prevent the bolts from loosening over time due to vibration.
Step 8: Reinstall Interior Trim
Carefully reinstall any interior trim pieces that you removed earlier. Ensure that all clips and fasteners are properly secured.
Step 9: Test the Installation
Once the installation is complete, thoroughly inspect the harness bar to ensure it is securely mounted and properly aligned. Test the bar by applying moderate pressure to it in various directions. There should be no movement or play. Important: Do not use the harness bar until you have verified that it is correctly installed and all bolts are properly torqued.
Step 10: Harness Installation (Separate Process)
The harness bar is only part of the equation. You still need to install racing harnesses. This process varies depending on the specific harness model and manufacturer. Follow the harness manufacturer's instructions carefully to ensure proper installation and adjustment. Be sure to use harnesses that are SFI or FIA approved for racing. Ensure you use the correct mounting hardware and angles for your harness. A poorly installed harness is just as dangerous as no harness at all.
Important Considerations
- Compatibility: Double-check that the NRG Innovations harness bar is specifically designed for your Nissan 240SX model (S13 or S14).
- Professional Installation: If you are not comfortable performing the installation yourself, it is highly recommended to seek professional assistance. A qualified mechanic can ensure that the harness bar is installed correctly and safely.
- Track Regulations: If you plan to use the harness bar for competitive motorsports, check the regulations of the sanctioning body to ensure compliance. Some organizations may have specific requirements for harness bar design and installation.
- Seat Compatibility: Ensure your seats are compatible with racing harnesses. Stock seats often don't have the necessary openings for proper harness routing. Aftermarket seats with harness slots are highly recommended for optimal safety and performance.
- Roll Cage: For serious track use, consider a full roll cage in addition to a harness bar. A roll cage provides significantly greater protection in the event of a rollover.
- Harness Maintenance: Regularly inspect your harnesses for wear and tear. Replace them if you notice any damage or fraying.
Troubleshooting
Here are some common issues you might encounter during the installation process:
- Difficulty Removing Trim: Use a trim removal tool to avoid damaging the plastic clips. Apply gentle but firm pressure.
- Stripped Bolts: If you strip a bolt, use a bolt extractor to remove it. Replace the bolt with a new one of the same size and grade.
- Misalignment: Double-check the mounting point locations and adjust the harness bar as needed. Loosening the bolts slightly can help with alignment.
- Rattling: Ensure that all bolts are properly tightened and that there are no loose connections. Use foam padding or rubber washers to dampen vibrations.
Conclusion
Installing an NRG Innovations harness bar in your Nissan 240SX is a significant step towards enhancing safety and improving your driving experience. By following these instructions carefully and taking the necessary precautions, you can ensure a successful and secure installation. Remember to prioritize safety and consult with a professional if you have any doubts or concerns. Once installed, enjoy the added security and confidence that a harness bar provides on the track or during spirited driving. Always prioritize safety and drive responsibly.