Toyota Camry Engine Air Filter Replacement
Maintaining optimal engine performance in your Toyota Camry hinges on several factors, and a clean engine air filter is paramount. The air filter’s primary function is to prevent contaminants like dust, pollen, and debris from entering the engine. A clogged air filter restricts airflow, leading to reduced horsepower, decreased fuel economy, and potentially long-term engine damage. Fortunately, replacing the engine air filter on a Camry is a straightforward DIY task that can save you money and ensure your engine breathes freely.
When to Replace Your Camry's Engine Air Filter
Toyota recommends replacing the engine air filter every 30,000 miles or 36 months under normal driving conditions. However, if you frequently drive in dusty or polluted environments, you may need to replace it more often. Visual inspection is the best way to determine if a replacement is necessary. A visibly dirty, clogged, or damaged filter should be replaced immediately. Some signs of a clogged air filter include decreased fuel economy, sluggish acceleration, and a rough idling engine. Ignoring these symptoms can lead to more significant and costly repairs down the line.
Tools and Materials Needed
Before you begin, gather the following tools and materials:
- New engine air filter (ensure it's the correct part for your Camry's year and engine)
- Screwdriver (usually a Phillips head, sometimes a flathead)
- Shop towel or rags
- Gloves (optional, but recommended)
Step-by-Step Replacement Procedure
The following steps outline the typical engine air filter replacement procedure for most Toyota Camry models. However, always refer to your owner’s manual for specific instructions related to your vehicle.
- Locate the Air Filter Housing: The air filter housing is usually a black plastic box located near the engine. It’s often labeled with instructions or diagrams. In most Camrys, it's positioned on the passenger side of the engine compartment.
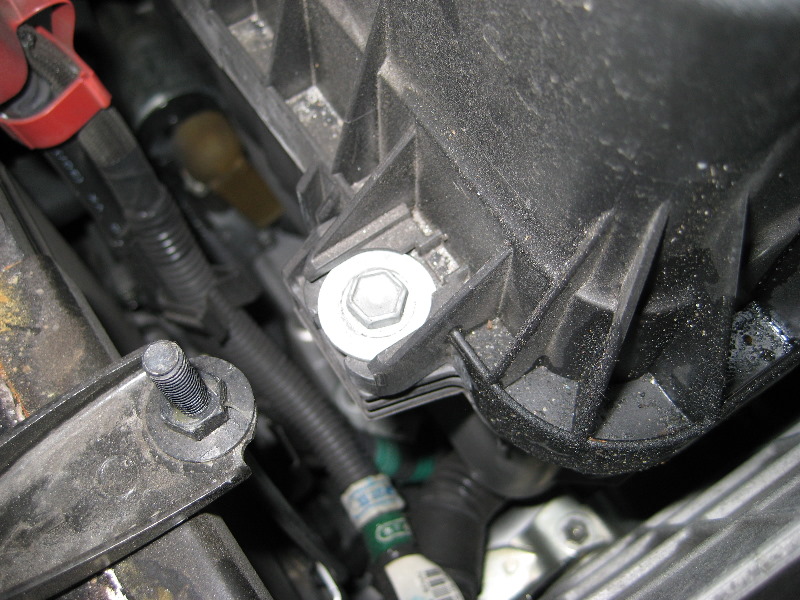
- Open the Air Filter Housing: The housing is typically secured by clips, screws, or a combination of both. Use the appropriate screwdriver to remove any screws. For clips, gently pry them open. Be careful not to break the clips, as they can become brittle with age. Never force anything.
- Remove the Old Air Filter: Once the housing is open, carefully remove the old air filter. Note the orientation of the filter – how it sits in the housing. This will ensure you install the new filter correctly. Be prepared for some dust and debris to fall out.
- Clean the Air Filter Housing: Use a shop towel or rags to clean the inside of the air filter housing. Remove any accumulated dirt, leaves, or other debris. This step ensures that the new filter is placed in a clean environment.
- Install the New Air Filter: Place the new air filter into the housing, matching the orientation of the old filter. Ensure it sits flush and properly sealed within the housing. Improper installation can lead to unfiltered air entering the engine.
- Close and Secure the Air Filter Housing: Reattach the housing cover, securing it with the clips and/or screws you removed earlier. Make sure the housing is properly sealed to prevent air leaks. Double-check that all clips are securely fastened and screws are tightened appropriately.
- Final Check: Ensure everything is properly secured and that no tools or materials are left in the engine compartment. Start the engine and listen for any unusual noises.
Important Considerations
- Filter Quality: Invest in a quality engine air filter from a reputable brand. Cheap aftermarket filters may not provide adequate filtration and could damage your engine.
- Proper Fitment: Always ensure that the replacement air filter is the correct part number for your specific Camry model and engine. Refer to your owner’s manual or a parts catalog to confirm the correct part number.
- Airflow Direction: Some air filters have an airflow direction arrow. Ensure that the arrow points in the direction of airflow, usually towards the engine.
- Tightening Torque: If the air filter housing uses screws, avoid over-tightening them, as this can damage the plastic housing. Tighten them snugly but not excessively.
Replacing your Toyota Camry's engine air filter is a simple yet crucial maintenance task. By following these steps and paying attention to detail, you can ensure your engine receives clean air, maximizing performance and extending its lifespan. If you are uncomfortable performing this task yourself, consult a qualified mechanic.