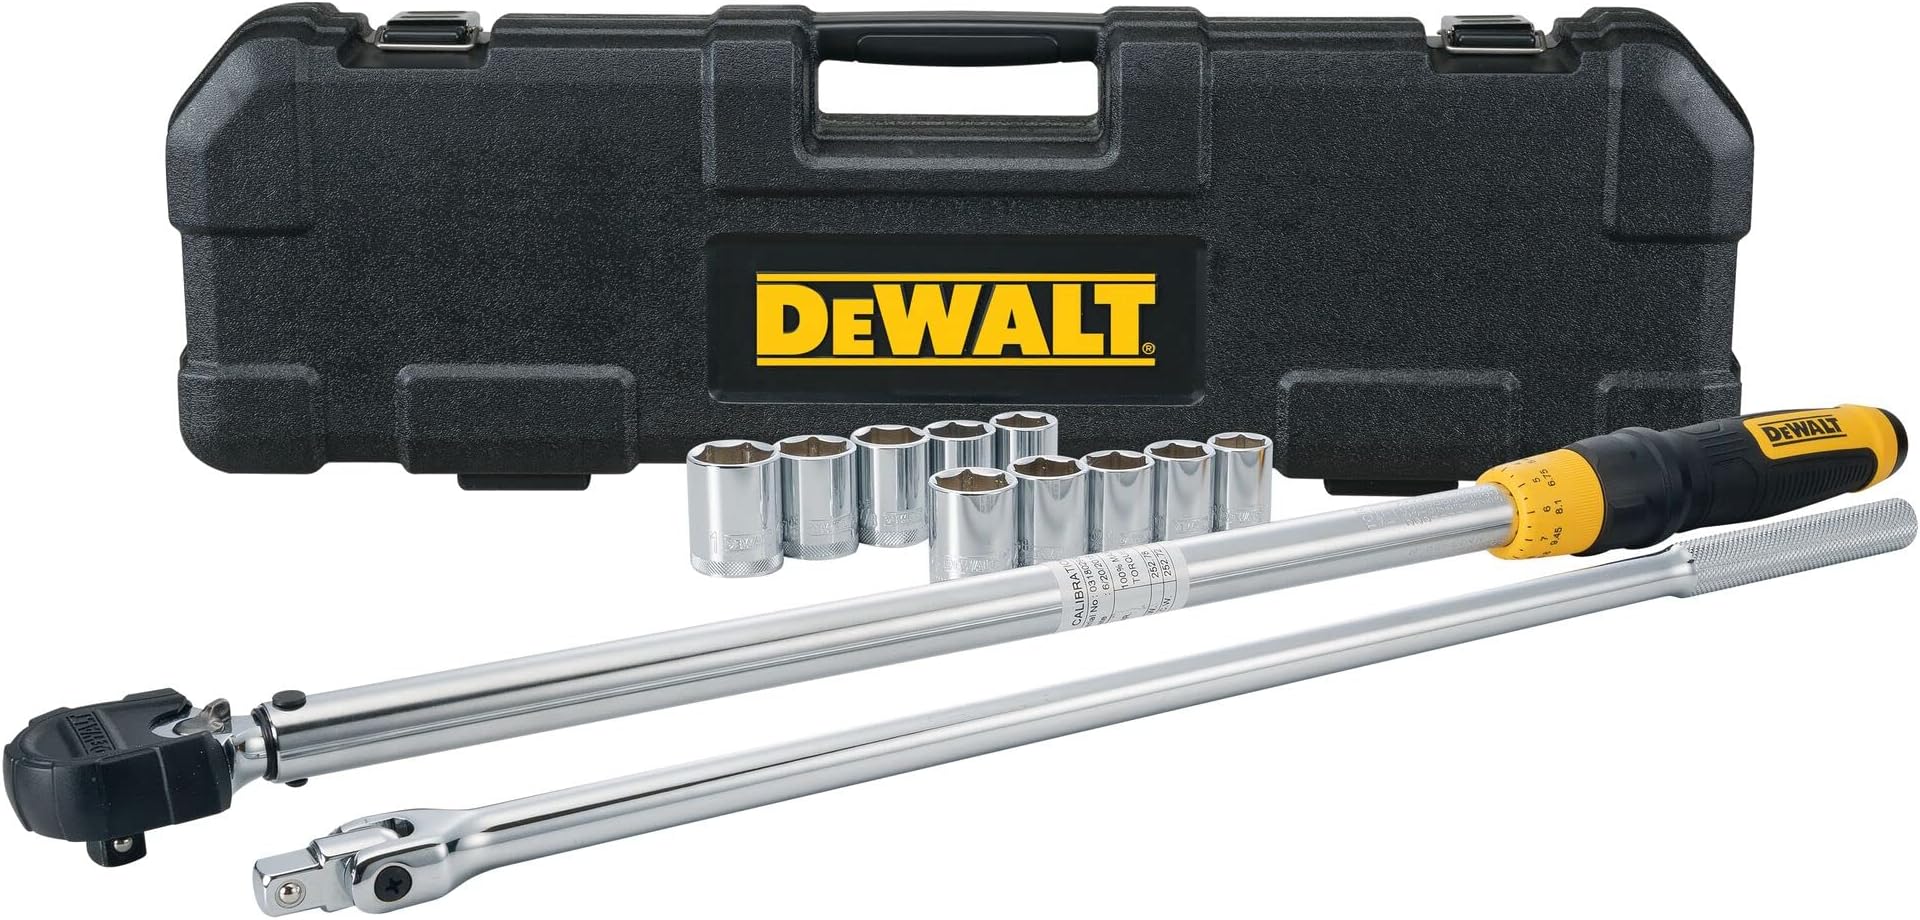
1 2 In Drive Torque Wrench Tire Change Kit
Changing a tire is a fundamental skill for any car owner, and while it might seem straightforward, doing it correctly and safely requires the right tools and understanding. This article will delve into the specifics of using a ½ inch drive torque wrench in conjunction with a quality tire change kit to ensure your wheel is properly secured to your vehicle.
The Importance of a ½ Inch Drive Torque Wrench
The torque wrench is arguably the most crucial tool in a tire change beyond the basic jack and lug wrench. It’s designed to apply a specific amount of rotational force (torque) to a fastener, in this case, your lug nuts. A ½ inch drive refers to the size of the square drive that accepts the socket. This size is common for lug nuts on most passenger vehicles and light trucks, making a ½ inch drive torque wrench a versatile and practical choice.
Why is torque so important? Under-torquing lug nuts can lead to them loosening during driving, potentially causing wheel separation – a catastrophic safety hazard. Over-torquing, on the other hand, can stretch or damage the wheel studs or even warp the brake rotor. This can also make the lug nuts extremely difficult to remove later. A torque wrench eliminates the guesswork and ensures precise tightening.
Torque is typically measured in foot-pounds (ft-lbs) or Newton-meters (Nm). Your vehicle's owner's manual will specify the correct torque value for your lug nuts. Always consult it before starting any tire change.
Components of a Quality Tire Change Kit
A good tire change kit should include several key components:
- Lug Wrench: Ideally, a four-way (cross) wrench for leverage or a breaker bar with sockets.
- Jack: The scissor jack that comes with your car is suitable for emergencies, but a hydraulic floor jack is much safer and easier to use for regular tire changes.
- Jack Stands: Essential for safety. Never work under a vehicle supported only by a jack.
- Wheel Chocks: To prevent the vehicle from rolling while you're working on it.
- Gloves: To protect your hands.
- Wheel Nut Indicator (optional): These small plastic indicators can be attached to the lug nuts after tightening. If one is loose, it will become misaligned, providing a visual warning.
Consider adding a piece of wood (like a 2x4) to spread the load of the jack on soft surfaces and a lug nut socket extension bar for reaching recessed lug nuts.
The Tire Change Process with a Torque Wrench
Here’s a step-by-step guide to changing a tire using a ½ inch drive torque wrench and a proper tire change kit:
- Safety First: Park on a level surface, engage the parking brake, and place wheel chocks behind the wheels that will remain on the ground.
- Loosen Lug Nuts: Use the lug wrench to slightly loosen the lug nuts before jacking up the vehicle. Don't remove them completely at this stage.
- Position the Jack: Refer to your vehicle's owner's manual for the correct jacking points.
- Raise the Vehicle: Lift the vehicle until the tire is off the ground.
- Secure with Jack Stands: Place jack stands under the vehicle's frame near the jacking point. Lower the vehicle onto the jack stands – never work under a vehicle supported only by a jack.
- Remove the Lug Nuts: Now, fully remove the lug nuts and set them aside in a safe place.
- Remove the Wheel: Carefully remove the flat tire.
- Mount the Spare Tire: Align the spare tire with the wheel studs and push it onto the hub.
- Install the Lug Nuts: Hand-tighten the lug nuts in a star pattern (opposite nuts) to evenly seat the wheel.
- Lower the Vehicle: Raise the vehicle slightly with the jack, remove the jack stands, and carefully lower the vehicle to the ground.
- Torque the Lug Nuts: This is where the ½ inch drive torque wrench comes in. Set the torque wrench to the value specified in your owner's manual. Tighten the lug nuts in a star pattern until the torque wrench clicks or beeps (depending on the type).
- Final Check: Double-check the torque of each lug nut.
After the Tire Change
After changing the tire, re-check the lug nut torque after driving a short distance (e.g., 50-100 miles). If you've installed a spare tire, remember that it's typically a temporary solution. Have the flat tire repaired or replaced as soon as possible. Check the tire pressure of your spare tire to ensure it meets the manufacturer's specifications.
Conclusion
Using a ½ inch drive torque wrench and a comprehensive tire change kit isn’t just about changing a tire; it’s about ensuring your safety and the longevity of your vehicle’s components. By following the steps outlined above and understanding the importance of proper torque, you can confidently and safely handle a flat tire situation.