1 4 Push To Connect Air Line Fittings Napa
Alright, let's talk about 1/4" push-to-connect air line fittings you can find at Napa. These little guys are incredibly useful for a wide range of pneumatic applications in your car, from installing air suspension systems to setting up on-board air compressors for inflating tires. They simplify connections, but understanding their nuances is key to a reliable and leak-free system. This isn't just about slapping things together; we're going for a professional, long-lasting installation here.
Understanding Push-to-Connect Fittings
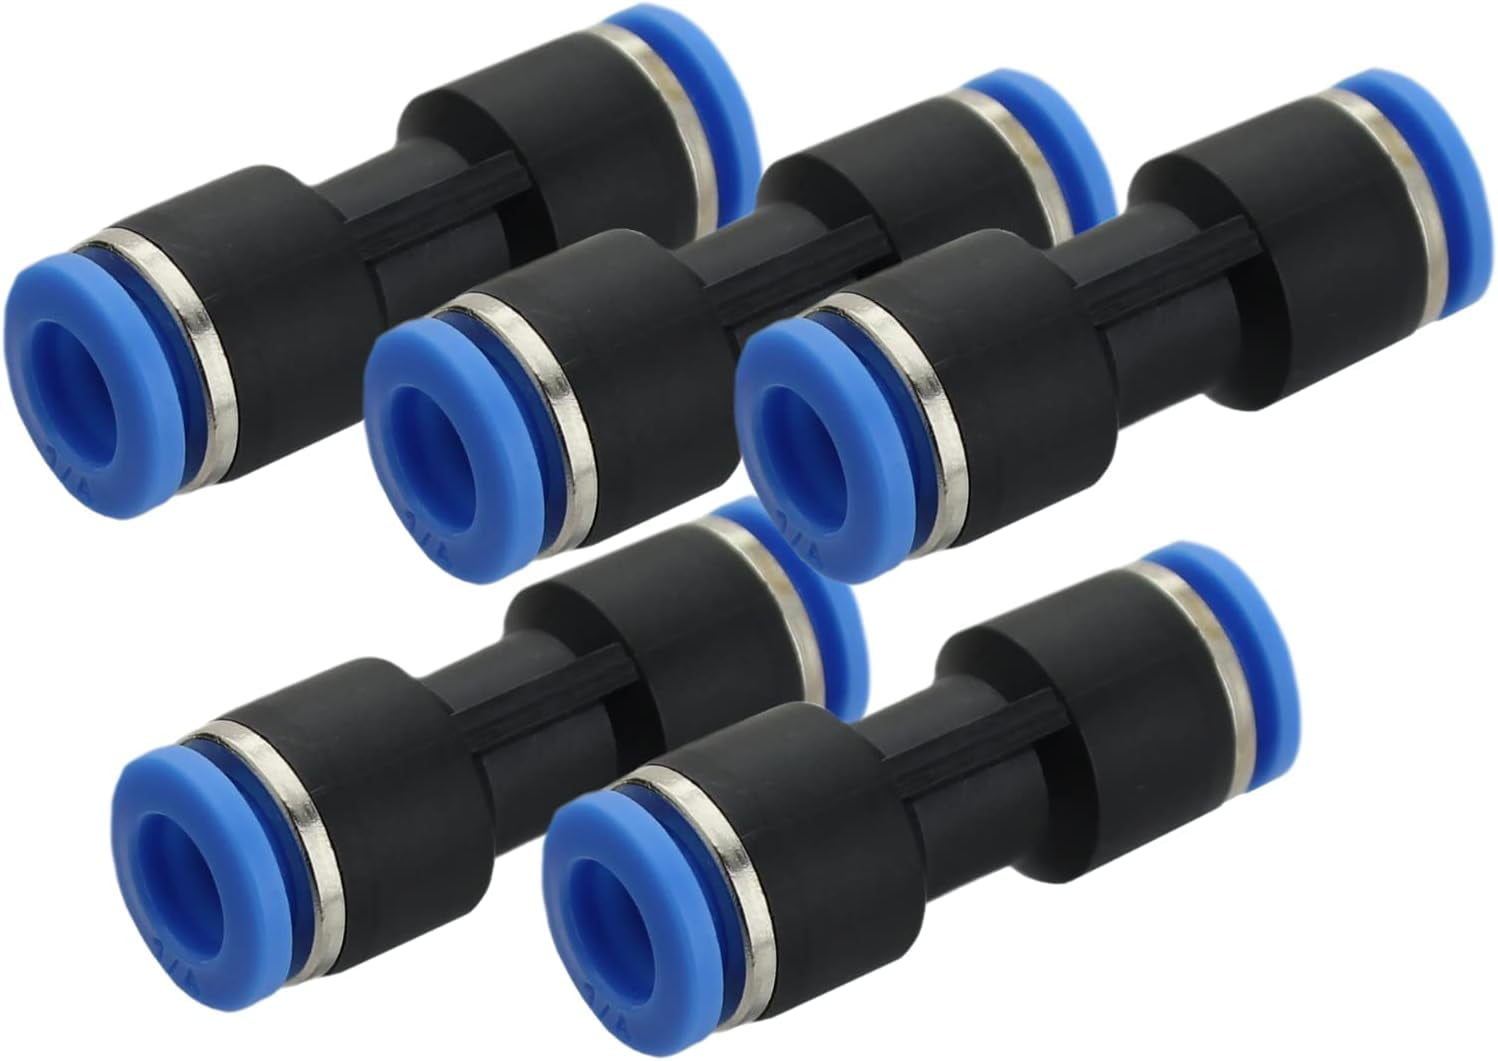
The beauty of push-to-connect (often abbreviated as PTC) fittings lies in their ease of use. Unlike traditional compression fittings that require wrenches and careful tightening, these fittings create a seal by simply pushing the air line into the fitting body. The most common size we're discussing is 1/4", which refers to the outer diameter (OD) of the air line tubing it accepts. Napa stocks a good selection of these fittings in various configurations.
How They Work: A Closer Look
Inside a PTC fitting, you'll typically find several key components working in harmony:
- Body: This is the main housing of the fitting, often made of brass, nickel-plated brass, or sometimes even plastic for lower-pressure applications.
- Collet: The collet is a ring of hardened metal (usually stainless steel) with teeth or gripping edges. When the air line is pushed into the fitting, the collet grabs onto the outside of the tubing, preventing it from being pulled out. The more pressure inside the line, the tighter the collet grips.
- O-Ring Seal: A crucial element for creating an airtight seal. The O-ring sits inside the fitting, and when the air line is inserted, it's compressed against the tubing, forming a barrier against leaks.
- Tube Stop: This internal feature ensures the tubing is inserted far enough into the fitting to properly engage the collet and seal against the O-ring.
The genius of the design is that the internal pressure of the air line actually enhances the seal. The higher the pressure, the tighter the collet grips and the more the O-ring compresses, preventing leaks. However, this also means using the correct type of tubing is critical.
Choosing the Right 1/4" PTC Fitting at Napa
Napa offers a variety of 1/4" PTC fittings to suit different needs. Here's a breakdown of common types and their applications:
- Straight Connectors: These are the most basic type, connecting two 1/4" air lines in a straight line. Useful for extending lines or joining two sections together.
- Elbow Connectors (90-degree or 45-degree): Used to make angled connections, allowing you to route air lines around obstacles.
- Tee Connectors: These split a single 1/4" air line into two, or combine two lines into one. Great for creating branches in your air system.
- Y Connectors: Similar to Tee connectors but with a slightly different flow characteristic. Sometimes preferred when equal flow to both branches is important.
- Male and Female Connectors: These fittings have a threaded end (either male or female NPT – National Pipe Taper) to connect to components with threaded ports, like air tanks, compressors, or pressure gauges.
- Bulkhead Connectors: Designed to pass an air line through a panel or firewall. They feature a threaded body and a nut for secure mounting.
- Reducer Fittings: While less common for simple air lines, you might find reducers to adapt a 1/4" line to a smaller or larger size if needed. Be sure to check flow rate implications when using reducers.
When choosing fittings, pay attention to the material. Brass fittings are generally preferred for their durability and corrosion resistance. However, plastic fittings can be suitable for lower-pressure applications where weight is a concern. Also, ensure the fitting's pressure rating meets or exceeds the maximum pressure of your air system. Exceeding the pressure rating can lead to fitting failure and potentially dangerous situations.
Installation Best Practices
Proper installation is crucial for a leak-free and reliable air system. Here’s a step-by-step guide, along with some tips:
- Select the Right Tubing: This is critical. Use only air line tubing specifically designed for push-to-connect fittings. Polyurethane (PU) and Nylon (PA) tubing are common choices. Check the tubing's OD (outer diameter) to ensure it's exactly 1/4". Using the wrong type of tubing, or tubing with the wrong dimensions, will almost certainly lead to leaks.
- Prepare the Tubing: Cut the tubing squarely with a sharp tubing cutter. A clean, perpendicular cut is essential for a good seal. Avoid using a knife or scissors, as they can create uneven cuts that cause leaks. Deburr the inside and outside of the cut to remove any sharp edges.
- Insert the Tubing: Push the tubing firmly and straight into the fitting until it bottoms out against the tube stop. You should feel a distinct click as the collet engages. Give the tubing a gentle tug to ensure it's securely locked in place.
- Testing for Leaks: After connecting all your components, pressurize the system and check for leaks. You can use a soapy water solution to identify leaks. Apply the solution to all connections; if bubbles form, you have a leak.
- Removing the Tubing: To disconnect the tubing, push the collet inward towards the fitting body while simultaneously pulling the tubing out. You may need a small tool, like a wrench or screwdriver, to help push the collet in. Do not attempt to pull the tubing out without releasing the collet, as this can damage the fitting and the tubing.
Troubleshooting Common Issues
Even with careful installation, you might encounter issues. Here are a few common problems and how to address them:
- Leaks at the Fitting: This is usually caused by incorrect tubing size, a damaged O-ring, or a poorly cut tube end. Check the tubing size, inspect the O-ring for damage, and recut the tube end with a sharp tubing cutter. Make sure the tubing is fully inserted into the fitting.
- Tubing Won't Stay in the Fitting: This usually indicates a worn or damaged collet. Replace the fitting. Also, ensure you're using the correct type of tubing.
- Difficulty Inserting the Tubing: This could be due to a burr on the tube end or a damaged collet. Deburr the tube end and inspect the collet.
Important Safety Tip: Always depressurize your air system before disconnecting any fittings or making repairs. Working with pressurized air can be dangerous.
Upgrading and Maintaining Your System
Once your air system is up and running, consider these tips for long-term performance:
- Use Thread Sealant (Teflon Tape or Liquid Thread Sealant): When connecting threaded fittings, always use thread sealant to ensure a tight, leak-free seal. Teflon tape is a common choice, but liquid thread sealant can provide a more reliable seal, especially in high-vibration environments. Apply the sealant correctly - wrapping Teflon tape in the direction of the threads.
- Protect Air Lines from Damage: Route your air lines carefully to avoid sharp edges, hot surfaces, or areas where they could be crushed or abraded. Use protective sleeving or clamps to secure the lines and prevent damage.
- Regularly Inspect Your System: Periodically inspect your air lines and fittings for leaks, cracks, or other signs of damage. Replace any worn or damaged components promptly.
- Consider a Water Separator/Filter: Moisture in compressed air can damage pneumatic components and cause corrosion. Install a water separator/filter to remove moisture and contaminants from the air.
By understanding the principles behind 1/4" push-to-connect air line fittings, choosing the right components from Napa, and following these installation best practices, you can create a reliable and leak-free air system for your car. Happy wrenching!