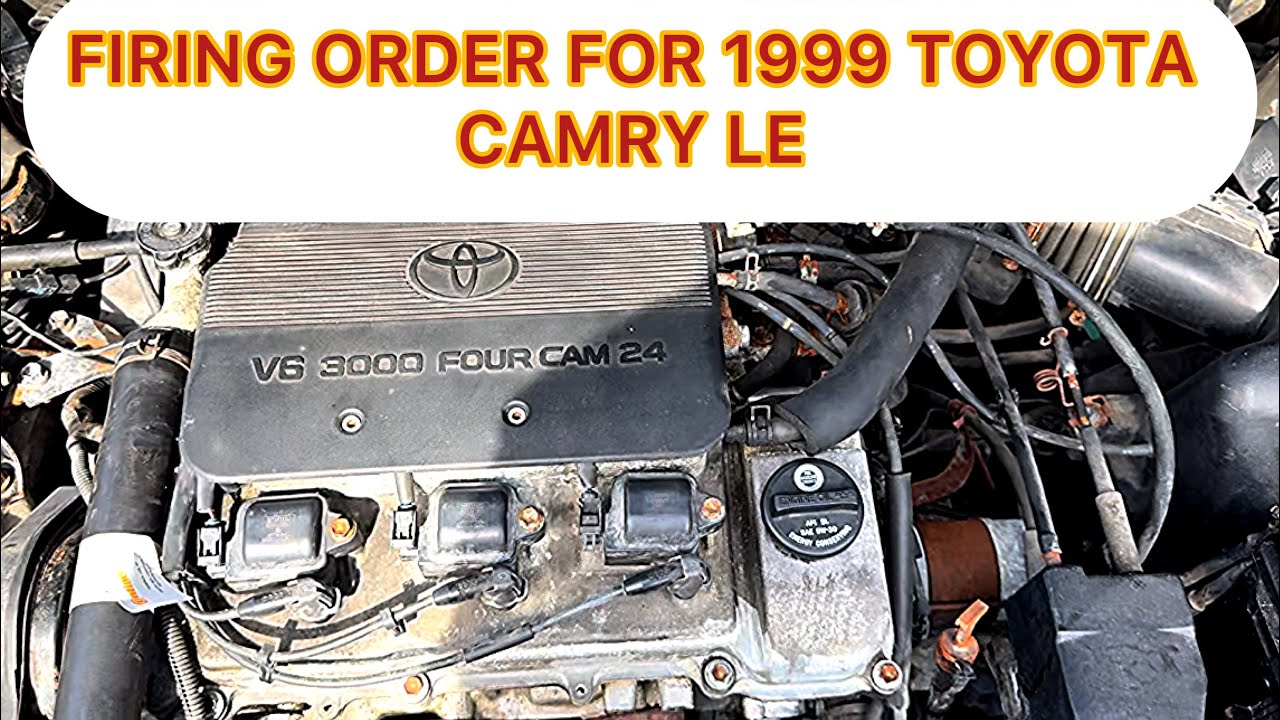
1999 Toyota Camry Firing Order 4 Cylinder
Hey folks, let's talk about a common issue that can plague the 1999 Toyota Camry 4-cylinder: a misfire. And when misfires happen, often the culprit, or at least the first thing we need to verify, is the firing order. Getting the firing order wrong can lead to all sorts of problems, from a rough idle to a complete no-start condition.
Understanding the Firing Order of Your 1999 Camry (4-Cylinder)
The firing order tells you the sequence in which the cylinders in your engine ignite. For the 1999 Toyota Camry with the 2.2L 4-cylinder (5S-FE) engine, the firing order is: 1-3-4-2. It's crucial to get this correct. Now, how does this relate to your engine and the distributor cap?
Locating Cylinder Number One
Before you start messing with the spark plug wires, you need to identify cylinder number one. This is typically located at the front of the engine, closest to the timing belt or chain. If you're facing the engine, it will be on your left side. There's usually a small marking on the engine block that will indicate cylinder numbers, but your best bet is to refer to your repair manual. It’s important to know that this is not always the case and some manufactures will use a completely different placement for cylinder 1.
Identifying the Distributor Cap Terminals
Next, you need to locate and identify the terminal for cylinder one on your distributor cap. Toyota distributors of this era usually have a small "1" marked next to the terminal corresponding to cylinder one. If this mark isn't visible, consult your Camry's repair manual – it’s essential.
Connecting the Spark Plug Wires
Now, with the firing order (1-3-4-2) and cylinder one's location in mind, you can connect the spark plug wires. Here's how it works:
- Connect the wire from the distributor cap terminal marked "1" (or identified as cylinder one) to the spark plug in cylinder one.
- Moving clockwise around the distributor cap (or counter-clockwise depending on distributor rotation – check your manual!), connect the wire to the spark plug in cylinder three.
- Continue in the same direction, connecting the wire to the spark plug in cylinder four.
- Finally, connect the last wire to the spark plug in cylinder two.
Important Note: Make absolutely sure that the wires are fully seated on both the distributor cap and the spark plugs. A loose connection can also cause a misfire.
Symptoms of an Incorrect Firing Order
So, how do you know if your firing order is incorrect?
- Rough Idling: The engine will shake and vibrate excessively at idle.
- Loss of Power: The engine won't accelerate smoothly or have the same power as usual.
- Misfiring: You might hear popping or sputtering sounds from the exhaust.
- Engine Won't Start: In severe cases, the engine simply won't start.
- Check Engine Light: A misfire will usually trigger the "Check Engine Light" (CEL) on your dashboard. Codes like P0300 (Random Misfire Detected), P0301 (Cylinder 1 Misfire), etc., may be present.
Troubleshooting a Misfire: More Than Just Firing Order
While the firing order is a critical first step, a misfire can be caused by a variety of issues. Here are some other common suspects:
- Faulty Spark Plugs: Inspect your spark plugs for wear, damage, or carbon buildup. Replace them if necessary. Spark plugs for the 1999 Camry are relatively inexpensive, usually costing between $5 and $15 each.
- Bad Spark Plug Wires: Check the wires for cracks, breaks, or damage. You can also test them for resistance using a multimeter. A new set of spark plug wires will generally run you between $30 and $60.
- Cracked Distributor Cap or Rotor: Visually inspect the distributor cap for cracks or carbon tracking. The rotor should also be inspected for wear. Replace these components if they are damaged. A distributor cap and rotor kit can cost around $40 to $80.
- Failing Ignition Coil: A weak or failing ignition coil can cause a misfire. You can test the coil's output using a multimeter or a coil tester. A replacement coil can range from $50 to $150.
- Vacuum Leaks: Vacuum leaks can lean out the air-fuel mixture and cause misfires. Inspect vacuum hoses for cracks or breaks.
- Fuel Injector Problems: A clogged or faulty fuel injector can prevent fuel from reaching the cylinder. Fuel injector cleaner may help, but sometimes replacement is necessary. Replacements can be expensive, ranging from $80 to $200 *per injector*.
- Low Compression: Low compression in a cylinder can also cause a misfire. This usually indicates a more serious problem, such as worn piston rings or valves. A compression test is necessary to diagnose this issue.
Tools You'll Need
To check and correct the firing order, and perform basic troubleshooting, you'll need the following tools:
- Socket set and ratchet
- Spark plug socket
- Spark plug wire puller (optional, but recommended to avoid damaging the wires)
- Screwdrivers (Phillips and flathead)
- Multimeter (for testing spark plug wires and ignition coil)
- Timing light (helpful for verifying ignition timing)
- Repair manual for your 1999 Toyota Camry
Approximate Repair Costs
Here's a rough estimate of the costs you might encounter when addressing a misfire on your 1999 Camry:
- Spark Plug Replacement: $50 - $100 (parts and labor)
- Spark Plug Wire Replacement: $75 - $150 (parts and labor)
- Distributor Cap and Rotor Replacement: $100 - $200 (parts and labor)
- Ignition Coil Replacement: $150 - $300 (parts and labor)
- Fuel Injector Replacement: $250 - $600 (per injector, parts and labor)
- Compression Test: $80 - $150
Disclaimer: These are just estimates. Actual costs may vary depending on your location and the specific repair shop you choose. Always get a quote before authorizing any work.
A Word of Caution
Working on your car can be rewarding, but it's essential to prioritize safety. Always disconnect the negative battery cable before working on the electrical system. If you're not comfortable performing any of these repairs yourself, it's best to take your Camry to a qualified mechanic.
Final Thoughts
Don't be intimidated by a misfire! By systematically checking the firing order and other potential causes, you can often diagnose and fix the problem yourself. Remember to consult your repair manual for specific instructions and diagrams. Good luck, and happy wrenching!