2004 Gmc Sierra Air Conditioner Compressor
The 2004 GMC Sierra, a cornerstone of the American pickup truck market, is known for its reliability and capability. However, like any vehicle, it's susceptible to issues over time, and a common concern for owners is the failure of the air conditioning (A/C) compressor. This article provides a comprehensive look at the A/C compressor in the 2004 GMC Sierra, covering potential problems, diagnostics, replacement procedures, and preventative measures.
Understanding the 2004 GMC Sierra A/C System
The A/C system in the 2004 Sierra is a standard refrigerant-based system. Its core components include:
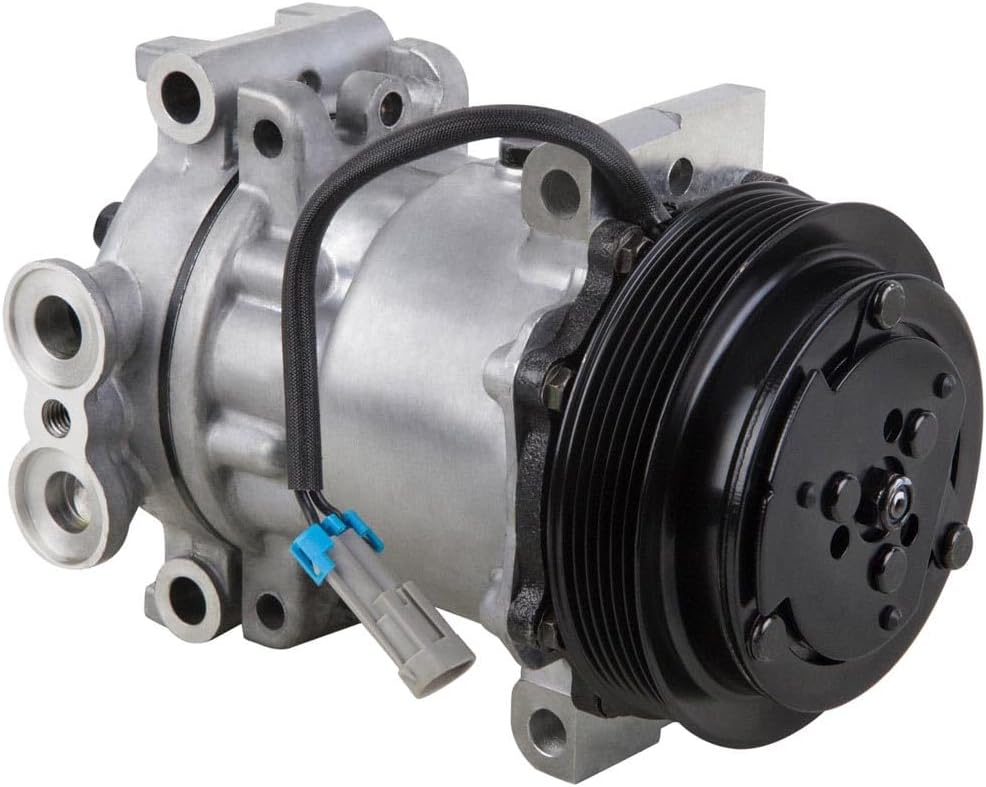
- Compressor: The heart of the system, responsible for compressing the refrigerant and circulating it throughout the A/C loop. In the 2004 Sierra, the compressor is typically a clutch-type unit, meaning it engages and disengages via an electromagnetic clutch.
- Condenser: Located in front of the radiator, the condenser dissipates heat from the high-pressure refrigerant.
- Evaporator: Situated inside the dashboard, the evaporator absorbs heat from the cabin air, cooling it down.
- Expansion Valve (or Orifice Tube): Meters the flow of refrigerant into the evaporator, controlling the cooling process. Some models use an orifice tube (a simple, fixed restrictor) while others use a more sophisticated expansion valve.
- Accumulator (or Receiver Drier): Acts as a reservoir for refrigerant and removes moisture. The 2004 Sierra uses an accumulator.
- Refrigerant Lines: Connect all the components, carrying the refrigerant throughout the system.
The refrigerant used in the 2004 Sierra is typically R-134a.
Common A/C Compressor Problems in the 2004 GMC Sierra
Several issues can lead to A/C compressor failure in the 2004 Sierra:
- Compressor Clutch Failure: The electromagnetic clutch can wear out, preventing the compressor from engaging. This is often indicated by a clicking sound but no cold air. Checking the clutch air gap and voltage to the clutch is crucial for diagnosis.
- Internal Compressor Damage: Over time, internal components like pistons and valves can wear out or seize, leading to compressor failure. This can be caused by lack of lubrication (due to low refrigerant levels), contamination, or simply age.
- Refrigerant Leaks: Low refrigerant levels can starve the compressor of lubrication, leading to premature failure. Leaks can occur at various points in the system, including hoses, connections, and the compressor itself.
- Contamination: Debris, such as metal shavings from a failing compressor, can circulate throughout the system and damage other components, including the replacement compressor. This is why a thorough flush is often required after a compressor failure.
- Electrical Issues: Problems with wiring, fuses, or relays can prevent the compressor from receiving power.
Diagnosing A/C Compressor Issues
A proper diagnosis is critical before replacing the compressor. Common diagnostic steps include:
- Visual Inspection: Check for obvious signs of damage, such as leaks, corrosion, or damaged wiring.
- Gauge Readings: Using A/C manifold gauges, check the high-side and low-side pressures. Abnormal readings can indicate various problems, including a failing compressor, a clogged expansion valve/orifice tube, or low refrigerant.
- Clutch Engagement Test: Check if the compressor clutch is engaging when the A/C is turned on. Use a multimeter to check for voltage at the clutch connector.
- Compressor Noise: Listen for unusual noises, such as grinding or squealing, which can indicate internal compressor damage.
Replacing the A/C Compressor: A Step-by-Step Overview
Replacing the A/C compressor is a moderately complex task best left to experienced mechanics. Here's a simplified overview:
- Recover Refrigerant: Use a refrigerant recovery machine to safely remove all refrigerant from the system. This is legally required and prevents environmental damage.
- Disconnect Components: Disconnect the refrigerant lines from the compressor. Be prepared for some oil spillage.
- Disconnect Electrical Connections: Disconnect the electrical connector to the compressor clutch.
- Remove the Compressor: Unbolt the compressor from its mounting brackets.
- Flush the System: This is crucial! Use an A/C flush solvent to remove any contaminants from the condenser, evaporator, and refrigerant lines. Replace the accumulator and orifice tube/expansion valve.
- Install the New Compressor: Mount the new compressor and connect the refrigerant lines and electrical connector. Add the correct amount of PAG oil, as specified for the 2004 Sierra.
- Evacuate the System: Use a vacuum pump to remove air and moisture from the system.
- Recharge the System: Recharge the system with the correct amount of R-134a refrigerant.
- Test the System: Check the A/C performance and look for leaks.
Preventative Maintenance
Regular maintenance can help prevent A/C compressor failure. Consider these tips:
- Regular A/C Service: Have the A/C system inspected and serviced annually by a qualified technician.
- Refrigerant Checks: Periodically check the refrigerant level and top it off if necessary.
- Keep the Condenser Clean: Clean debris from the condenser to ensure proper airflow.
- Run the A/C Regularly: Even in cooler months, run the A/C for a few minutes each week to circulate the lubricant and keep the compressor seals lubricated.
By understanding the A/C system, recognizing potential problems, and performing preventative maintenance, 2004 GMC Sierra owners can keep their A/C system running efficiently for years to come.