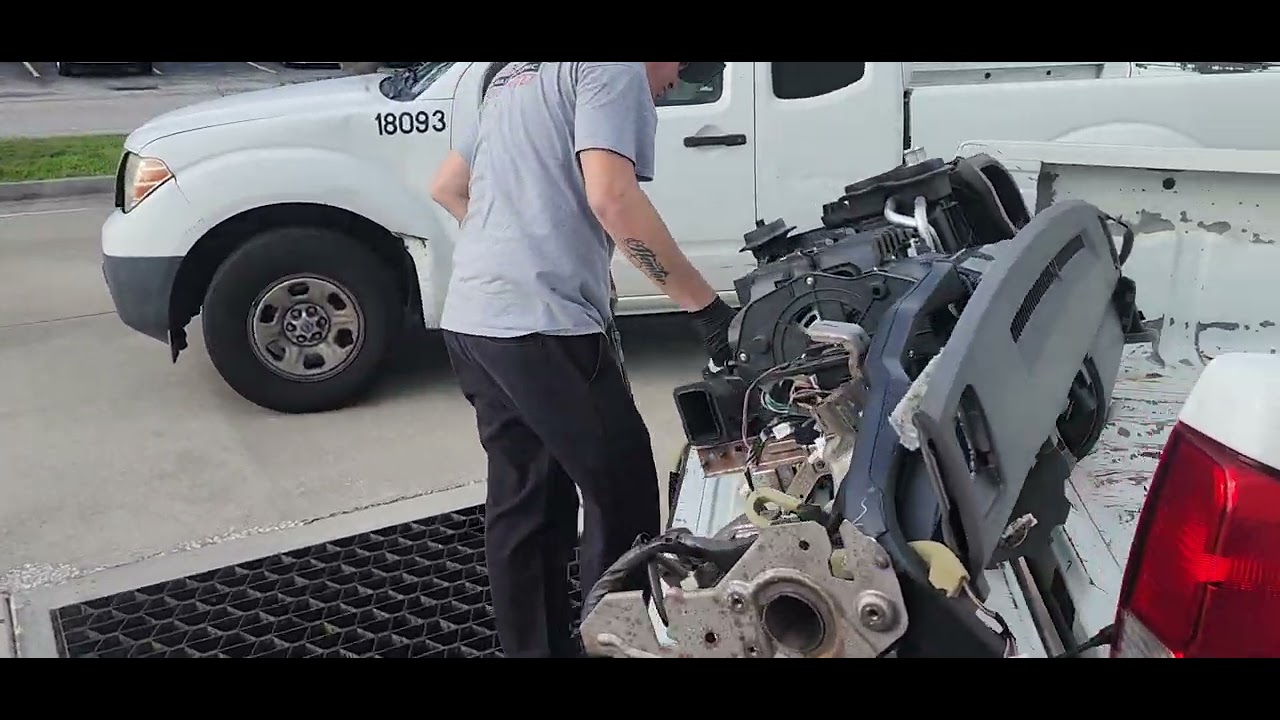
2007 Honda Accord Heater Core Replacement

The 2007 Honda Accord, a stalwart of reliability and practicality, isn't immune to the occasional gremlin. One such gremlin, often rearing its head as the years rack up, is a failing heater core. When cabin heat turns lukewarm or vanishes entirely, and the telltale sweet smell of antifreeze permeates the interior, chances are the heater core is the culprit. This guide provides a detailed look at replacing the heater core in a 2007 Honda Accord, offering insights valuable for both seasoned mechanics and enthusiastic DIYers.
Diagnosis: Is it Really the Heater Core?
Before diving into the replacement process, confirm the diagnosis. Low coolant levels are the first thing to check. Next, ensure the engine is reaching operating temperature. A faulty thermostat can prevent adequate heat generation. Check the heater hoses leading to and from the firewall. Both should be hot to the touch when the engine is warm and the heater is on. If one is significantly cooler than the other, a blockage may exist. Finally, look for signs of coolant leakage inside the cabin, particularly around the area where the heater core is located – often evidenced by wet carpeting on the passenger side. Persistent fogging of the windshield, even with the defroster on, can also be a strong indicator of a leaking heater core. If these symptoms align, proceed with the replacement.
Gathering Your Arsenal: Tools and Parts
Replacing a heater core isn't a simple weekend project; it requires patience and a well-stocked toolbox. Essential tools include: a socket set (metric, of course), various extensions, a ratchet, screwdrivers (Phillips and flathead), pliers, a coolant drain pan, hose clamp pliers, a trim removal tool set (critical for avoiding damage to interior panels), a new heater core (ensure it's the correct part for your specific Accord model), new O-rings for the heater core connections (highly recommended), new coolant (Honda Genuine coolant is preferred), and shop towels. Additionally, consider having a vacuum cleaner on hand to clean up any spilled coolant and debris.
The Disassembly Process: A Step-by-Step Guide
This is where the real work begins. The heater core is nestled deep within the dashboard, necessitating significant disassembly. Disconnect the negative battery cable before starting to prevent accidental electrical shorts.
- Drain the Coolant: Locate the radiator drain cock (typically at the bottom of the radiator) and drain the engine coolant into a suitable container. Dispose of the coolant responsibly.
- Remove Interior Components: This is the most time-consuming step. Start by removing the lower dashboard panels, the glove box, and the center console. Consult a repair manual or online resources for specific instructions and locations of retaining screws and clips. Use the trim removal tools to carefully pry off panels.
- Disconnect Heater Hoses: In the engine compartment, locate the heater hoses connected to the firewall. Use hose clamp pliers to release the clamps and carefully disconnect the hoses. Be prepared for some residual coolant to spill. Plug the hose ends to prevent further leakage.
- Access the Heater Core Housing: With the interior panels removed, locate the heater core housing, usually positioned behind the center of the dashboard. There will likely be several screws holding it in place.
- Remove the Heater Core: Carefully detach any remaining connections to the heater core housing. Remove the housing and extract the old heater core.
Installation: Reversing the Process
With the old heater core removed, installation is essentially the reverse of the disassembly process. Install new O-rings on the heater core connections to ensure a leak-free seal. Carefully slide the new heater core into the housing and reassemble it. Reconnect the heater hoses in the engine compartment, ensuring the clamps are securely fastened. Replace all interior panels, taking care to align everything correctly and avoid forcing anything. Double-check all connections before proceeding.
Refilling and Bleeding the Cooling System
Once everything is reassembled, refill the cooling system with fresh coolant. Refer to your owner's manual for the correct type and amount. Bleed the cooling system to remove any trapped air. This is crucial to prevent overheating. Locate the bleed valve (typically on the thermostat housing or a coolant hose) and open it while the engine is running until a steady stream of coolant flows out without any air bubbles. Top off the coolant level as needed.
Final Checks and Observations
Start the engine and let it run until it reaches operating temperature. Check for any coolant leaks around the heater hoses and the heater core housing inside the cabin. Ensure the heater is producing hot air. Monitor the coolant temperature gauge to confirm the engine isn't overheating. Replacing a 2007 Honda Accord heater core is a challenging but achievable task for those with the right tools, patience, and a methodical approach. Following these steps carefully will help you restore comfortable cabin heat and eliminate that unwelcome antifreeze aroma.
