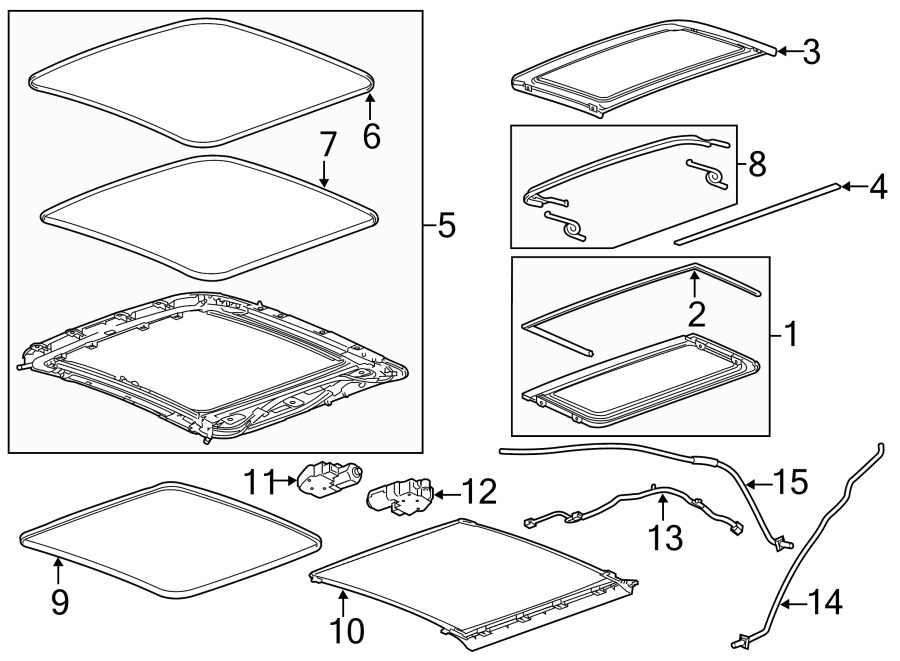
2008 Cadillac Cts Sunroof Seal Replacement
The 2008 Cadillac CTS, a cornerstone of Cadillac's design renaissance, offered a blend of luxury and performance that appealed to a broad spectrum of drivers. A popular option on this model was the sunroof, providing an open-air driving experience. However, like any mechanical system exposed to the elements, the sunroof seals can degrade over time, leading to leaks, wind noise, and potential water damage. Replacing a worn or damaged sunroof seal is a relatively straightforward task that can prevent significant problems down the road. This article details the process of replacing the sunroof seal on a 2008 Cadillac CTS, providing insights valuable to both DIY enthusiasts and professional mechanics.
Identifying the Need for Replacement
Before diving into the replacement procedure, it’s crucial to accurately diagnose the problem. Common symptoms indicating a failing sunroof seal include:
- Water leaks inside the cabin, particularly after rain or car washes. These leaks may manifest as damp carpets, headliner stains, or water accumulating in the footwells.
- Excessive wind noise while driving, even with the sunroof closed. This noise often increases with speed.
- Visible cracks, tears, or deterioration of the rubber seal. Inspect the seal carefully for any signs of damage.
- A general feeling of looseness or instability of the sunroof glass when closed.
Confirming the source of the leak is essential. A simple test involves using a garden hose to gently spray water around the sunroof area while observing the interior for any signs of water intrusion. Be patient and methodical during this process.
Tools and Materials Required
Gathering the necessary tools and materials beforehand will streamline the replacement process. You'll need:
- New sunroof seal for a 2008 Cadillac CTS (ensure compatibility with your specific model – check the VIN). Obtain this from a reputable auto parts supplier or Cadillac dealer.
- Plastic trim removal tools (to avoid scratching or damaging interior trim).
- Small flathead screwdriver (for delicate prying).
- Clean rags or microfiber cloths.
- Mild cleaning solution (e.g., diluted dish soap).
- Silicone-based lubricant (to ease installation of the new seal).
- Work gloves.
Removal of the Old Sunroof Seal
The removal process requires patience and care to avoid damaging the sunroof glass or surrounding trim.
- Open the sunroof partially. This provides access to the seal. Do not fully open the sunroof, as this may make removal more difficult.
- Locate the seam in the existing sunroof seal. This is usually located at the rear of the sunroof opening.
- Using a plastic trim removal tool or a small flathead screwdriver (covered with a cloth to protect the paint), carefully begin prying up the old seal at the seam. Work your way around the perimeter of the sunroof opening, gently separating the seal from the body.
- Continue to carefully peel off the old seal. Be mindful of any adhesive residue that may be present.
- Once the old seal is removed, thoroughly clean the sunroof opening using a mild cleaning solution and a clean rag. Remove any dirt, debris, or adhesive residue. This will ensure a proper bond for the new seal.
Installation of the New Sunroof Seal
Installing the new seal correctly is crucial for a watertight and noise-free seal.
- Locate the seam on the new sunroof seal.
- Position the new seal around the sunroof opening, aligning the seam with the corresponding location on the body.
- Apply a small amount of silicone-based lubricant to the inner lip of the new seal. This will help it slide into place and create a better seal.
- Press the new seal firmly into place, working your way around the entire perimeter of the sunroof opening. Ensure the seal is fully seated and flush with the body.
- Pay close attention to the corners, ensuring the seal is properly aligned and seated in these areas.
- Once the seal is installed, close the sunroof completely. Inspect the seal for any gaps or misalignments. Make any necessary adjustments.
Testing and Final Adjustments
After installation, it’s essential to test the new seal for leaks and proper closure.
- Perform the water test as described earlier, using a garden hose to spray water around the sunroof area. Check for any leaks inside the cabin.
- Test the sunroof operation, opening and closing it several times to ensure it moves smoothly and seals properly.
- Check for wind noise during a test drive.
If any leaks are detected, carefully re-inspect the seal and make any necessary adjustments. Ensure the seal is fully seated and properly aligned. A properly installed sunroof seal will provide years of reliable service, protecting your 2008 Cadillac CTS from the elements.