2010 Ford Fusion Ac Compressor Replacement
The 2010 Ford Fusion, a popular mid-size sedan, offers reliable performance and comfortable features. However, like any vehicle, it can experience issues over time, and a common problem owners encounter is a failing AC compressor. This article provides a comprehensive guide to replacing the AC compressor in a 2010 Ford Fusion, catering to both DIY enthusiasts and professional mechanics.
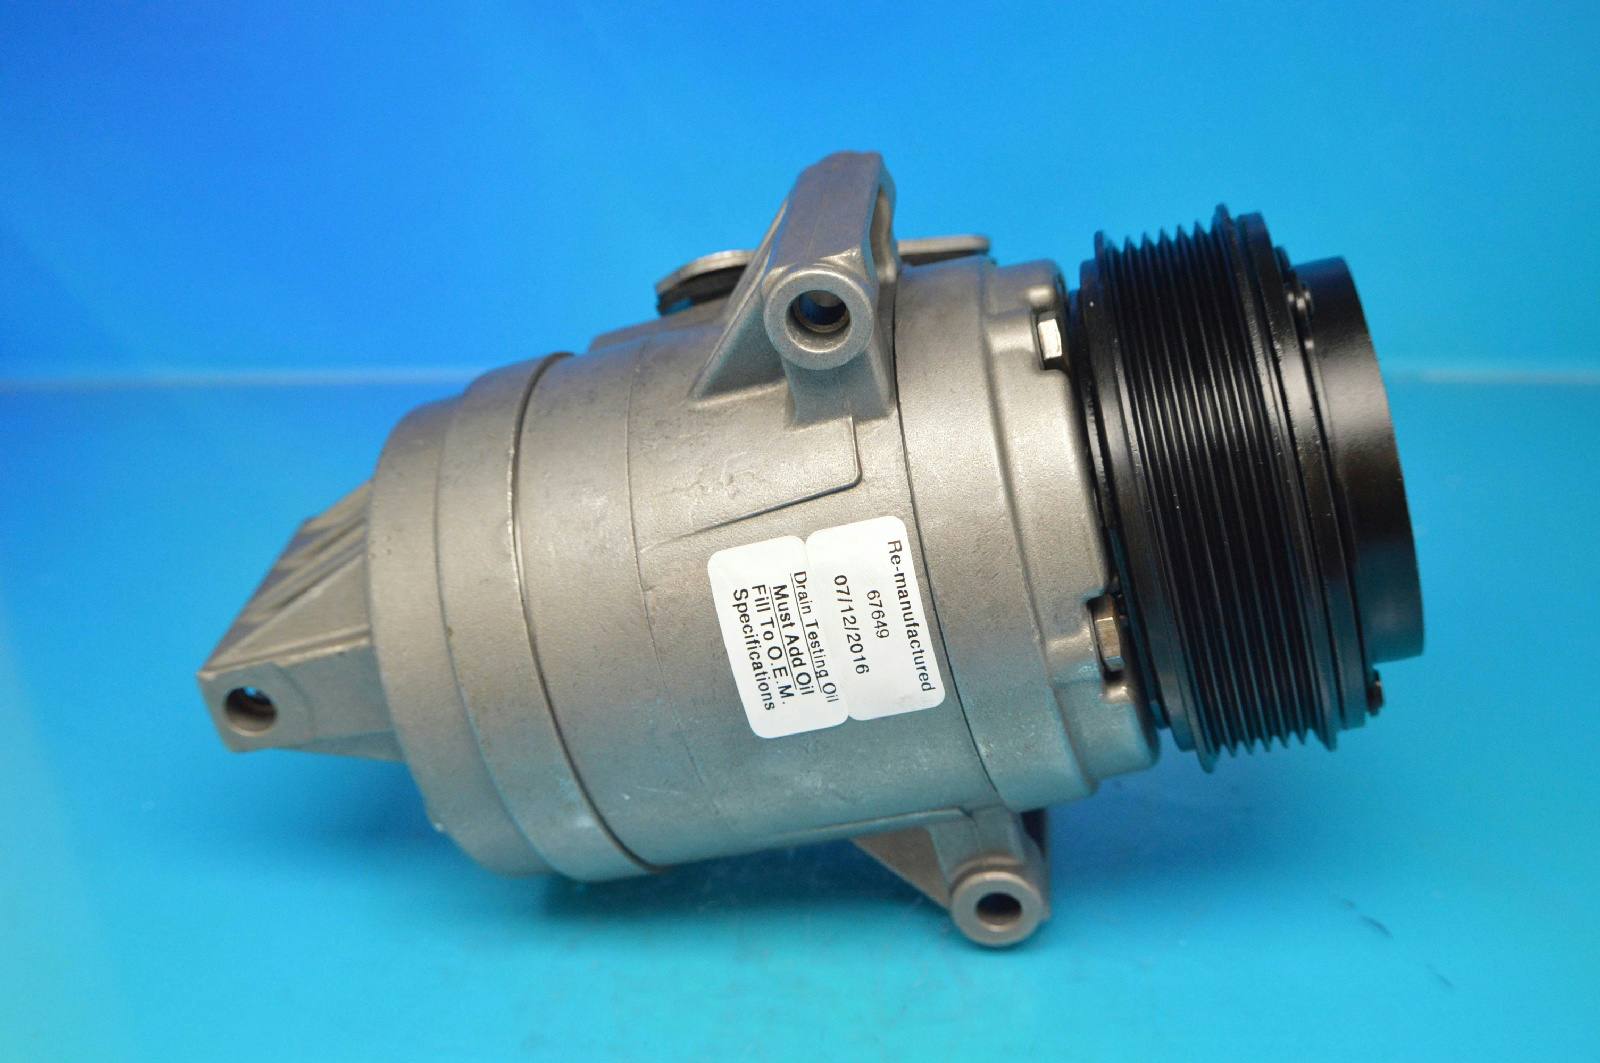
Understanding the AC System and Compressor Failure
Before diving into the replacement process, it's crucial to understand the basics of the air conditioning system. The AC system relies on refrigerant (typically R-134a) to cool the air. The AC compressor is the heart of the system, responsible for compressing the refrigerant, increasing its temperature and pressure. This high-pressure refrigerant then circulates through the condenser, evaporator, and other components to deliver cool air to the cabin.
Common symptoms of a failing AC compressor in a 2010 Ford Fusion include:
- Weak or no cold air blowing from the vents.
- Unusual noises coming from the engine compartment, especially when the AC is turned on (grinding, squealing, or rattling).
- The AC clutch not engaging. This is the mechanism that connects the compressor pulley to the compressor shaft when the AC is turned on.
- Refrigerant leaks, indicated by oily residue near the compressor or other AC components.
- Dashboard warning lights related to the AC system.
Failure can occur due to various reasons, including internal wear and tear, refrigerant leaks leading to compressor overheating, clutch failure, and debris contamination within the system.
Tools and Materials Required
Replacing an AC compressor requires specific tools and materials. Ensure you have the following:
- New AC compressor (specifically designed for a 2010 Ford Fusion). Check the engine size (e.g., 2.5L, 3.0L, or 3.5L) as compressor compatibility varies.
- New receiver drier/accumulator. This component removes moisture from the refrigerant and is always recommended to be replaced when replacing the compressor.
- New expansion valve/orifice tube. This controls the flow of refrigerant into the evaporator.
- Refrigerant (R-134a) and manifold gauge set.
- Vacuum pump.
- AC flush solvent and flushing equipment.
- Wrenches, sockets, ratchets, and screwdrivers.
- Torque wrench.
- Safety glasses and gloves.
- Recovery machine (for legally recovering the existing refrigerant).
Step-by-Step AC Compressor Replacement
Safety First: Before starting, disconnect the negative battery cable to prevent electrical shorts.
- Refrigerant Recovery: This is crucial. Legally and safely recover the remaining refrigerant from the system using a recovery machine. Do not vent refrigerant into the atmosphere.
- Access the Compressor: Locate the AC compressor on the engine. This is typically located at the front of the engine, near the drive belts. You may need to remove underbody panels or other components for access.
- Disconnect Electrical Connections: Disconnect the electrical connectors from the compressor and the AC clutch.
- Remove Refrigerant Lines: Carefully disconnect the refrigerant lines from the compressor using the appropriate wrenches. Be prepared for a small amount of oil to spill. Plug the lines to prevent contamination.
- Remove the Compressor: Unbolt the compressor from its mounting brackets. Note the orientation of any shims or spacers.
- Install the New Compressor: Install the new compressor, ensuring proper alignment and torque specifications for the mounting bolts. Reconnect the refrigerant lines, using new O-rings lubricated with refrigerant oil.
- Replace Receiver Drier/Accumulator and Expansion Valve: These components are critical for optimal AC performance and should always be replaced concurrently with the compressor. Their locations vary depending on the Fusion model.
- Flush the System: Flush the entire AC system (condenser, evaporator, and lines) with AC flush solvent to remove any contaminants. Follow the solvent manufacturer's instructions carefully.
- Evacuate the System: Connect a vacuum pump to the system and evacuate it for at least 30-45 minutes to remove air and moisture. This is essential for proper refrigerant charging and AC performance.
- Charge the System: Use the manifold gauge set to charge the system with the correct amount of R-134a refrigerant, as specified in the vehicle's service manual or on a sticker under the hood.
- Test the System: Start the engine and turn on the AC. Verify that cold air is blowing from the vents and that the compressor is cycling properly. Check for any leaks using a refrigerant leak detector.
Important Considerations
- Torque Specifications: Always use a torque wrench and tighten all bolts to the manufacturer's specified torque values.
- Refrigerant Oil: Ensure the correct type and amount of refrigerant oil are added to the system. The type of oil (typically PAG oil) and quantity will be specified in the service manual.
- Professional Assistance: If you are not comfortable with any of these steps, it is recommended to seek professional assistance from a qualified mechanic. Improper installation can damage the AC system or cause personal injury.
Replacing the AC compressor in a 2010 Ford Fusion is a significant repair, but with the right tools, knowledge, and attention to detail, it can be successfully accomplished. Proper maintenance, including regular AC system checks and prompt attention to any warning signs, can help extend the life of the AC compressor and ensure comfortable driving for years to come.