2012 Ford Explorer Water Pump Replacement
The 2012 Ford Explorer, a popular SUV known for its versatility and capability, relies on a well-functioning cooling system to prevent engine overheating. At the heart of this system lies the water pump, responsible for circulating coolant throughout the engine block, radiator, and heater core. Over time, the water pump can fail due to wear and tear, leading to potential engine damage. This article provides a detailed guide to replacing the water pump on a 2012 Ford Explorer, covering essential steps, tools, and considerations.
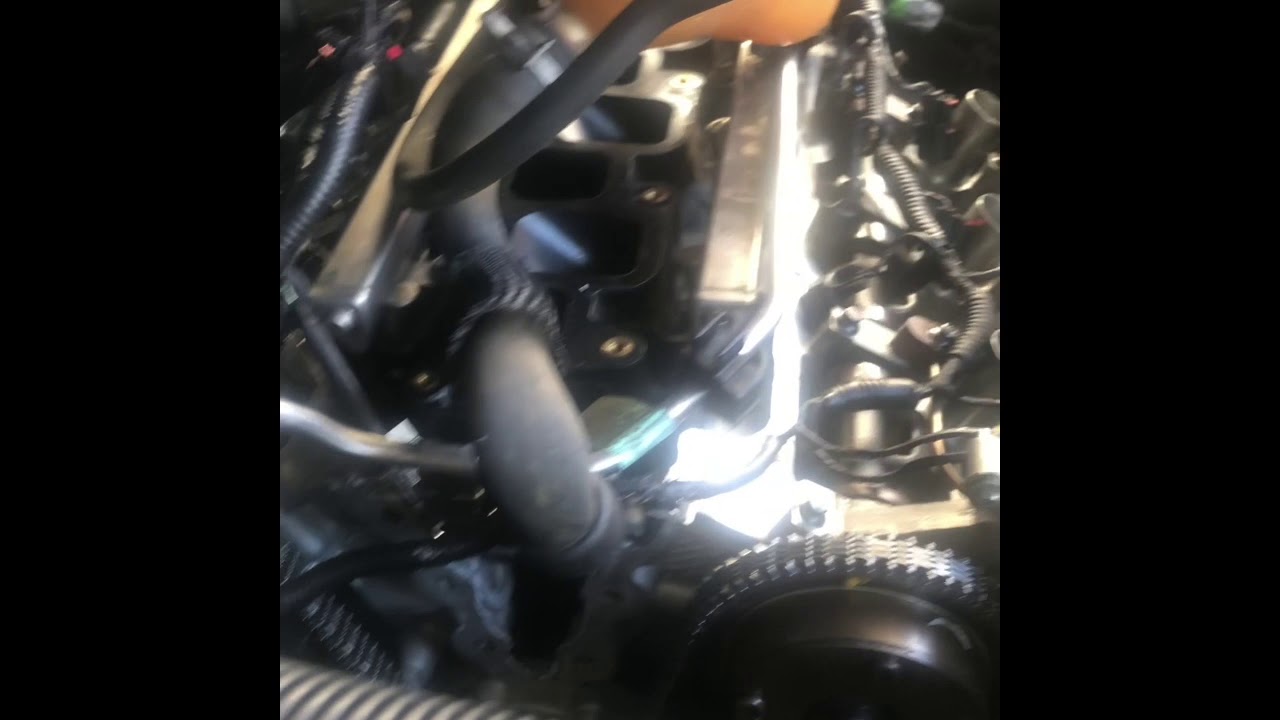
Identifying Water Pump Failure
Recognizing the symptoms of a failing water pump is crucial for preventing serious engine problems. Common signs include:
- Overheating Engine: This is often the most obvious sign. The temperature gauge may climb rapidly, or the vehicle may emit steam.
- Coolant Leaks: Look for coolant puddles under the vehicle, often near the front of the engine. Coolant typically has a distinct sweet smell.
- Whining Noise: A failing water pump bearing can produce a distinctive whining or grinding noise, especially at higher engine speeds.
- Visible Corrosion: Check the water pump housing for signs of corrosion or leakage around the gasket.
- Decreased Heater Performance: If the heater is blowing cold air when the engine is warm, it could indicate a cooling system issue, potentially related to the water pump.
Tools and Materials Required
Before beginning the water pump replacement, gather the necessary tools and materials:
- New water pump (ensure it's the correct part for your engine – typically either the 3.5L or 2.0L EcoBoost).
- New water pump gasket or O-ring.
- Coolant (check your owner's manual for the correct type).
- Socket set and wrenches (metric).
- Torque wrench.
- Pliers.
- Screwdrivers (various sizes).
- Drain pan.
- Funnel.
- Jack and jack stands.
- Wheel chocks.
- Safety glasses and gloves.
Step-by-Step Water Pump Replacement Guide
Safety First: Always disconnect the negative battery cable before starting any automotive repair. Allow the engine to cool completely before working on the cooling system.
- Prepare the Vehicle: Securely chock the rear wheels. Loosen the lug nuts on the front passenger wheel. Jack up the front passenger side of the vehicle and support it with jack stands. Remove the wheel.
- Drain the Coolant: Locate the radiator drain cock (usually at the bottom corner of the radiator). Place a drain pan underneath and open the drain cock to drain the coolant. Alternatively, some prefer to disconnect the lower radiator hose to drain the system more quickly, but be cautious of splashing.
- Remove the Serpentine Belt: Use a wrench or socket to relieve tension on the serpentine belt tensioner. Remove the belt from the water pump pulley. Note the belt routing for reinstallation.
- Access the Water Pump: This step varies slightly depending on the engine. The 3.5L engine requires more disassembly. Typically, you'll need to remove any components obstructing access to the water pump, such as hoses, pulleys, or brackets. For the 2.0L EcoBoost, the water pump is more easily accessible.
- Disconnect Hoses: Carefully disconnect the coolant hoses connected to the water pump. Be prepared for some coolant spillage.
- Remove the Water Pump: Unbolt the water pump from the engine block. Once all bolts are removed, gently pry the water pump loose. Be cautious as residual coolant may spill.
- Clean Mating Surfaces: Thoroughly clean the mating surfaces on the engine block where the new water pump will be installed. Remove any old gasket material.
- Install the New Water Pump: Install the new water pump with a new gasket or O-ring. Ensure the gasket is properly aligned. Torque the bolts to the manufacturer's specifications using a torque wrench. Improper torque can lead to leaks.
- Reconnect Hoses: Reconnect all coolant hoses to the water pump. Ensure the hose clamps are securely tightened.
- Reinstall Components: Reinstall any components that were removed to access the water pump, such as pulleys, brackets, or hoses.
- Reinstall Serpentine Belt: Route the serpentine belt correctly and release the tension on the tensioner.
- Refill Coolant: Slowly refill the cooling system with the correct type of coolant. Follow the proper bleeding procedure to remove air pockets from the system. This is critical for proper cooling system function.
- Reinstall Wheel: Reinstall the front passenger wheel and tighten the lug nuts. Lower the vehicle to the ground and torque the lug nuts to the manufacturer's specifications.
- Check for Leaks: Start the engine and let it run for several minutes. Monitor the temperature gauge and check for any coolant leaks around the water pump and hoses.
- Final Check: Ensure the heater is working properly. Check the coolant level again after the engine has cooled down.
Important Considerations
- Coolant Type: Using the wrong type of coolant can damage the cooling system. Refer to your owner's manual for the correct type.
- Torque Specifications: Always use a torque wrench and adhere to the manufacturer's torque specifications for all bolts.
- Bleeding the Cooling System: Properly bleeding the cooling system is essential to remove air pockets and ensure proper cooling.
- Water Pump Quality: Invest in a quality water pump from a reputable brand to ensure longevity and reliability.
- Complexity: While this guide provides a general overview, the 2012 Ford Explorer water pump replacement can be a complex task. If you are not comfortable performing this repair, it is best to seek professional assistance from a qualified mechanic.