2014 Cadillac Xts Front Struts Replacement
Replacing the front struts on a 2014 Cadillac XTS might seem daunting, but with a little know-how and the right tools, it's a task many car enthusiasts and hobby mechanics can tackle. This article breaks down the process, explains the underlying technology, and offers practical advice for a smooth and safe strut replacement.
Understanding Struts: Your Car's Frontline Suspension
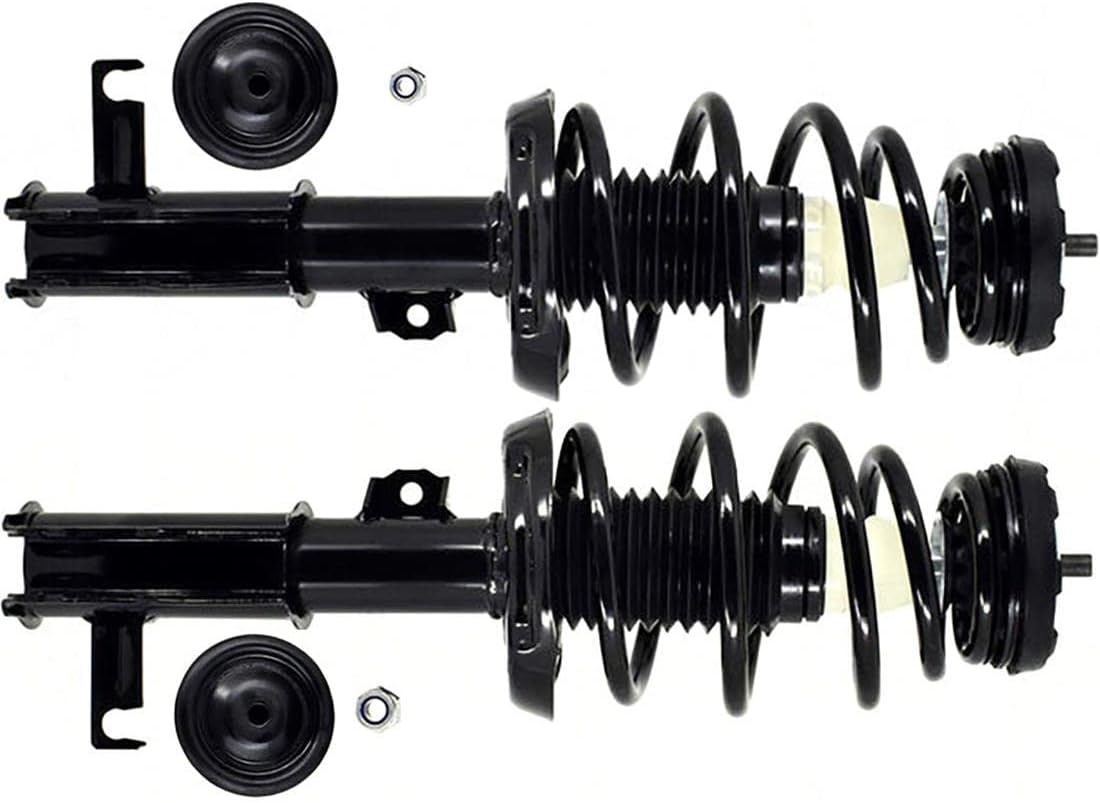
Before diving into the replacement, it's crucial to understand what struts do. Simply put, struts are a critical part of your car's suspension system, specifically at the front in the XTS's case. They are shock absorbers integrated with a coil spring, working together to control the movement of your vehicle and maintain ride comfort. Think of them as the unsung heroes that keep your tires on the road and prevent your car from bouncing uncontrollably after hitting a bump.
To visualize the difference, consider a classic car like a 1960s Chevrolet Impala. While it used shock absorbers and separate coil springs, the XTS (and most modern cars) uses a strut assembly where the shock absorber is integrated inside the coil spring. This creates a more compact and efficient design, saving space and improving handling. The strut not only dampens vibrations but also provides structural support for the vehicle's suspension and steering systems.
When struts fail, you'll notice symptoms like:
- Excessive bouncing after hitting bumps
- Nose diving during braking
- Uneven tire wear
- Poor handling and steering response
- Clunking noises from the front suspension
Ignoring these symptoms can lead to further damage to other suspension components and even compromise your safety. Replacing your struts when they start to show signs of wear is a smart investment in your vehicle's longevity and your peace of mind.
Preparing for the Replacement: Tools and Safety First
Safety is paramount when working on any vehicle, especially the suspension system. The coil spring is under immense pressure, and improper handling can lead to serious injury. Always wear safety glasses and gloves.
Here's a list of tools you'll likely need:
- Jack and Jack Stands: To safely lift and support your vehicle.
- Wheel Chocks: To prevent the car from rolling.
- Socket Set and Wrenches: Including metric sizes to fit the Cadillac XTS.
- Torque Wrench: To ensure proper tightening of bolts.
- Spring Compressor: This is essential for safely compressing the coil spring. Rent or borrow a quality spring compressor. Cheap ones can be dangerous.
- Strut Compressor Tool: (Optional, but recommended) This specific tool, different from the spring compressor, can help with disassembling the strut assembly once the spring is compressed.
- Penetrating Oil: To loosen rusted bolts and nuts. PB Blaster or Liquid Wrench are good choices.
- Hammer: For gently persuading stubborn parts.
- Pickle Fork or Ball Joint Separator: May be needed to separate the steering knuckle from the strut.
- New Strut Assemblies: Buy quality replacement struts designed for your 2014 Cadillac XTS. Brands like Monroe, KYB, and Bilstein are reputable choices. Consider buying complete strut assemblies (strut, spring, mount) to simplify the process and replace all wear components at once.
- Wheel Alignment: A wheel alignment is mandatory after replacing struts.
A Note on Spring Compressors
We can't overstate the importance of using a high-quality spring compressor correctly. This tool is designed to safely compress the coil spring, allowing you to remove the top strut mount and replace the strut cartridge. Always follow the manufacturer's instructions carefully. Double-check that the spring is securely held in the compressor before proceeding. If you are uncomfortable using a spring compressor, it's best to have a professional perform this task.
Step-by-Step Strut Replacement (Simplified)
This is a simplified overview. Always consult your Cadillac XTS repair manual for specific instructions and torque specifications.
- Loosen Lug Nuts: Before lifting the vehicle, loosen the lug nuts on the front wheel you'll be working on.
- Raise and Support Vehicle: Use a jack to lift the vehicle and securely support it with jack stands. Never work under a vehicle supported only by a jack. Chock the rear wheels.
- Remove Wheel: Remove the lug nuts and the wheel.
- Disconnect ABS Wire/Brake Lines: Carefully disconnect any ABS wires or brake lines attached to the strut. Avoid damaging these components.
- Loosen Strut Mounting Bolts: Locate the bolts that attach the strut to the steering knuckle (the part that holds the wheel hub). Spray with penetrating oil and loosen these bolts.
- Separate Strut from Steering Knuckle: You may need a pickle fork or ball joint separator to detach the strut from the steering knuckle. Be careful not to damage the ball joint boot.
- Remove Top Strut Mount Bolts: Locate the bolts that secure the top of the strut assembly to the vehicle's chassis. Loosen and remove these bolts. Support the strut assembly as you remove the last bolt to prevent it from falling.
- Remove Strut Assembly: Carefully remove the entire strut assembly from the vehicle.
- Compress Coil Spring: Using the spring compressor, carefully and securely compress the coil spring. Make sure the spring is fully compressed before proceeding.
- Disassemble Strut Assembly: Once the spring is compressed, carefully remove the top strut mount nut. The top mount can now be removed.
- Install New Strut: If you purchased a complete strut assembly, simply install it into the reverse order of removal. If you are replacing the strut cartridge only, transfer the coil spring and top mount to the new strut.
- Reassemble Strut Assembly: Reinstall the top strut mount and tighten the nut to the manufacturer's specification. Double-check that the spring is still safely compressed.
- Decompress Coil Spring: Slowly and carefully decompress the coil spring, ensuring it seats properly on the strut.
- Reinstall Strut Assembly: Reinstall the strut assembly into the vehicle, reversing the removal steps. Torque all bolts to the manufacturer's specifications.
- Reconnect ABS Wire/Brake Lines: Reconnect any ABS wires or brake lines that you disconnected.
- Reinstall Wheel: Reinstall the wheel and tighten the lug nuts.
- Lower Vehicle: Lower the vehicle to the ground.
- Torque Lug Nuts: Torque the lug nuts to the manufacturer's specifications.
- Repeat on Other Side: Repeat the process on the other front strut.
- Wheel Alignment: Take your vehicle to a qualified alignment shop for a wheel alignment. This is essential for proper handling and tire wear.
Practical Takeaways
- Safety First: Always prioritize safety when working on your car's suspension. Use jack stands, safety glasses, and gloves.
- Right Tools for the Job: Having the right tools, especially a quality spring compressor, is crucial for a successful strut replacement.
- Torque Specifications: Always torque bolts to the manufacturer's specifications.
- Wheel Alignment: A wheel alignment is mandatory after replacing struts.
- Consider Complete Strut Assemblies: Replacing the entire strut assembly can save time and ensure that all wear components are replaced.
- Don't Be Afraid to Ask for Help: If you're unsure about any part of the process, consult a qualified mechanic.
Replacing the front struts on a 2014 Cadillac XTS is a challenging but rewarding task. By understanding the function of struts, using the right tools, and following safety precautions, you can save money and gain valuable experience working on your car.