2014 Cadillac Xts Rear Shocks Replacement
The 2014 Cadillac XTS, known for its smooth ride and luxurious features, relies heavily on its suspension system. A crucial component of this system, especially for ride comfort and handling, are the rear shocks. Over time, these shocks wear out, impacting the vehicle's performance and safety. This article will guide you through understanding the importance of replacing your 2014 Cadillac XTS rear shocks, identify the signs of failing shocks, and provide a general overview of the replacement process.
Understanding Rear Shocks and Their Role
Rear shocks, or shock absorbers, are hydraulic (or sometimes electronically controlled) devices designed to dampen the oscillations of the springs in your vehicle's suspension. Think of a bouncy house – without someone to control the bouncing, it would be chaotic. Shocks perform a similar function for your car's springs. When you hit a bump, the springs compress and then rebound. Shocks resist this rebounding motion, preventing the car from continuing to bounce excessively.
In essence, shocks control the energy stored in the springs, ensuring a smoother, more controlled ride. Without functional shocks, your car would feel floaty, unstable, and less responsive. Consider the difference between an old truck with worn-out shocks, bouncing excessively over bumps, and a modern luxury sedan like a BMW 7-Series with adaptive dampers that provide a smooth, controlled ride even on uneven surfaces. The XTS, with its focus on comfort, benefits greatly from properly functioning rear shocks.
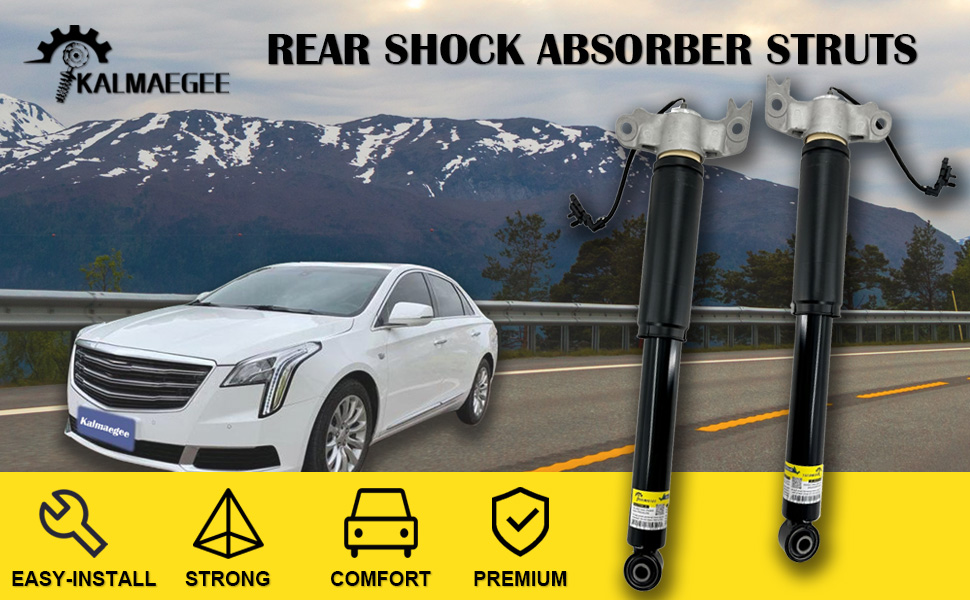
The 2014 XTS might be equipped with standard, non-adjustable shocks or with Cadillac's Magnetic Ride Control. This sophisticated system uses magnetically controlled fluid within the shocks to adjust damping force in milliseconds, reacting to road conditions and driver input. If your XTS has Magnetic Ride Control, the replacement process may be more complex and require specialized tools and knowledge.
Signs of Failing Rear Shocks
Recognizing the symptoms of worn or failing rear shocks is crucial for maintaining your vehicle's safety and comfort. Here are some common indicators:
- Excessive Bouncing: This is the most obvious sign. If your car continues to bounce several times after hitting a bump, your shocks are likely worn. Imagine an old Ford pickup truck with its bed bouncing uncontrollably after crossing a railway track – that's what you want to avoid.
- Nose Diving During Braking: When you brake, the weight of the car shifts forward. If your rear shocks are weak, the front end will dip excessively, and the rear will lift. This can increase braking distance and make it harder to control the vehicle.
- Leaking Fluid: Inspect your shocks for signs of oil leakage. A damp or oily appearance on the shock body is a clear indication of a failing seal and loss of damping capability. Think of a leaky hydraulic jack – it won't be able to lift the load effectively.
- Uneven Tire Wear: Worn shocks can cause the tires to bounce and lose contact with the road intermittently, leading to uneven wear patterns, such as cupping or scalloping.
- Reduced Handling and Stability: Worn shocks can make the car feel unstable, especially during cornering. The car might sway or roll excessively, making it difficult to maintain control. Imagine trying to steer a boat with a broken rudder – the car will feel similarly unresponsive.
- Clunking or Rattling Noises: Worn shocks can develop internal play, resulting in clunking or rattling noises when driving over bumps. This indicates internal damage or worn bushings.
If you experience any of these symptoms, it's time to have your rear shocks inspected and potentially replaced.
The Replacement Process: A General Overview
Replacing rear shocks is a manageable DIY project for experienced hobby mechanics. However, if you're not comfortable working on your car's suspension, it's best to entrust the job to a qualified mechanic. Here's a general outline of the replacement process:
1. Preparation and Safety
Safety First! Always use proper safety precautions when working on your vehicle. This includes wearing safety glasses, using jack stands to support the car securely, and disconnecting the negative battery terminal.
Gather the necessary tools: sockets, wrenches, a jack, jack stands, penetrating oil, and potentially a spring compressor (depending on the suspension design).
Purchase the correct replacement shocks for your 2014 Cadillac XTS. Ensure they are compatible with your vehicle's trim level and suspension type (standard or Magnetic Ride Control).
2. Removal of the Old Shocks
Loosen the lug nuts on the rear wheels. Jack up the rear of the car and securely support it with jack stands.
Remove the rear wheels.
Locate the upper and lower shock mounting points. These are typically secured with bolts or nuts.
Apply penetrating oil to the mounting bolts to loosen them. Let it soak for a few minutes.
Carefully remove the mounting bolts. Be prepared for the shock to extend slightly as you remove the last bolt. If the XTS is equipped with Magnetic Ride Control, you'll need to disconnect the electrical connector from the shock before complete removal. Remember to handle the shock absorber carefully to avoid any damage.
Remove the old shock absorber.
3. Installation of the New Shocks
Install the new shock absorber in the reverse order of removal. If the XTS is equipped with Magnetic Ride Control, ensure you reconnect the electrical connector.
Tighten the mounting bolts to the manufacturer's specified torque. Refer to your vehicle's service manual for the correct torque specifications.
Reinstall the rear wheels and tighten the lug nuts to the specified torque.
Lower the car back to the ground.
4. Final Checks
Test drive the car to ensure the new shocks are functioning correctly. Listen for any unusual noises and observe the ride quality.
Consider having a wheel alignment performed after replacing the shocks. This will ensure proper tire wear and handling.
Important Note for Magnetic Ride Control: Replacing shocks on a Magnetic Ride Control system can be more complicated. It may require specialized tools for bleeding the system and resetting the electronic control module. Consult a qualified mechanic if you're not comfortable performing this task.
Practical Takeaways
- Regular Inspection: Periodically inspect your rear shocks for signs of wear or leakage. Catching problems early can prevent more significant damage.
- Quality Matters: Invest in high-quality replacement shocks from a reputable brand. While cheaper options may seem appealing, they may not provide the same level of performance or durability.
- Torque Specifications: Always tighten mounting bolts to the manufacturer's specified torque. Overtightening can damage the bolts or shock mounts, while undertightening can lead to loose components and potential safety hazards.
- Professional Assistance: If you're unsure about any aspect of the replacement process, seek professional assistance from a qualified mechanic. This is especially important for vehicles equipped with advanced suspension systems like Magnetic Ride Control.
- Consider a Pair: While one shock absorber may fail, replacing both rear shocks simultaneously is generally recommended to ensure balanced performance and handling. This is similar to replacing both brake pads on an axle, rather than just one.
By understanding the role of rear shocks, recognizing the signs of failure, and following these practical tips, you can ensure your 2014 Cadillac XTS continues to provide a comfortable and controlled driving experience.