2015 Honda Civic Front Bumper Replacement
The 2015 Honda Civic, a mainstay of reliable and economical transportation, is no stranger to the occasional fender bender. While professional bodywork is always an option, replacing a damaged front bumper on this vehicle is a task achievable by a reasonably skilled individual with the right tools and a methodical approach. This guide will delve into the process, providing an analytical overview and practical steps to understand the intricacies involved.
Understanding the 2015 Civic Front Bumper Assembly
Before diving into the removal and replacement, it's crucial to understand the components of the 2015 Civic's front bumper assembly. It's not simply a single piece of plastic; rather, it's an integrated system. The main components are:
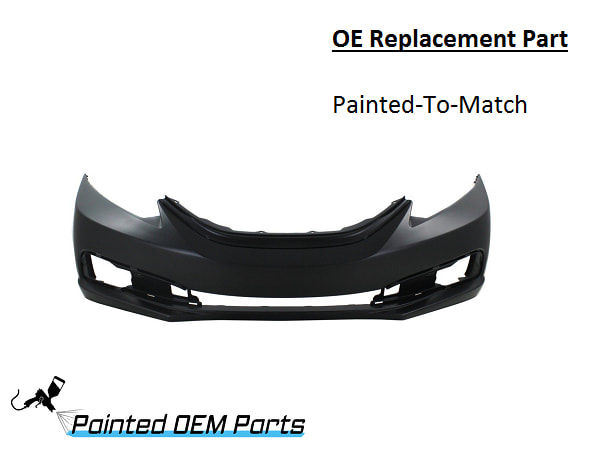
- Bumper Cover: This is the painted, exterior portion of the bumper, providing the aesthetic appeal and initial impact absorption.
- Bumper Reinforcement Bar: Located behind the cover, this is typically a steel or aluminum beam designed to absorb significant impact energy in a collision. Its structural integrity is paramount for safety.
- Energy Absorber (Foam): Positioned between the cover and the reinforcement bar, this foam element further cushions impacts, reducing the severity of damage to the vehicle's frame.
- Mounting Brackets: These brackets secure the bumper assembly to the vehicle's frame, typically using bolts and clips. They are crucial for proper alignment and stability.
- Fog Lights (if equipped): Some models feature integrated fog lights within the bumper cover.
- Grilles and Trim: Various grilles, moldings, and trim pieces are integrated into the bumper cover for styling and airflow management.
This guide focuses primarily on replacing the bumper cover itself. However, if the reinforcement bar or mounting brackets are damaged, they *must* be replaced to ensure proper crash protection.
Tools and Materials Required
A successful bumper replacement requires the following tools and materials:
- Socket Set: A comprehensive socket set with metric sizes is essential, including a ratchet and extensions. 10mm, 12mm, and 14mm sockets are commonly used.
- Screwdrivers: Both Phillips-head and flat-head screwdrivers of varying sizes are necessary for removing screws and prying clips.
- Trim Removal Tool: This specialized tool helps remove plastic clips and retainers without damaging the surrounding components. A flat-head screwdriver *can* be used, but it increases the risk of breakage.
- Panel Clip Pliers: Similar to trim removal tools, these pliers offer better leverage for removing stubborn panel clips.
- Torque Wrench: A torque wrench is crucial for properly tightening bolts to the manufacturer's specifications, ensuring secure attachment and preventing over-tightening.
- New Bumper Cover: Ensure the replacement bumper cover is compatible with your specific 2015 Civic model and trim level. Check for pre-drilled holes for fog lights or other accessories.
- New Clips and Retainers: It's highly recommended to replace any damaged or broken clips and retainers with new ones.
- Work Gloves: Protect your hands from sharp edges and potential contaminants.
- Safety Glasses: Protect your eyes from debris.
- Jack and Jack Stands (Optional): Lifting the vehicle can provide easier access to the underside fasteners.
- Penetrating Oil (Optional): Can help loosen corroded bolts and clips.
Removal Procedure
Safety First: Before beginning any work, ensure the vehicle is parked on a level surface, the parking brake is engaged, and the ignition is off. Disconnect the negative battery terminal to prevent accidental electrical shocks.
- Remove the Fasteners: Start by locating and removing all the fasteners securing the bumper cover. This typically involves:
- Screws and bolts along the top edge of the bumper, underneath the hood.
- Screws and clips along the wheel wells, connecting the bumper cover to the fender liners.
- Screws and clips underneath the bumper, attaching it to the lower splash shield.
Use the appropriate tools to remove these fasteners carefully, noting their location for reinstallation. Penetrating oil can be helpful for stubborn bolts.
- Detach the Fog Light Connectors (if equipped): If your Civic has fog lights, carefully disconnect the electrical connectors before completely removing the bumper cover. These connectors usually have a locking mechanism that needs to be released.
- Release the Side Retainers: The bumper cover is often held in place by side retainers near the wheel wells. Gently pull the bumper cover outwards, away from the fender, to release these retainers. A trim removal tool can be helpful here. Do not force it!
- Remove the Bumper Cover: With all fasteners and connectors detached, carefully pull the bumper cover forward, away from the vehicle. It may be necessary to gently wiggle it to release any remaining clips or retainers. Have an assistant help support the bumper cover to prevent it from falling and getting damaged.
- Inspect the Underlying Components: Once the bumper cover is removed, inspect the bumper reinforcement bar, energy absorber, and mounting brackets for any damage. Replace any damaged components before installing the new bumper cover.
Installation Procedure
The installation procedure is essentially the reverse of the removal process.
- Prepare the New Bumper Cover: Transfer any necessary components from the old bumper cover to the new one, such as fog lights, grilles, or trim pieces.
- Align the Bumper Cover: Carefully align the new bumper cover with the vehicle's frame. Make sure the side retainers are properly aligned with their corresponding slots.
- Reattach the Side Retainers: Gently push the bumper cover inwards, towards the fender, to reattach the side retainers. You should hear a click as they engage.
- Reconnect the Fog Light Connectors (if equipped): Reconnect the electrical connectors for the fog lights, ensuring they are securely fastened.
- Reinstall the Fasteners: Reinstall all the screws, bolts, and clips that were removed earlier, securing the bumper cover to the vehicle. Use the correct torque specifications for each fastener. A torque wrench is crucial here.
- Check Alignment: Once all the fasteners are installed, check the alignment of the bumper cover. Make sure it is flush with the fenders and the hood. Adjust as necessary by loosening and retightening the fasteners.
Torque Specifications and Important Considerations
Proper torque is critical for the secure attachment of the bumper and the safety systems it protects. Refer to the 2015 Honda Civic service manual for the specific torque specifications for each fastener. Exceeding the specified torque can damage the fasteners or the surrounding components, while under-tightening can lead to the bumper coming loose.
Always use new clips and retainers whenever possible. Old clips can become brittle and lose their holding power, potentially leading to the bumper cover becoming loose or detaching.
If you are uncomfortable performing any of these steps, it is best to consult a qualified automotive technician.
By following these steps and paying close attention to detail, replacing the front bumper cover on your 2015 Honda Civic can be a manageable and rewarding DIY project. However, remember that safety is paramount. Always prioritize safety precautions and consult a professional if you encounter any difficulties or uncertainties.
Remember to dispose of the old bumper cover and any damaged components responsibly, following local regulations.