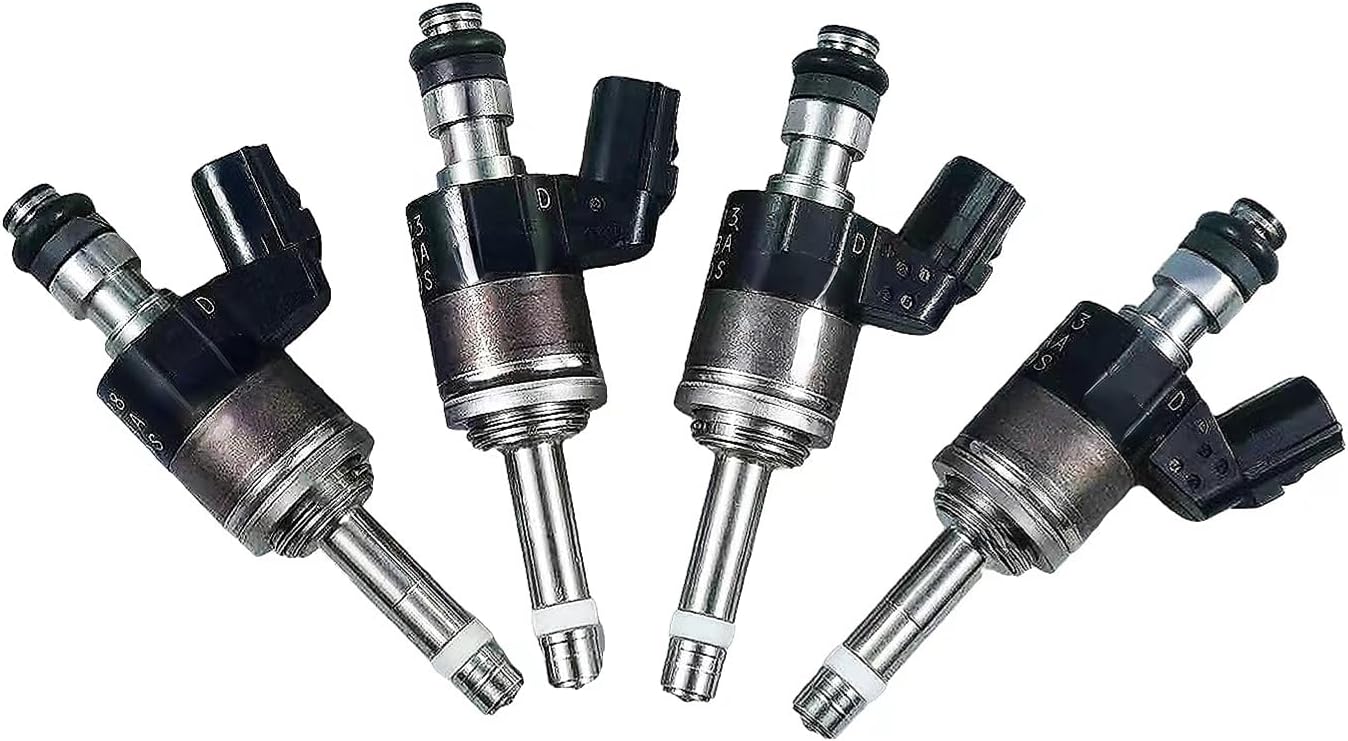
2016 Honda Civic Fuel Injector Replacement

The 2016 Honda Civic, a popular choice for its fuel efficiency and reliability, relies on a sophisticated fuel injection system to deliver precise amounts of fuel to the engine's cylinders. Over time, however, fuel injectors can become clogged, worn, or damaged, leading to performance issues. This article provides a detailed guide to replacing the fuel injectors in a 2016 Honda Civic, covering the necessary tools, steps, and important considerations for a successful repair.
Understanding Fuel Injector Issues in the 2016 Civic
Before diving into the replacement process, it's crucial to understand the common symptoms of failing fuel injectors in the 2016 Civic. These can include:
- Rough idling: A misfiring cylinder due to insufficient or inconsistent fuel delivery.
- Poor fuel economy: Clogged injectors restrict fuel flow, leading to the engine compensating with more fuel overall.
- Hesitation during acceleration: The engine struggles to respond quickly due to inadequate fuel delivery when demand increases.
- Check engine light: Faulty injectors often trigger diagnostic trouble codes (DTCs) related to fuel trim, misfires, or injector circuit issues. Common codes include P0171 (System Too Lean), P0300 (Random Misfire), and codes specifically targeting individual injector circuits (e.g., P0201 - Injector Circuit Malfunction - Cylinder 1).
- Fuel smell: A leaking injector can cause a noticeable fuel odor.
- Failed emissions test: Inefficient combustion due to faulty injectors leads to higher emissions levels.
Accurate diagnosis is essential. A mechanic will often use a scan tool to read DTCs, and a multimeter to check the electrical resistance of the injectors. Injector cleaner *might* temporarily alleviate some issues, but replacement is generally the most effective long-term solution for significant injector problems.
Tools and Materials Required
To replace the fuel injectors on a 2016 Honda Civic, you'll need the following:
- New fuel injectors (OEM or reputable aftermarket brand)
- Socket set (metric)
- Wrench set (metric)
- Screwdrivers (Phillips and flathead)
- Fuel line disconnect tool (specific to Honda fuel lines – typically a plastic scissor-type tool)
- Torque wrench
- Clean rags or shop towels
- Safety glasses
- Gloves
- Fuel-resistant grease or silicone lubricant
- New O-rings (usually included with the new injectors)
- Scan tool (for clearing DTCs)
Step-by-Step Fuel Injector Replacement Procedure
Safety First: Always disconnect the negative battery cable before working on the fuel system. Work in a well-ventilated area and avoid open flames or sparks.
- Depressurize the fuel system: Consult your service manual for the correct procedure. This may involve removing the fuel pump fuse and starting the engine until it stalls.
- Remove the intake manifold cover: This provides access to the fuel rail and injectors.
- Disconnect the fuel lines: Use the fuel line disconnect tool to carefully detach the fuel lines from the fuel rail. Be prepared for some fuel spillage; have rags ready.
- Disconnect the electrical connectors: Disconnect the electrical connectors from each fuel injector.
- Remove the fuel rail: Unbolt the fuel rail from the intake manifold. Carefully lift the rail up and away from the engine.
- Remove the old injectors: The injectors are typically held in place by clips or O-rings. Carefully remove the old injectors from the fuel rail.
- Prepare the new injectors: Lightly lubricate the new O-rings with fuel-resistant grease or silicone lubricant.
- Install the new injectors: Install the new injectors into the fuel rail, ensuring they are properly seated and the clips (if any) are secure.
- Reinstall the fuel rail: Carefully reinstall the fuel rail onto the intake manifold and bolt it down to the specified torque.
- Reconnect the electrical connectors: Reconnect the electrical connectors to each fuel injector, ensuring they click into place.
- Reconnect the fuel lines: Reconnect the fuel lines to the fuel rail, ensuring they are securely attached.
- Reinstall the intake manifold cover: Reinstall the intake manifold cover.
- Reconnect the negative battery cable: Reconnect the negative battery cable.
- Clear DTCs: Use a scan tool to clear any DTCs that may have been triggered.
- Start the engine and check for leaks: Start the engine and carefully inspect the fuel rail and injectors for any fuel leaks.
Important Considerations and Troubleshooting
- Torque specifications: Always adhere to the manufacturer's torque specifications when tightening bolts. Overtightening can damage components. Refer to a service manual for accurate torque values.
- O-ring condition: Ensure the new O-rings are in good condition and properly lubricated before installation. Damaged O-rings can cause leaks.
- Fuel line connections: Ensure the fuel line connections are secure and leak-free. Loose connections can lead to fuel leaks and potential fire hazards.
- Injector Seating: Double-check that each injector is fully seated into both the fuel rail and the intake manifold. An improperly seated injector will cause a vacuum leak and performance problems.
If you encounter any difficulties or are unsure about any step of the process, consult a qualified mechanic. Replacing fuel injectors requires careful attention to detail and a thorough understanding of the fuel system.
