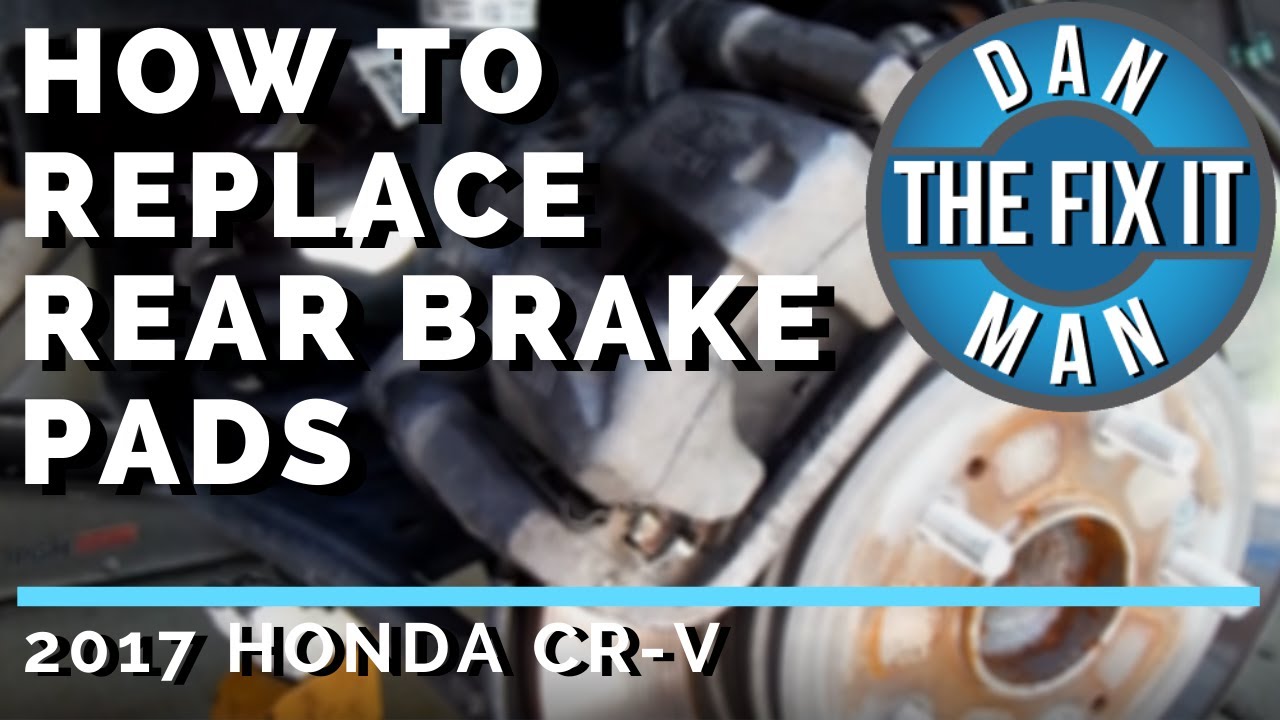
2018 Honda Crv Rear Brake Pad Replacement

The 2018 Honda CR-V, a perennial favorite in the compact SUV segment, is renowned for its reliability, fuel efficiency, and practicality. Like any vehicle, however, routine maintenance is key to keeping it running smoothly. One of the most common maintenance tasks is replacing the rear brake pads. This article provides a comprehensive guide to performing a rear brake pad replacement on a 2018 Honda CR-V, aimed at both DIY enthusiasts and professional mechanics.
Understanding the 2018 Honda CR-V Braking System
The 2018 CR-V utilizes a standard disc brake system on all four wheels. The rear brakes, while not subjected to as much stopping force as the front, still play a crucial role in vehicle stability and overall braking performance. The system comprises rotors, calipers, brake pads, and hydraulic lines. Over time, the brake pads wear down due to friction against the rotors. Ignoring worn brake pads can lead to damage to the rotors, requiring a more expensive repair.
Common Signs of Worn Rear Brake Pads:
- Squealing or grinding noises when braking
- Reduced braking performance
- The brake warning light illuminating on the dashboard
- Visually inspecting the pads and noticing they are thin (less than 3mm remaining)
Tools and Materials Required
Before commencing the rear brake pad replacement, gather the necessary tools and materials:
- New rear brake pads (ensure they are compatible with the 2018 Honda CR-V, ATE, Brembo, and Akebono are popular brands)
- Socket set (typically 10mm, 12mm, 14mm)
- Wrench set
- Brake caliper compressor tool (or a C-clamp)
- Brake cleaner
- Gloves
- Safety glasses
- Wheel chocks
- Jack and jack stands
- Torque wrench
- Brake fluid (DOT 3)
Step-by-Step Rear Brake Pad Replacement Procedure
Safety First: Always prioritize safety. Wear safety glasses and gloves, and ensure the vehicle is securely supported on jack stands before working underneath it.
- Loosen the Lug Nuts: With the vehicle on the ground, use a lug wrench to loosen the lug nuts on the rear wheel. Do not remove them completely at this stage.
- Raise and Secure the Vehicle: Use a jack to lift the rear of the vehicle and securely place it on jack stands. Never work under a vehicle supported only by a jack.
- Remove the Wheel: Remove the lug nuts completely and carefully take off the wheel.
- Inspect the Brake Caliper Assembly: Examine the brake caliper, brake lines, and rotor for any signs of damage or leaks.
- Remove the Brake Caliper: Locate the caliper bolts (usually two bolts on the back of the caliper). Remove these bolts, taking care not to damage the brake lines. If the caliper is difficult to remove, gently wiggle it back and forth.
- Compress the Caliper Piston: Using a brake caliper compressor tool (or a C-clamp and an old brake pad), carefully compress the caliper piston back into the caliper bore. This creates space for the new, thicker brake pads. Important: Open the brake fluid reservoir cap before compressing the piston. This prevents pressure buildup in the system.
- Remove the Old Brake Pads: The old brake pads should now be easily removable from the caliper bracket. Note their orientation for reference when installing the new pads.
- Install the New Brake Pads: Install the new brake pads into the caliper bracket, ensuring they are seated correctly. Some pads may have clips or shims that need to be transferred from the old pads to the new ones.
- Reinstall the Caliper: Carefully reinstall the caliper over the new brake pads and rotor. Tighten the caliper bolts to the manufacturer's specified torque (refer to a repair manual or online resources for the correct torque specifications – typically around 25-35 ft-lbs).
- Repeat on the Other Side: Repeat the entire procedure on the other rear wheel.
- Bleed the Brakes (If Necessary): If you opened the brake lines or the brake fluid reservoir level was very low, you may need to bleed the brakes to remove any air from the system. Consult a separate guide on how to bleed brakes properly.
- Reinstall the Wheels: Reinstall the wheels and tighten the lug nuts by hand.
- Lower the Vehicle: Lower the vehicle back to the ground and torque the lug nuts to the manufacturer's specified torque (typically around 80 ft-lbs).
- Test the Brakes: Before driving, pump the brake pedal several times to ensure the brakes are functioning properly. Perform a slow-speed test in a safe area to confirm the brakes are working correctly.
Post-Replacement Tips and Considerations
After replacing the rear brake pads, it's crucial to bed in the new pads. This involves performing a series of controlled stops to properly transfer brake pad material to the rotor surface. Consult your brake pad manufacturer's recommendations for specific bedding-in procedures. Also, regularly check the brake fluid level and condition. Contaminated or low brake fluid can significantly impair braking performance.
The rear brake pad replacement on a 2018 Honda CR-V is a relatively straightforward task that can be accomplished by DIY enthusiasts with basic mechanical skills. However, if you are uncomfortable performing this task yourself, it is always best to seek the assistance of a qualified mechanic. Ignoring brake maintenance can compromise your safety and lead to more expensive repairs down the road.
