2020 Ford Fusion Purge Valve Replacement
2020 Ford Fusion Purge Valve Replacement: A Comprehensive Guide
The 2020 Ford Fusion, like many modern vehicles, relies on a complex evaporative emission control (EVAP) system to prevent harmful fuel vapors from escaping into the atmosphere. A critical component of this system is the purge valve, also known as the canister purge valve or solenoid. This valve regulates the flow of fuel vapors from the charcoal canister to the engine's intake manifold, where they can be burned during normal combustion. When the purge valve malfunctions, it can lead to various performance issues and trigger the dreaded check engine light.
This guide provides a comprehensive overview of the 2020 Ford Fusion purge valve replacement process, including common symptoms, diagnostic steps, necessary tools, and step-by-step instructions. It is intended for informational purposes only and should not be considered a substitute for professional automotive advice. If you are not comfortable performing automotive repairs, it is always best to consult with a qualified mechanic.
Common Symptoms of a Failing Purge Valve
Recognizing the symptoms of a failing purge valve is the first step in addressing the issue. Several telltale signs may indicate that your 2020 Ford Fusion purge valve needs replacing:
- Check Engine Light: This is often the most common indicator. The diagnostic trouble code (DTC) associated with a faulty purge valve is usually P0441 (Evaporative Emission Control System Incorrect Purge Flow) or similar codes related to EVAP system issues.
- Rough Idle: A malfunctioning purge valve can cause the engine to idle roughly, stall, or hesitate, especially when the engine is cold. This is because the valve may be leaking vacuum or not opening/closing properly, disrupting the air-fuel mixture.
- Difficulty Starting: In some cases, a stuck-open purge valve can flood the engine with excessive fuel vapors, making it difficult to start, particularly after refueling.
- Poor Fuel Economy: A faulty purge valve can negatively impact fuel economy. If the valve is leaking or stuck open, it can allow too much fuel vapor into the engine, resulting in a richer air-fuel mixture and decreased efficiency.
- Fuel Odor: You might notice a distinct fuel odor, particularly around the engine compartment or near the fuel tank. This could be due to fuel vapors escaping from a leaking purge valve or associated EVAP system components.
- Hesitation or Stalling After Refueling: As mentioned above, this is a common symptom when the purge valve is stuck open.
Diagnosing the Purge Valve
Before replacing the purge valve, it's crucial to confirm that it is indeed the source of the problem. A proper diagnosis can save you time and money by preventing unnecessary repairs. Here's a simplified diagnostic process:
- Read the Diagnostic Trouble Codes (DTCs): Use an OBD-II scanner to retrieve any stored DTCs in the vehicle's computer. As mentioned earlier, codes like P0441 are commonly associated with purge valve issues.
- Inspect the Purge Valve: Visually inspect the purge valve and its surrounding hoses for any signs of damage, cracks, or leaks.
- Test the Purge Valve's Operation: With the engine idling, carefully disconnect the purge valve's vacuum hose (the one leading to the intake manifold). You should hear a slight change in the engine's idle speed. If there's no change, the valve might be stuck open. Caution: Be careful when working around a running engine.
- Use a Multimeter (Optional): You can use a multimeter to check the electrical resistance of the purge valve's solenoid. Consult your vehicle's repair manual or online resources for the correct resistance value.
- Consider Smoke Testing (Advanced): A smoke test is a more comprehensive way to check for EVAP system leaks. This involves using a smoke machine to introduce smoke into the system and visually identify any leaks. This is often performed by professional mechanics.
Important Note: Other components within the EVAP system, such as the charcoal canister, fuel tank pressure sensor, and vacuum lines, can also cause similar symptoms. Therefore, a thorough diagnosis is essential to pinpoint the exact cause of the problem.
Tools and Materials Required for Replacement
Before you begin the purge valve replacement, gather the necessary tools and materials:
- New purge valve (ensure it's the correct part for your 2020 Ford Fusion)
- Socket set (metric)
- Wrench set (metric)
- Screwdrivers (flathead and Phillips head)
- Pliers
- OBD-II scanner
- Safety glasses
- Gloves
- Penetrating oil (optional, for loosening stubborn fasteners)
Step-by-Step Replacement Procedure
Disclaimer: This is a general guide. Specific procedures may vary slightly depending on your vehicle's configuration. Always refer to your vehicle's repair manual for detailed instructions and safety precautions.
- Disconnect the Negative Battery Cable: This is a crucial safety step to prevent electrical shorts.
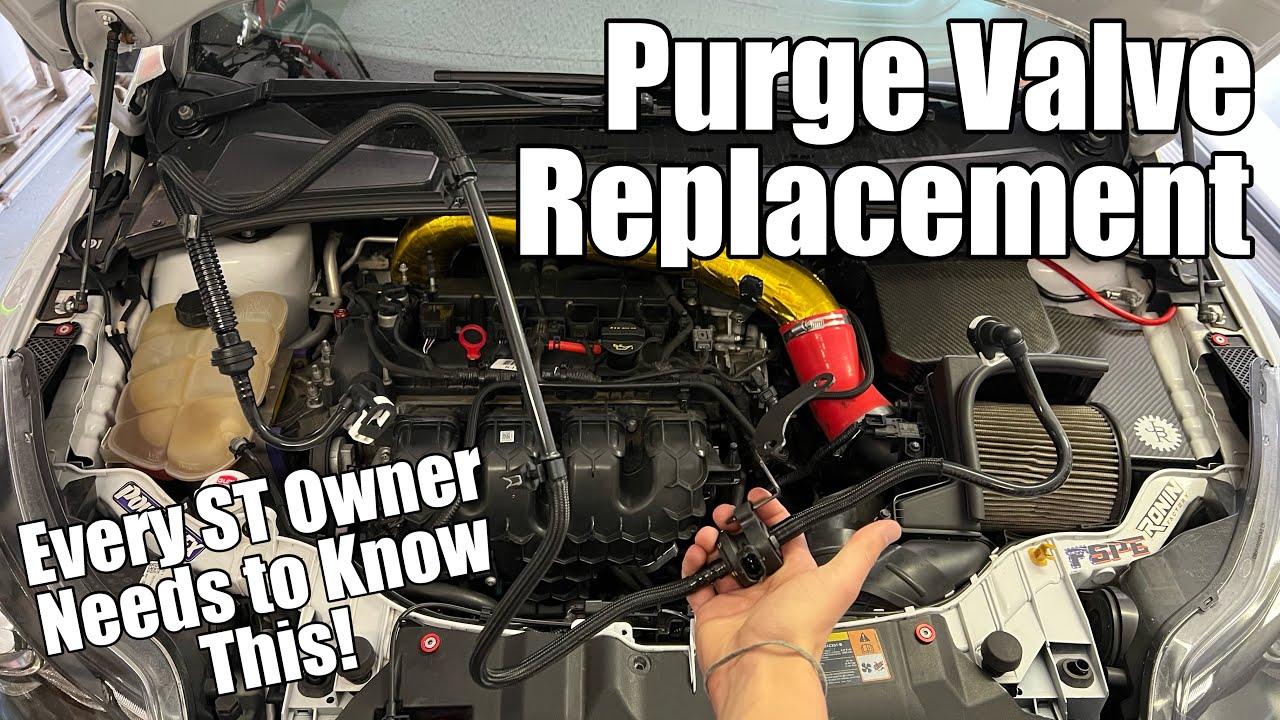
- Locate the Purge Valve: The purge valve is typically located in the engine compartment, often near the intake manifold or throttle body. Refer to your vehicle's repair manual or online resources for its exact location. For the 2020 Ford Fusion, it's commonly found near the front of the engine bay, accessible after removing some plastic covers.
- Disconnect Electrical Connector: Carefully disconnect the electrical connector from the purge valve.
- Disconnect Vacuum Hoses: Disconnect the vacuum hoses attached to the purge valve. Use pliers if necessary to loosen any hose clamps. Take note of the hose routing for correct reassembly. It’s helpful to take pictures before disconnecting anything.
- Remove the Old Purge Valve: Depending on the valve's mounting design, you may need to use a socket or wrench to remove any retaining bolts or screws. Some purge valves are simply held in place by clips.
- Install the New Purge Valve: Install the new purge valve in the reverse order of removal. Ensure that all hoses are securely connected and that the electrical connector is properly attached.
- Reconnect Vacuum Hoses: Double-check the vacuum hose routing to ensure everything is connected correctly.
- Reconnect the Electrical Connector: Ensure the connector clicks into place, indicating a secure connection.
- Reconnect the Negative Battery Cable: Reconnect the negative battery cable.
- Clear DTCs: Use your OBD-II scanner to clear any stored DTCs.
- Test Drive: Take your 2020 Ford Fusion for a test drive to ensure that the issue has been resolved and that the engine is running smoothly.
After the Replacement
After replacing the purge valve, monitor your vehicle for any recurring symptoms. If the check engine light reappears or if you experience any other problems, it's important to consult with a qualified mechanic for further diagnosis and repair. Replacing the purge valve is often a successful solution, but sometimes, other EVAP system issues may be present.
Cost of Replacement
The cost of replacing a 2020 Ford Fusion purge valve can vary depending on several factors, including the brand of the replacement part, the labor costs at your chosen repair shop, and your geographical location. Generally, you can expect to pay anywhere from $80 to $250 for the replacement, including the cost of the part and labor. Doing it yourself will save on labor costs, but requires you to have the necessary tools and experience. Always get quotes from multiple shops before committing to a repair.
By following this guide, you can gain a better understanding of the 2020 Ford Fusion purge valve replacement process and potentially save money by performing the repair yourself. However, always prioritize safety and consult with a professional if you are unsure about any aspect of the repair.