2023 Nissan Murano Cabin Air Filter Location
The 2023 Nissan Murano, a stylish crossover SUV, boasts a refined cabin environment. Maintaining optimal air quality within that cabin hinges significantly on the condition of the cabin air filter. This often-overlooked component works diligently to trap dust, pollen, pollutants, and other airborne particles before they enter the vehicle's ventilation system. Regularly replacing the cabin air filter ensures cleaner air, reduces odors, and can even improve the efficiency of your Murano's heating and cooling system. Locating the cabin air filter, however, can sometimes be a challenge. This guide will provide a detailed, step-by-step breakdown of the 2023 Nissan Murano cabin air filter location and replacement process.
Understanding the Importance of Cabin Air Filters
Before diving into the location, let's briefly discuss why cabin air filters are essential. Unlike the engine air filter, which protects the engine from debris, the cabin air filter focuses on the air entering the passenger compartment. A clogged or dirty cabin air filter can manifest in several ways:
- Reduced airflow from the vents.
- Unpleasant odors emanating from the HVAC system.
- Increased dust and allergens within the cabin.
- Decreased efficiency of the heating and air conditioning system, leading to increased energy consumption.
- In some cases, a whistling or hissing sound from the vents.
Regular replacement, typically every 12,000 to 15,000 miles or annually (or more frequently in dusty environments), is crucial for maintaining a healthy and comfortable driving experience.
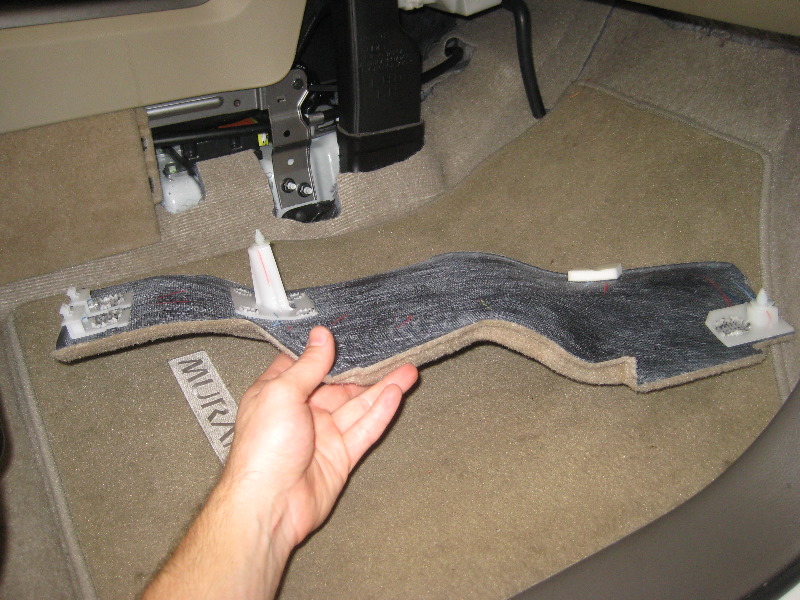
Locating the Cabin Air Filter: The 2023 Murano's Configuration
The cabin air filter in the 2023 Nissan Murano is conveniently located behind the glove compartment. This is a fairly common location for many vehicles, offering relatively easy access for replacement. The process involves a few straightforward steps, requiring minimal tools and mechanical expertise.
Step-by-Step Guide to Accessing the Cabin Air Filter
- Preparation: Begin by ensuring the vehicle is parked safely and the engine is turned off. Gather the necessary tools: typically, you'll only need a small flathead screwdriver and potentially a pair of pliers if any retaining clips are particularly stubborn. A new cabin air filter specifically designed for the 2023 Nissan Murano is, of course, essential. Be sure to purchase the correct filter size and type (standard particulate or activated carbon) to ensure proper fit and performance.
- Emptying the Glove Compartment: Clear out the glove compartment completely. This provides unobstructed access to the components behind it. Any items left inside will hinder the process and could potentially be damaged.
- Releasing the Glove Compartment Damper (if equipped): Some Murano models are equipped with a damper on the right side of the glove compartment that slows its opening. This damper, typically a small piston-like device, needs to be disconnected. Locate the damper on the right side of the glove compartment. Gently detach it from the glove compartment door. This usually involves pressing a tab or sliding it off its mounting point. Apply gentle pressure; excessive force could damage the damper or its attachment point. Note the orientation of the damper for reinstallation later.
- Releasing the Glove Compartment Stops: The glove compartment is held in place by two stops or latches, one on each side, which prevent it from swinging down completely. These stops need to be disengaged to allow the glove compartment to pivot downwards, providing access to the filter housing. The design of these stops may vary slightly. They could be small plastic tabs that need to be pushed inwards or rotated. Carefully examine each stop and determine the method of release.
For the typical stop, gently squeeze the sides of the glove compartment inwards while simultaneously pulling the glove compartment down. This action should disengage the stops, allowing the glove compartment to swing fully open. Avoid excessive force, as this could break the stops. If resistance is encountered, re-examine the stops to ensure they are being disengaged correctly.
Take note of the position and mechanics of these stops as you release them. This will aid in reassembly.
- Locating the Cabin Air Filter Access Door: With the glove compartment fully lowered, you should now see a rectangular access door directly behind where the glove compartment used to be. This door is typically secured by one or two retaining clips or screws. The access door might be labeled or unmarked. Examine the area carefully to identify the door and its securing mechanism.
- Removing the Access Door: Depending on the design, you will either need to unscrew the screws or release the retaining clips. If screws are present, use a Phillips head screwdriver to carefully remove them. If retaining clips are used, gently pry them open with a small flathead screwdriver. Be careful not to break the clips. Retaining clips are often made of brittle plastic and can be easily damaged if too much force is applied.
Store the screws or clips in a safe place to prevent loss.
- Removing the Old Cabin Air Filter: Once the access door is removed, you will see the cabin air filter. Gently pull the old filter straight out of its housing. Note the direction of airflow, which is usually indicated by an arrow printed on the filter frame. This is crucial for installing the new filter correctly. The filter may be quite dirty, so be prepared for some dust and debris. Consider using a vacuum cleaner to remove any loose debris from the filter housing before installing the new filter. Wear a mask when dealing with a particularly dirty filter.
- Installing the New Cabin Air Filter: Insert the new cabin air filter into the housing, ensuring that the airflow arrow on the filter matches the direction indicated on the filter housing. The filter should slide in easily. If it doesn't, double-check the orientation and ensure that it's the correct size for your vehicle. Forcing the filter could damage it or the filter housing.
- Reinstalling the Access Door: Replace the access door and secure it with the screws or retaining clips that you removed earlier. Ensure that the door is properly seated and securely fastened.
- Re-engaging the Glove Compartment Stops: Lift the glove compartment back into its original position. Align the sides of the glove compartment with the openings for the stops. Gently push the glove compartment inwards until the stops click into place, securing the glove compartment.
- Reattaching the Glove Compartment Damper (if equipped): Reconnect the glove compartment damper to the glove compartment door. Ensure that it is properly seated and functioning correctly. The damper should slow the opening of the glove compartment door.
- Final Check: Test the glove compartment to ensure that it opens and closes smoothly and that the stops are properly engaged. Ensure all tools and removed parts are accounted for.
Tools and Materials Required
- New cabin air filter (specifically for 2023 Nissan Murano)
- Small flathead screwdriver
- Phillips head screwdriver (if screws are present)
- Pliers (optional, for stubborn clips)
- Vacuum cleaner (optional, for cleaning the filter housing)
- Work gloves (recommended)
- Mask (recommended, especially if the old filter is very dirty)
Choosing the Right Cabin Air Filter
When selecting a replacement cabin air filter for your 2023 Nissan Murano, you have a few options:
- Standard Particulate Filter: This is the most basic type of cabin air filter and is effective at trapping dust, pollen, and other airborne particles.
- Activated Carbon Filter: These filters contain activated carbon, which helps to absorb odors and gases, in addition to trapping particulate matter. They are particularly beneficial for individuals sensitive to odors or who live in areas with high levels of air pollution.
- Electrostatic Filter: Some filters utilize electrostatic technology to attract and trap particles more effectively. These filters often have a longer lifespan and improved filtration efficiency.
Consider your driving environment and personal preferences when choosing a cabin air filter. If you frequently drive in dusty or polluted areas, an activated carbon or electrostatic filter may be a worthwhile investment.
Troubleshooting Common Issues
While the cabin air filter replacement process is generally straightforward, some common issues may arise:
- Difficulty Releasing the Glove Compartment Stops: If the glove compartment stops are difficult to release, double-check the type of stop and ensure that you are using the correct method of release. Gentle wiggling and applying pressure in different directions may help. Avoid excessive force, as this could break the stops.
- Stripped Screws: If the screws securing the access door are stripped, use a rubber band or steel wool to improve grip when using the screwdriver. If the screw is severely stripped, you may need to use a screw extractor.
- Incorrect Filter Size: Ensure that you purchase the correct cabin air filter specifically designed for the 2023 Nissan Murano. Refer to your vehicle's owner's manual or consult with an auto parts store to verify the correct part number.
- Damaged Retaining Clips: If the retaining clips break, you may be able to purchase replacement clips from an auto parts store or online. Alternatively, you may be able to secure the access door with zip ties.
Conclusion
Replacing the cabin air filter in your 2023 Nissan Murano is a simple yet crucial maintenance task that can significantly improve the air quality inside your vehicle. By following these detailed instructions, you can easily locate and replace the filter yourself, saving money and ensuring a healthier and more comfortable driving experience. Regular filter changes are essential for optimal performance and maintaining a clean and fresh cabin environment. Remember to consult your owner's manual for specific details and recommendations related to your vehicle model.