
Briggs And Stratton 7.25 163cc Spark Plug
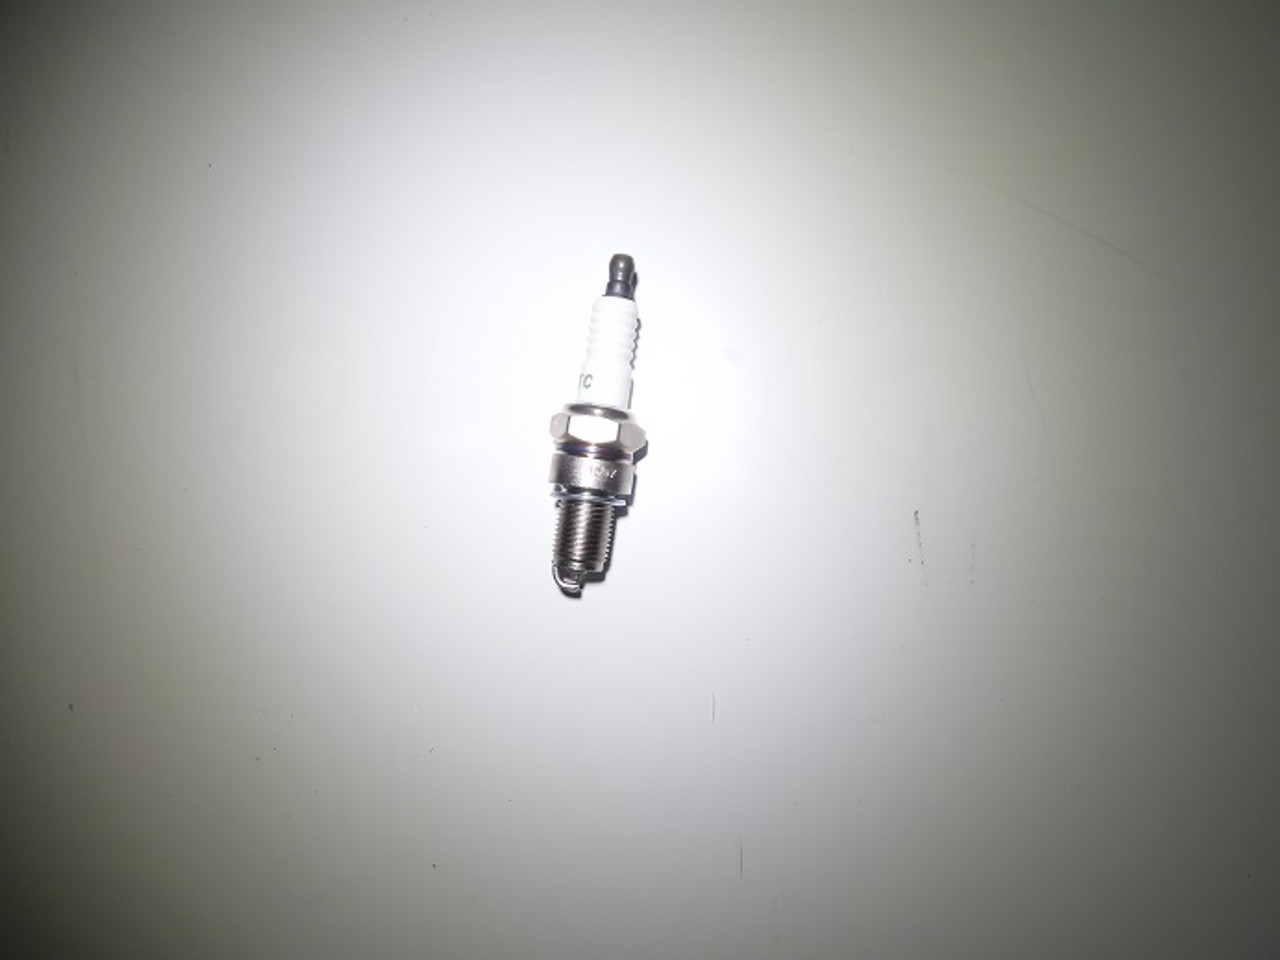
So, you're looking into the spark plug for your Briggs & Stratton 7.25 163cc engine? Excellent choice. Maintaining the ignition system is paramount for optimal performance and longevity. Let's dive into the specifics of this crucial component and how to keep it firing on all cylinders.
This engine, commonly found on lawnmowers, pressure washers, and other small equipment, relies on a single spark plug to ignite the air-fuel mixture within the cylinder. Understanding its role and characteristics is key to effective troubleshooting and maintenance.
Spark Plug Identification and Specifications
The standard spark plug for a Briggs & Stratton 7.25 163cc engine is typically a Champion RJ19LM or an equivalent. Other compatible plugs may include NGK B2LM and Autolite 216. Always consult your engine's owner's manual for the manufacturer's recommended spark plug to ensure proper fit and heat range.
Here's a breakdown of the key specifications to keep in mind:
- Thread Size: This refers to the diameter of the threaded portion of the spark plug that screws into the cylinder head. For this engine, it's usually 14mm. Ensuring the correct thread size is critical to avoid damaging the cylinder head.
- Reach: The reach is the length of the threaded portion. Too short, and the spark won't be properly positioned in the combustion chamber. Too long, and it could potentially interfere with the piston. The correct reach is typically around 3/8 inch (9.5mm), but double-check your engine's documentation.
- Gap: This is the distance between the center electrode and the ground electrode. The correct gap is crucial for proper spark formation. For the RJ19LM, the recommended gap is typically 0.030 inches (0.76mm). We'll discuss gap adjustment shortly.
- Heat Range: The heat range indicates the spark plug's ability to dissipate heat. A "hotter" plug retains more heat, while a "colder" plug dissipates heat more quickly. Using the wrong heat range can lead to pre-ignition, detonation (knocking), or fouled plugs. Stick with the manufacturer's recommendation unless you have a specific reason to deviate (e.g., engine modifications).
- Resistor Type: Many modern spark plugs are resistor-type. The resistor suppresses radio frequency interference (RFI) that can interfere with electronic devices. The RJ19LM is a resistor plug.
Inspecting and Maintaining Your Spark Plug
Regular spark plug inspection is a cornerstone of preventative maintenance. A visual inspection can reveal a lot about your engine's health.
Visual Inspection
Carefully examine the spark plug's electrode and insulator for the following:
- Normal: A light tan or gray color indicates proper combustion.
- Fouled (Black and Sooty): This suggests a rich fuel mixture (too much fuel, not enough air), a weak ignition system, or excessive idling. Possible causes include a dirty air filter, a malfunctioning carburetor, or worn piston rings.
- Oily: This indicates oil is entering the combustion chamber, often due to worn valve guides or piston rings. This is a serious issue that requires further investigation and repair.
- White or Light Gray: This suggests a lean fuel mixture (not enough fuel, too much air), overheating, or incorrect timing. Possible causes include a vacuum leak, a clogged fuel filter, or a lean carburetor setting.
- Damaged or Cracked Insulator: This can lead to misfires and poor engine performance. Replace the spark plug immediately.
- Worn or Rounded Electrodes: This indicates normal wear and tear. A worn plug will require more voltage to fire and can lead to misfires.
Cleaning the Spark Plug
If the spark plug is only slightly fouled (e.g., with carbon deposits), you may be able to clean it. However, keep in mind that cleaning is generally a temporary fix and replacing the plug is the best long-term solution.
To clean a spark plug, use a spark plug cleaner (a small sandblasting device) or a wire brush. Gently remove the deposits from the electrodes and insulator. Be careful not to damage the insulator. After cleaning, check and adjust the gap.
Adjusting the Spark Plug Gap
The correct gap is essential for proper spark formation. Use a spark plug gap tool (a small, circular tool with incremental thickness gauges) to measure the gap.
- Insert the appropriate gauge into the gap between the center electrode and the ground electrode.
- If the gap is too small, gently tap the ground electrode on a hard surface to widen it.
- If the gap is too large, use the gap tool to carefully bend the ground electrode inward.
- Re-measure the gap to ensure it is within the specified range (0.030 inches or 0.76mm for the RJ19LM).
Replacing the Spark Plug
Replacing the spark plug is a relatively simple process:
- Disconnect the spark plug wire. Pull firmly on the boot, but avoid pulling on the wire itself.
- Clean the area around the spark plug. Use compressed air or a brush to remove any debris that could fall into the cylinder when you remove the plug.
- Use a spark plug socket to loosen and remove the old spark plug. A spark plug socket is specifically designed to grip the spark plug without damaging the insulator.
- Inspect the new spark plug. Make sure it is the correct type and has the correct gap. If necessary, adjust the gap.
- Apply a small amount of anti-seize compound to the spark plug threads. This will prevent the plug from seizing in the cylinder head.
- Carefully thread the new spark plug into the cylinder head by hand. Avoid cross-threading, which can damage the cylinder head threads.
- Tighten the spark plug to the specified torque. Use a torque wrench to ensure proper tightness. Over-tightening can damage the cylinder head, while under-tightening can cause the plug to loosen. If you don't have a torque wrench, tighten the plug until it is snug, then give it an additional 1/4 turn (for new plugs with a gasket) or 1/8 turn (for used plugs with a gasket).
- Reconnect the spark plug wire. Make sure it is securely attached.
Troubleshooting Spark Plug Issues
If your engine is experiencing problems such as hard starting, misfires, or poor performance, the spark plug may be the culprit. Here are some common troubleshooting tips:
- No Spark: If there is no spark at the spark plug, check the spark plug wire, the ignition coil, and the flywheel key. The flywheel key ensures proper timing between the crankshaft and the ignition system. A sheared flywheel key will prevent the engine from starting.
- Weak Spark: A weak spark can be caused by a faulty ignition coil, a corroded spark plug wire, or a low battery (if the engine has electric start).
- Misfires: Misfires can be caused by a fouled spark plug, a worn spark plug, a lean fuel mixture, or a vacuum leak.
By understanding the function, maintenance, and troubleshooting of your Briggs & Stratton 7.25 163cc engine's spark plug, you can keep your equipment running smoothly and reliably for years to come. Remember to always consult your engine's owner's manual for specific recommendations and torque specifications. Happy tinkering!