
Charging A Battery With A Battery Charger
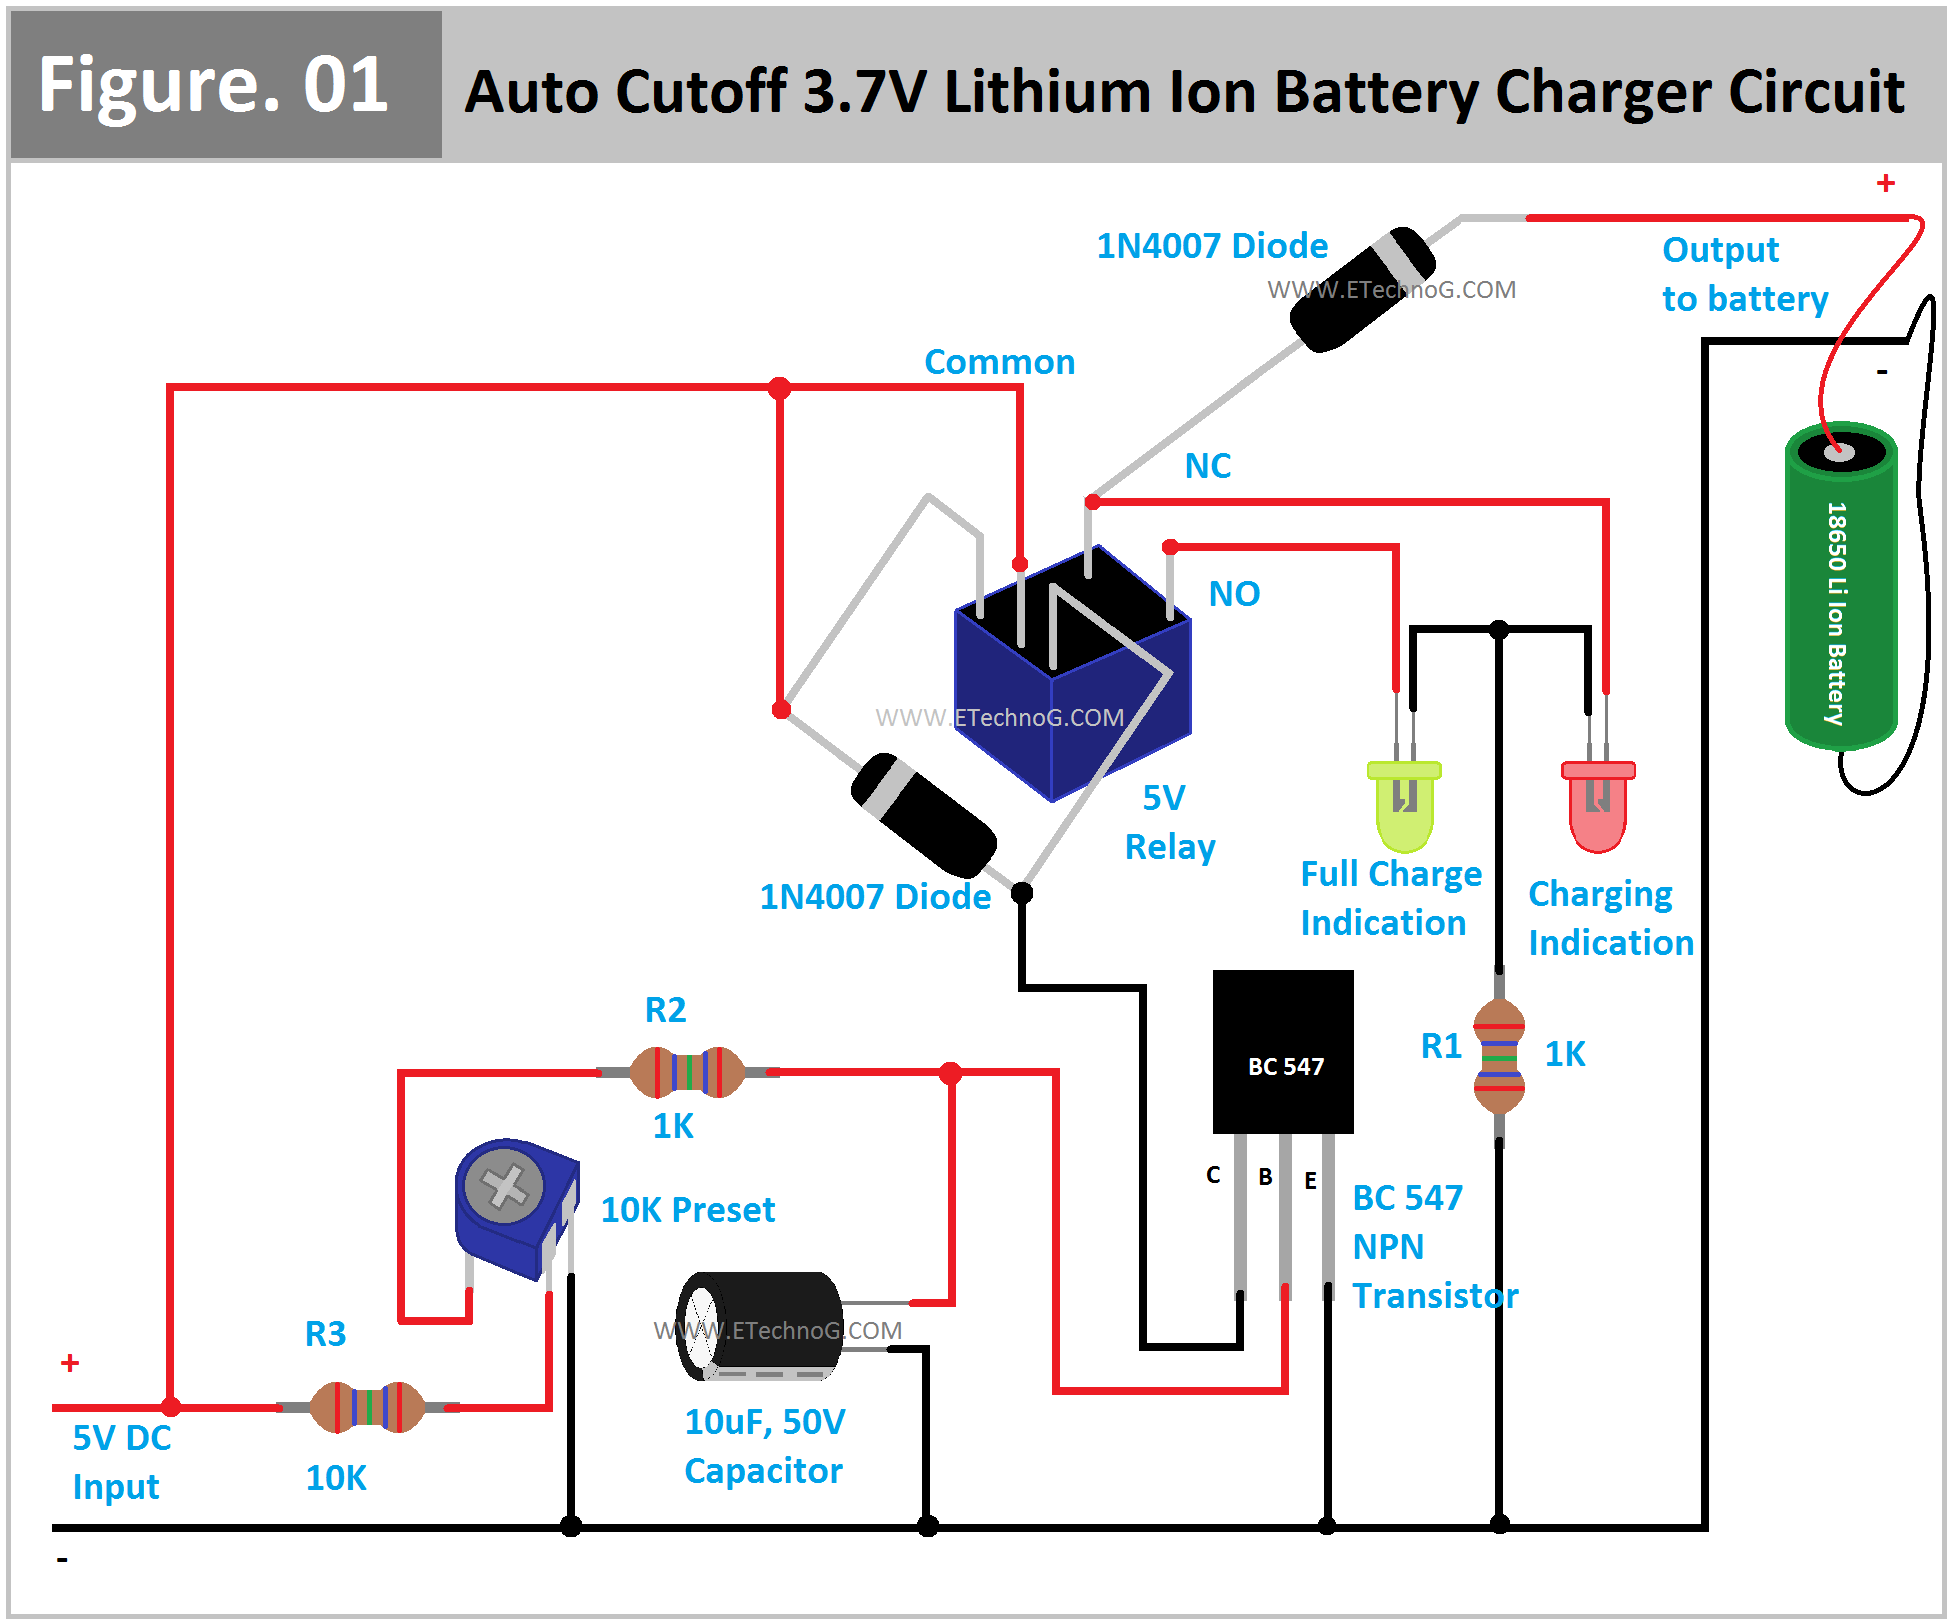
So, you're looking to top up or revive a battery with a charger? Excellent! It's a skill every serious DIYer should have. While seemingly simple, a proper charging technique can significantly extend your battery's life and prevent potentially dangerous situations. This guide will walk you through the process, covering the technical aspects and best practices to ensure a safe and effective charge.
Understanding Battery Types and Chargers
Before plugging anything in, it’s crucial to know what you're dealing with. Mismatched batteries and chargers are a recipe for disaster – potentially leading to overheating, gassing, or even explosions. The most common types you'll encounter are:
- Lead-Acid Batteries: The workhorses of the automotive world. These are further divided into:
- Flooded (Wet Cell): The traditional type with removable caps to add distilled water. Often the cheapest, but require regular maintenance.
- AGM (Absorbent Glass Mat): Sealed, spill-proof, and can be mounted in almost any orientation. Offer better performance and vibration resistance than flooded batteries.
- Gel Cell: Similar to AGM, but use a gelled electrolyte. Very vibration resistant, but more sensitive to overcharging.
- Lithium-Ion (Li-Ion) Batteries: Increasingly common in hybrid and electric vehicles, and some high-performance applications. Require specialized chargers. Never attempt to charge a Li-Ion battery with a lead-acid charger!
Now, let's consider the chargers:
- Manual Chargers: The simplest type. You manually set the charging rate (amps) and time. Require careful monitoring to avoid overcharging.
- Automatic Chargers (Smart Chargers): Microprocessor-controlled, they automatically adjust the charging rate based on the battery's condition. They often have multiple stages, including desulfation, bulk charging, absorption, and float. Much safer and more convenient than manual chargers.
- Trickle Chargers: Designed to provide a very low current, used to maintain a battery's charge over long periods of inactivity.
Always consult your battery's manufacturer specifications to determine the appropriate charging voltage and current. Overcharging or undercharging can significantly reduce battery lifespan.
Essential Safety Precautions
Working with batteries involves handling electricity and potentially corrosive materials. Safety first!
- Wear safety glasses and gloves: Battery acid can cause serious burns.
- Work in a well-ventilated area: Charging batteries can produce explosive hydrogen gas.
- Disconnect the battery from the vehicle: This prevents damage to the vehicle's electrical system and eliminates the risk of accidental short circuits. If you absolutely must charge the battery in-situ, ensure the ignition is off and all electrical accessories are disconnected.
- Remove any jewelry: Metal jewelry can conduct electricity and cause burns if it comes into contact with battery terminals.
- Never smoke or have open flames near a charging battery.
- Ensure the charger is properly grounded.
Step-by-Step Charging Procedure
Here's a detailed guide to charging a lead-acid battery using a smart charger:
- Prepare the Battery: If you have a flooded battery, check the electrolyte level. If it's low, add distilled water until the plates are covered. Clean the battery terminals with a wire brush to remove any corrosion. A mixture of baking soda and water works well for neutralizing acid corrosion.
- Connect the Charger: Attach the charger clamps to the battery terminals. Always connect the positive (red) clamp to the positive (+) terminal and the negative (black) clamp to the negative (-) terminal. Reverse polarity can damage both the battery and the charger. If charging in the vehicle, connect the negative clamp to a metal part of the chassis away from the battery and fuel lines.
- Set the Charger Parameters: Select the correct battery type (AGM, Gel, Flooded) on the charger, if applicable. Choose the appropriate charging voltage (typically 12V for automotive batteries). If your charger allows you to select the charging current (amps), start with a low setting (e.g., 2-4 amps) for slow, gentle charging. A higher current (e.g., 10-15 amps) can be used for faster charging, but it generates more heat and can potentially damage the battery if not monitored closely. Consult your battery's specifications for the recommended charging current.
- Initiate Charging: Turn on the charger. The charger's display should indicate the charging status (voltage, current, and stage).
- Monitor the Charging Process: With a smart charger, this is less critical, but it's still good practice. Check the battery's temperature periodically. If it gets excessively hot to the touch, stop charging immediately. With a manual charger, you'll need to monitor the voltage regularly using a multimeter. The voltage should gradually increase until it reaches the battery's fully charged voltage (typically around 14.4-14.8V for a 12V lead-acid battery, but consult the battery's specifications).
Important: do not exceed the maximum charging voltage as this leads to gassing and electrolyte loss.
- End the Charging Process: A smart charger will automatically switch to a float or maintenance mode when the battery is fully charged. With a manual charger, disconnect the charger when the battery reaches its fully charged voltage and the charging current drops to a low level.
- Disconnect the Charger: Turn off the charger and disconnect the clamps, starting with the negative clamp first.
- Reinstall the Battery: If you removed the battery from the vehicle, reinstall it and reconnect the terminals, ensuring a secure and clean connection. Apply a terminal protector spray to prevent corrosion.
Troubleshooting Common Issues
Sometimes, things don't go as planned. Here are a few common issues and how to address them:
- Charger won't recognize the battery: This often happens with deeply discharged batteries (below 10.5V). Some smart chargers have a "boost" or "recovery" mode designed to revive these batteries. If not, you may need to try charging it with a manual charger at a very low current (1-2 amps) for a few hours to bring the voltage up to a level where the smart charger can recognize it. Caution: this carries a risk of overheating and gassing.
- Battery is getting hot: Stop charging immediately! The battery may be sulfated, shorted, or have other internal damage.
- Charger continuously cycles between charging and float mode: This often indicates a sulfated battery that cannot hold a charge. Desulfation modes, if present on your smart charger, may help or a specialized desulfation charger may be needed. The battery may need replacing.
- Slow charging: Battery may be sulfated, electrolyte levels may be low (flooded batteries), or the charger may not be providing sufficient current.
Understanding Battery Sulfation and Desulfation
Sulfation is a common problem that occurs when lead sulfate crystals build up on the battery's plates. This reduces the battery's capacity and ability to accept a charge. It's primarily caused by prolonged periods of low charge or inactivity.
Some smart chargers have a desulfation mode that uses high-voltage, low-current pulses to break down the sulfate crystals. These modes can be effective in reviving mildly sulfated batteries, but they may not work on severely sulfated batteries. It’s important to note that desulfation isn't a guaranteed fix, and severely sulfated batteries may need to be replaced.
Choosing the Right Charger for Your Needs
Selecting the right charger depends on the type of batteries you'll be charging, your budget, and your level of technical expertise.
- For occasional use and basic charging, a basic automatic charger might suffice.
- For more frequent use, multiple battery types, or reviving deeply discharged batteries, invest in a high-quality smart charger with multiple charging stages and desulfation capabilities.
- For maintaining infrequently used vehicles or equipment, a trickle charger is ideal.
Look for chargers with safety features like reverse polarity protection, overcharge protection, and short-circuit protection. Read reviews and compare features before making a purchase.
By following these guidelines, you can safely and effectively charge your batteries, extend their lifespan, and save yourself time and money in the long run. Remember to always prioritize safety and consult your battery and charger's manuals for specific instructions.