Do You Check Coolant While Car Is Running
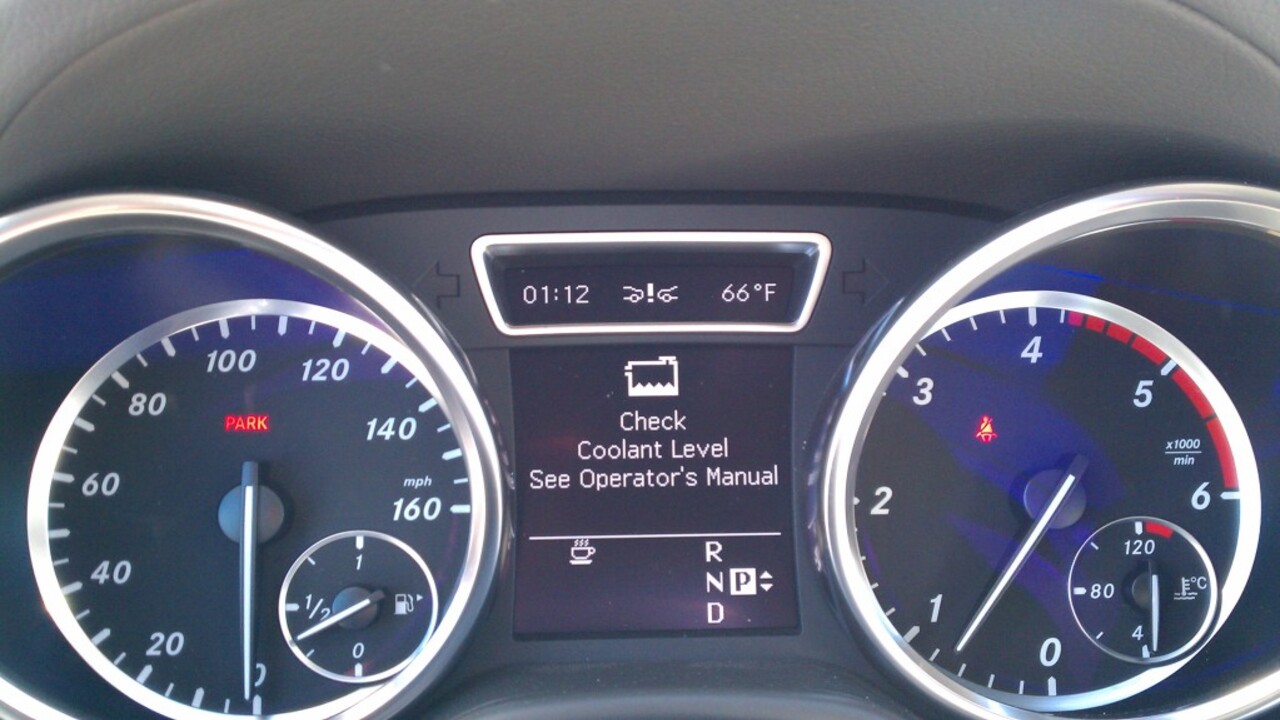
Hey there! Ever found yourself wondering about the right way to check your car's coolant level? Maybe you've heard conflicting advice or seen people doing it both with the engine running and off. It's a common question, and getting it right is crucial for your engine's health. Let's dive into the "do's" and "don'ts" of coolant checks and why you should *never* check your coolant while the engine is running.
Why You Shouldn't Check Coolant With the Engine Running
The short answer is: Don't do it! Checking your coolant level while the engine is running is extremely dangerous and can cause severe burns or even permanent injuries. Here's why:
- Pressurized System: Your car's cooling system is under pressure when the engine is running. Opening the coolant reservoir cap releases this pressure suddenly. Think of it like shaking a soda can and then popping the top – except the contents are scalding hot coolant.
- Hot Coolant: Coolant circulates through the engine, absorbing heat. When the engine is running, the coolant temperature can exceed 200°F (93°C). This intense heat can cause severe burns if it splashes on your skin.
- Fan Hazards: While you're leaning over the engine, there's a risk of your clothing or body parts getting caught in the moving fan blades. Even if the fan has a shroud, accidents can happen.
These risks are simply not worth it. There's a safe and effective way to check your coolant level, and it involves waiting for the engine to cool down.
The Safe Way to Check Your Coolant Level
Here's the proper procedure for checking your coolant level, ensuring your safety and accurate readings:
- Wait for the Engine to Cool Down: This is the most important step. Allow the engine to cool completely, ideally for several hours or overnight. You should be able to touch the hood without burning yourself.
- Locate the Coolant Reservoir: The coolant reservoir is usually a translucent plastic container marked with "coolant" or "antifreeze" symbols. It's often located near the radiator or engine. Check your owner's manual if you're unsure.
- Check the Coolant Level: Look for "MIN" and "MAX" or "FULL" markings on the reservoir. The coolant level should be between these marks.
- Inspect the Coolant Condition: While you're at it, observe the coolant's color. Healthy coolant typically has a green, yellow, pink, or blue hue. If it looks rusty, brown, or contains debris, it's a sign that the cooling system needs flushing and refilling.
- Check the Radiator Cap (If Accessible): On some older vehicles, you might need to check the coolant level directly in the radiator. Only do this when the engine is completely cold. Carefully remove the radiator cap, using a rag to protect your hand and face. The coolant should be visible just below the cap.
Tools You Might Need
- Gloves: To protect your hands from dirt and potential coolant splashes.
- Rag: To wipe up spills and protect your hand when opening the radiator cap (if applicable).
- Flashlight: To help you see the coolant level clearly, especially in low-light conditions.
What to Do If Your Coolant Level Is Low
If your coolant level is consistently low, it's a sign of a potential problem. Here are some common causes and solutions:
- Leak: The most common cause of low coolant is a leak in the system. Check for leaks around the radiator, hoses, water pump, and engine block. Look for puddles of coolant under your car.
- Head Gasket Leak: A more serious problem is a head gasket leak. This can allow coolant to enter the engine cylinders, causing white smoke from the exhaust and overheating.
- Evaporation: Over time, some coolant evaporation is normal, especially in older vehicles. However, excessive evaporation could indicate a problem.
Troubleshooting and Repair Options
Here's a breakdown of common coolant-related issues and their potential repair costs:
- Minor Hose Leak: Replacing a cracked or leaking hose is a relatively inexpensive repair. Expect to pay between $50 and $150, including parts and labor.
- Radiator Leak: Radiator repair or replacement can range from $300 to $800, depending on the vehicle and the extent of the damage.
- Water Pump Failure: Replacing a water pump typically costs between $400 and $1000, as it often involves removing other engine components.
- Head Gasket Repair: This is a major repair that can cost anywhere from $1000 to $3000 or more, as it requires significant engine disassembly.
Important: If you suspect a serious leak or a head gasket issue, it's best to take your car to a qualified mechanic for diagnosis and repair.
Adding Coolant Safely
If your coolant level is low, you'll need to add more. Here's how to do it safely:
- Use the Correct Coolant: Consult your owner's manual to determine the correct type of coolant for your vehicle. Using the wrong coolant can damage the cooling system.
- Mix Coolant With Distilled Water: Most coolants are concentrated and need to be mixed with distilled water in a 50/50 ratio. Never use tap water, as it contains minerals that can cause corrosion.
- Slowly Add Coolant: Carefully pour the coolant mixture into the reservoir until it reaches the "MAX" or "FULL" mark.
- Check for Leaks: After adding coolant, inspect the reservoir and surrounding areas for leaks.
Pro Tip: Keep a jug of pre-mixed 50/50 coolant in your garage for topping off the reservoir as needed.
Preventive Maintenance
Regular maintenance is key to keeping your cooling system in good condition and preventing problems. Here are some tips:
- Flush and Refill the Cooling System: Follow your vehicle manufacturer's recommended service intervals for flushing and refilling the cooling system. This typically involves draining the old coolant, flushing the system with a cleaning solution, and refilling it with fresh coolant.
- Inspect Hoses and Clamps: Regularly inspect the hoses and clamps for cracks, leaks, or deterioration. Replace any damaged components promptly.
- Check the Radiator Cap: Ensure that the radiator cap is in good condition and sealing properly. A faulty cap can cause pressure loss and overheating.
By following these guidelines, you can safely and effectively check your coolant level, identify potential problems, and keep your engine running smoothly. Remember, safety first! Always wait for the engine to cool down completely before working on the cooling system. If you're unsure about any aspect of coolant maintenance, consult a qualified mechanic.
Stay safe and happy motoring!