Finding The AC Relay In Your 2011 Nissan Murano
So, you're looking for the AC relay in your 2011 Nissan Murano? Chances are, you're experiencing some issues with your air conditioning, and you suspect the relay might be the culprit. It’s a common point of failure, and knowing where to find it and how to troubleshoot it can save you a trip to the mechanic and a hefty bill. This guide will walk you through the process, providing you with the technical knowledge and practical steps to locate and assess your Murano's AC relay.
Background: The VQ35DE and its Climate Control System
Your 2011 Nissan Murano is likely equipped with the venerable VQ35DE engine. This 3.5-liter V6 is known for its reliability and decent power. The air conditioning system in the Murano, like most modern vehicles, is a complex network of components working in harmony. It comprises the compressor, condenser, evaporator, expansion valve, and, crucially, a network of sensors and control circuits managed by the vehicle's Engine Control Module (ECM). The AC relay acts as an intermediary between the ECM and the AC compressor clutch. The ECM, based on inputs like cabin temperature, engine temperature, and AC request, sends a signal to energize the AC relay. This relay then provides the necessary high-current power to engage the compressor clutch, allowing the compressor to circulate refrigerant and cool the air.
Technical Breakdown: How the AC Relay Works and Where to Find It
The AC relay is essentially an electromagnetic switch. It consists of a coil, a set of contacts (normally open), and a spring. When the ECM provides a low-current signal (typically 12V) to the relay's coil, it creates a magnetic field. This magnetic field pulls the contacts closed, completing a high-current circuit between the battery and the AC compressor clutch. When the ECM stops sending the signal, the magnetic field collapses, the spring returns the contacts to their open position, and the compressor clutch disengages.
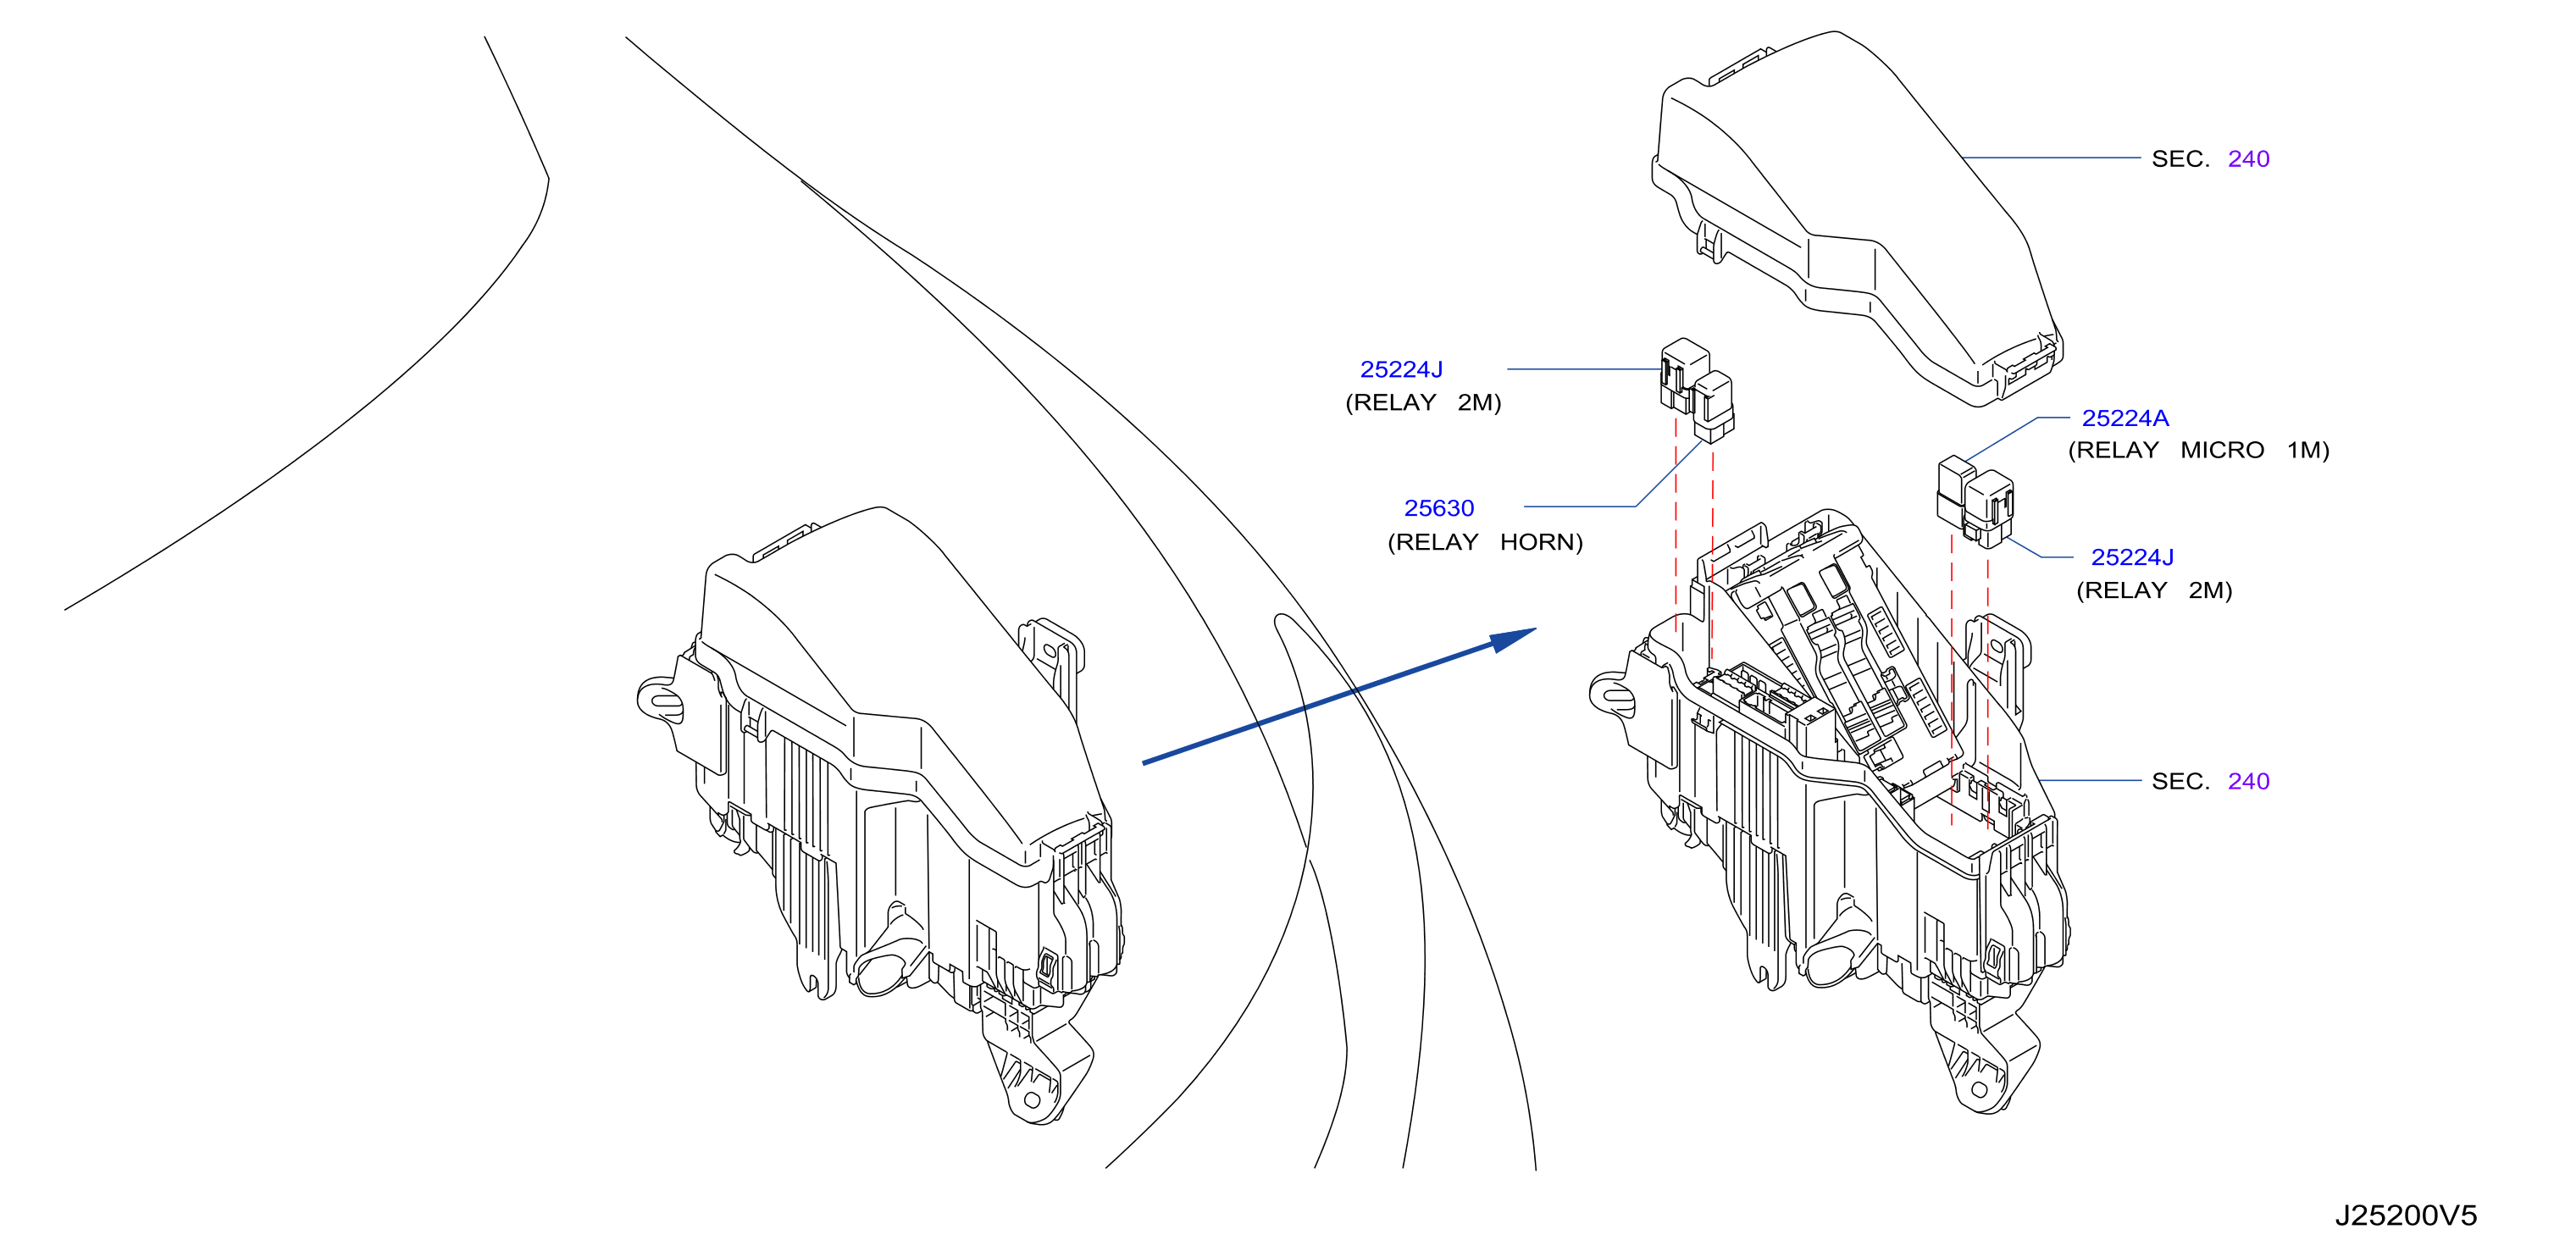
Locating the AC Relay: A Step-by-Step Guide
Finding the AC relay in your 2011 Murano requires a bit of detective work, as manufacturers don't always clearly label these things. Here's a systematic approach:
- Consult your owner's manual: This is always the first step. The owner's manual should contain a diagram of the fuse and relay box locations, including the specific relay designated for the AC compressor. Look for terms like "AC Compressor Relay," "Air Conditioning Relay," or similar.
- Locate the fuse and relay boxes: Your Murano will have at least two fuse/relay boxes. One is typically located under the hood, usually near the battery or on one of the inner fender wells. The other is often inside the cabin, usually under the dashboard on the driver's side or in the glove compartment area. The under-hood location is the most likely place to find the AC relay.
- Identify the correct relay box: Once you've located the fuse/relay boxes, look for a diagram either printed on the inside of the box's cover or molded into the plastic itself. This diagram will show the location and function of each fuse and relay.
- Pinpoint the AC relay: Using the diagram, identify the relay labeled "AC Compressor," "Air Conditioning," or something similar. Be aware that relay layouts can change slightly even within the same model year, so double-check the diagram carefully. The relay is usually a standard automotive relay, a small cube-shaped component with four or five pins. It is crucial to ensure you’ve located the correct relay before proceeding.
- (Optional) Use a multimeter to verify: If you're still unsure, you can use a multimeter to verify that you've found the correct relay. With the engine off and the key in the "ON" position (but the engine not running), use the multimeter to check for voltage (typically 12V) at one of the relay's terminals when you turn the AC system on. The voltage should appear when the AC is requested. Always be cautious when working with electrical systems.
Visual Inspection
Once you've located the AC relay, visually inspect it for any signs of damage. Look for:
- Cracked or melted plastic: This indicates overheating or a short circuit.
- Corroded terminals: Corrosion can prevent proper electrical contact.
- Signs of arcing: Burn marks around the terminals can indicate a faulty relay.
Common Issues and Maintenance Concerns
AC relays, like any electrical component, are prone to failure. Here are some common issues:
- Relay failure: The internal contacts can wear out or become damaged, preventing the relay from properly switching the compressor on.
- Coil burnout: The coil inside the relay can burn out, rendering the relay useless.
- Corrosion: Exposure to moisture and the elements can cause corrosion on the relay terminals, leading to poor electrical contact.
- Loose connections: A loose connection in the relay socket can prevent the relay from functioning properly.
Regular maintenance can help prevent relay failures. This includes:
- Visual inspection: Periodically inspect the relay for any signs of damage or corrosion.
- Cleaning terminals: If you notice corrosion, clean the relay terminals with a wire brush and electrical contact cleaner.
- Replacing relays: Relays are relatively inexpensive, and it's a good idea to replace them periodically as a preventative measure, especially in older vehicles.
Do's and Don'ts / Best Practices
Do's
- Consult the owner's manual: Always refer to your owner's manual for the correct location and identification of the AC relay.
- Use a multimeter: If you're unsure whether you've found the correct relay, use a multimeter to verify its function.
- Replace with a quality relay: When replacing the relay, use a relay that meets or exceeds the original equipment manufacturer (OEM) specifications. Using a cheap, generic relay can lead to premature failure.
- Check the fuse: Always check the AC compressor fuse before replacing the relay. A blown fuse can indicate a problem with the compressor or wiring.
- Disconnect the battery: Consider disconnecting the negative battery terminal before working on electrical components to prevent accidental shorts.
Don'ts
- Guess: Don't guess at the location of the AC relay. Refer to the owner's manual or a reliable wiring diagram.
- Force the relay: Don't force the relay into the socket. If it doesn't fit easily, you may have the wrong relay or the socket may be damaged.
- Use a higher amperage relay: Don't use a relay with a higher amperage rating than the original relay. This can damage the compressor or wiring.
- Ignore other symptoms: If replacing the relay doesn't solve the problem, don't ignore other potential causes of AC failure, such as a refrigerant leak, a faulty compressor, or a malfunctioning sensor.
Conclusion
Locating the AC relay in your 2011 Nissan Murano is a straightforward process that can save you time and money. By following the steps outlined in this guide, you can confidently identify and troubleshoot your AC relay. Remember to always prioritize safety and consult your owner's manual for specific information about your vehicle. If you are uncomfortable working on electrical systems, it is always best to consult a qualified mechanic. However, with a little knowledge and the right tools, you can tackle this task yourself and get your Murano's AC blowing cold again. If replacing the relay doesn't fix the issue, it's time to consult a professional for further diagnosis. Specifically, remember to check the refrigerant level. Low refrigerant is a very common cause of AC problems, and the system may be designed to shut off the compressor to prevent damage if the refrigerant is too low.