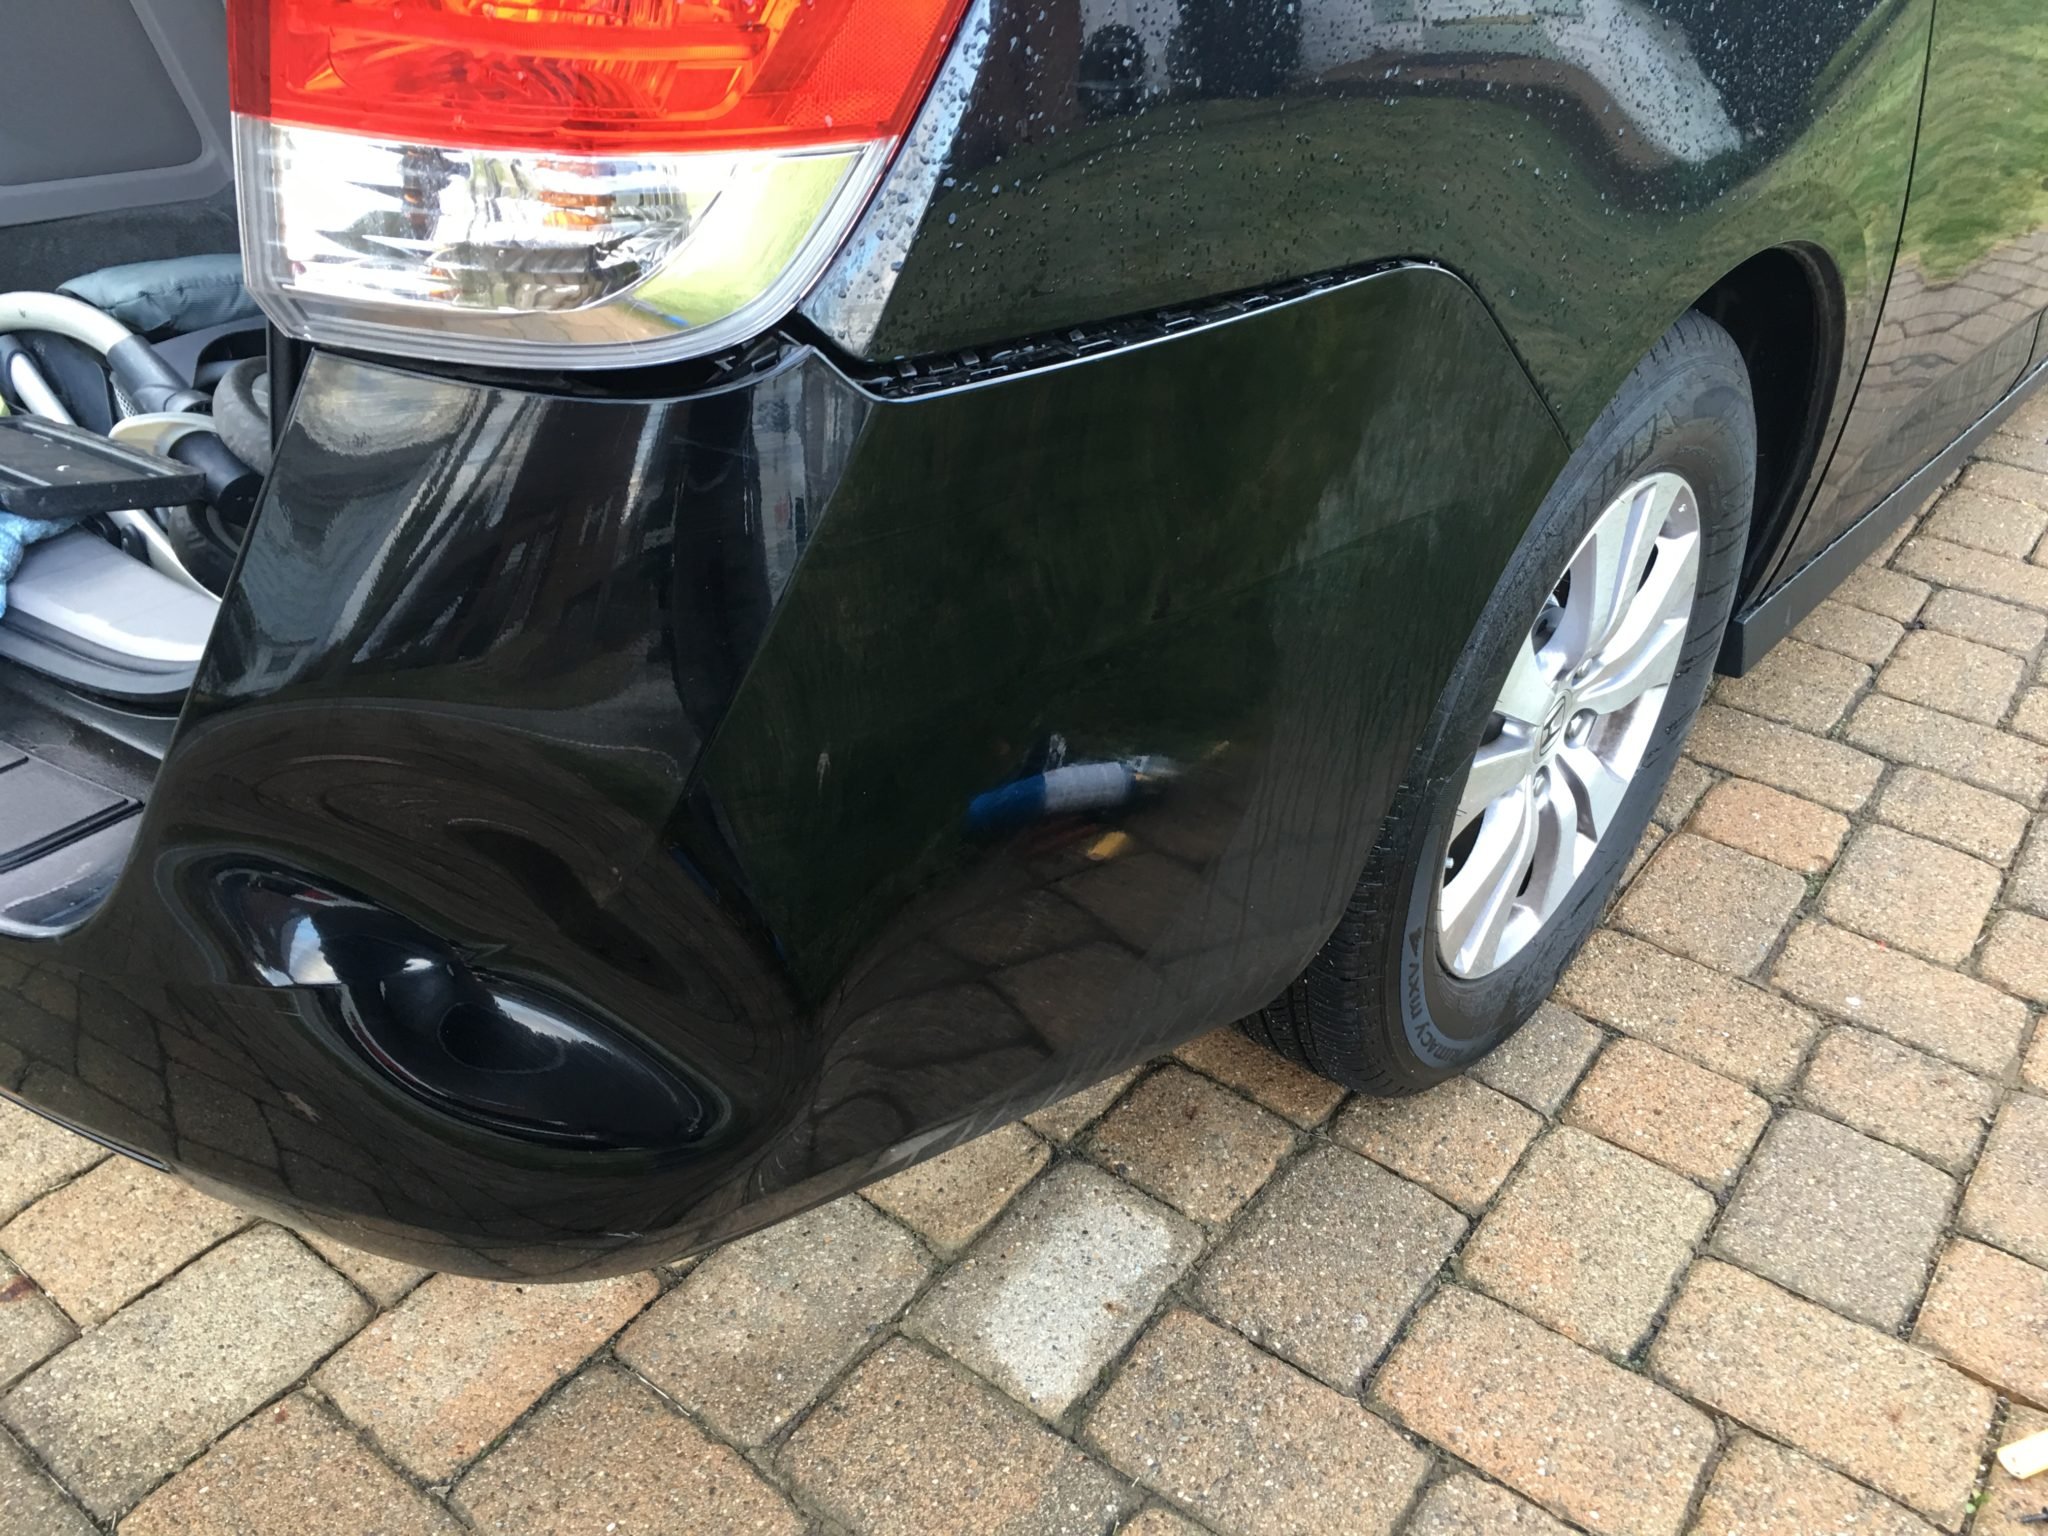
Fixing Scratches And Small Dent On Bumper
Automotive bumpers, those seemingly indestructible shields adorning the front and rear of our vehicles, are in reality sacrificial components. Designed to absorb low-speed impacts, they often bear the brunt of parking mishaps, stray shopping carts, and the occasional, unavoidable brush with roadside obstacles. While a major collision necessitates professional repair, many minor scratches and small dents can be addressed at home with the right tools, materials, and a methodical approach. This guide delves into the intricacies of assessing and rectifying these common cosmetic blemishes, transforming your bumper from a source of annoyance into a point of pride.
Understanding the Enemy: Types of Bumper Damage
Before reaching for the sandpaper, it's crucial to understand the nature and severity of the damage. Scratches, for instance, can range from superficial clear coat imperfections to deep gouges that penetrate the paint layers. Similarly, dents can vary in size and complexity, with some being easily pushed out while others require more involved techniques. Identifying the type of damage dictates the appropriate repair strategy.
Scratch Assessment: A Layered Approach
Scratch repair hinges on understanding the paint structure. Automotive paint typically consists of several layers:
- Clear Coat: The outermost layer, providing gloss and UV protection. Light scratches often reside solely within this layer.
- Base Coat (Color Coat): The layer containing the actual vehicle color. Deeper scratches penetrate this layer.
- Primer: A preparatory layer that promotes adhesion and corrosion resistance. Very deep scratches expose this layer.
- Substrate (Bumper Material): The underlying plastic or metal of the bumper. Damage extending to this layer requires the most extensive repairs.
A simple test involves running your fingernail across the scratch. If your nail catches, it indicates a deeper scratch that requires more than just polishing. If the scratch is only in the clear coat, it is often removable with polishing compounds and techniques. If it reaches the base coat or primer, more elaborate processes involving paint touch-up are necessary.
Dent Diagnosis: Size, Location, and Material Matters
Dent repair considerations include:
- Size: Smaller, shallower dents are generally easier to repair.
- Location: Dents on flat surfaces are often more manageable than those on curved or creased areas.
- Material: Most modern bumpers are made of flexible plastics (e.g., polypropylene, polyurethane). Their inherent flexibility allows for some dent removal techniques that wouldn't be applicable to metal. However, older cars may have metal bumpers requiring different approaches.
The material's flexibility is key to choosing the appropriate repair method. Plastic bumpers allow for techniques like heat application to make the plastic more pliable, facilitating dent removal. Metal bumpers, on the other hand, may require specialized tools and techniques such as hammering and dolly work.
The Toolkit: Essential Items for Bumper Repair
Successfully tackling scratches and dents requires a well-stocked toolkit. Here's a breakdown of the essentials:
- Cleaning Supplies: Car wash soap, degreaser, microfiber towels. Essential for preparing the surface.
- Sandpaper: Various grits (e.g., 400, 600, 800, 1000, 1500, 2000, 3000). Used for leveling the damaged area. Wet/dry sandpaper is preferable for finer grits.
- Sanding Block: Provides a flat, even surface for sanding, preventing uneven removal of material.
- Rubbing Compound: An abrasive compound used to remove scratches and imperfections after sanding.
- Polishing Compound: A finer compound used to refine the finish and restore gloss after rubbing compound.
- Wax/Sealant: Protects the repaired area and enhances shine.
- Touch-Up Paint: Matching the vehicle's color code (usually found on a sticker in the door jamb or glove box). Use sparingly, multiple thin coats are better than one thick coat.
- Primer: For areas where the original primer has been exposed.
- Heat Gun/Hair Dryer: For warming plastic bumpers to aid in dent removal. Caution is crucial to avoid overheating and damaging the plastic.
- Dent Removal Tools: These can range from simple suction cups to specialized dent pullers.
- Masking Tape: To protect surrounding areas from sanding and paint.
- Gloves: To protect your hands from chemicals and contaminants.
- Safety Glasses: To protect your eyes from debris.
The Repair Process: A Step-by-Step Guide
Scratch Repair: From Minor to Moderate
- Cleaning: Thoroughly wash and degrease the area around the scratch.
- Sanding (if necessary): For deeper scratches, start with a coarser grit (e.g., 600) to level the area. Wet-sand with water and a few drops of dish soap as lubricant. Gradually move to finer grits (e.g., 800, 1000, 1500, 2000, 3000), each time sanding in a different direction to ensure even blending. The goal is to remove the scratch without removing too much clear coat.
- Rubbing Compound: Apply a small amount of rubbing compound to a polishing pad and work it into the sanded area using a circular motion. You can use a hand applicator or a power buffer.
- Polishing Compound: After the rubbing compound, use polishing compound to refine the finish and restore gloss.
- Waxing: Apply a coat of wax or sealant to protect the repaired area.
Touch-Up Paint Application (for Deeper Scratches)
- Cleaning and Sanding (as above): Prepare the surface. For exposed primer, apply a thin coat of automotive primer and let it dry completely.
- Touch-Up Paint: Apply very thin coats of touch-up paint, allowing each coat to dry completely before applying the next. Use a fine-tipped brush or toothpick for precise application. The goal is to build up the paint level to match the surrounding area.
- Clear Coat (if necessary): Some touch-up paint kits include clear coat. Apply it according to the instructions.
- Wet Sanding (after drying): After the touch-up paint has fully cured (usually several days), you may need to lightly wet-sand the area with very fine grit sandpaper (e.g., 2000, 3000) to level it with the surrounding paint.
- Rubbing and Polishing (as above): Restore the gloss and blend the repair.
- Waxing: Protect the repaired area.
Dent Repair: The Art of Gentle Persuasion
- Cleaning: Clean the area around the dent thoroughly.
- Heating (Plastic Bumpers): Gently warm the area around the dent with a heat gun or hair dryer. This will make the plastic more pliable. Do not overheat, as this can damage the plastic.
- Pushing/Pulling: Try to gently push the dent out from behind, if possible. Alternatively, use a suction cup dent puller to slowly pull the dent out. Patience is key; avoid sudden, forceful movements.
- Tapping (if necessary): If the dent is stubborn, you can try gently tapping around the edges of the dent with a rubber mallet to help it pop out. Place a soft cloth between the mallet and the bumper to prevent scratches.
- Cooling: After pushing or pulling the dent, allow the area to cool gradually. This will help the plastic retain its new shape.
- Filler (if necessary): For dents that cannot be fully removed, you may need to use automotive body filler (e.g., Bondo) to fill in any remaining imperfections. Follow the manufacturer's instructions carefully. This requires sanding, priming, and painting as described above.
Preventative Measures: Avoiding Future Bumper Blemishes
While damage is sometimes unavoidable, certain preventative measures can minimize the risk of scratches and dents:
- Careful Parking: Park in well-lit areas and avoid tight spaces.
- Parking Sensors/Cameras: Utilize parking sensors and cameras to avoid collisions.
- Protective Films: Consider applying a clear bra or bumper protector film to shield the bumper from scratches and chips.
- Defensive Driving: Maintain a safe following distance and be aware of your surroundings.
Conclusion: A Satisfying Transformation
Repairing minor scratches and dents on your bumper is a rewarding endeavor. Not only does it improve the appearance of your vehicle, but it also provides a sense of accomplishment and demonstrates your understanding of basic automotive repair principles. By carefully assessing the damage, employing the appropriate tools and techniques, and exercising patience, you can transform a marred bumper into a testament to your skills and attention to detail. Remember to prioritize safety, work in a well-ventilated area, and always follow the manufacturer's instructions for any chemicals or tools used. With a little effort, you can keep your bumper looking its best for years to come.