
How Long Does It Take To Change A Battery
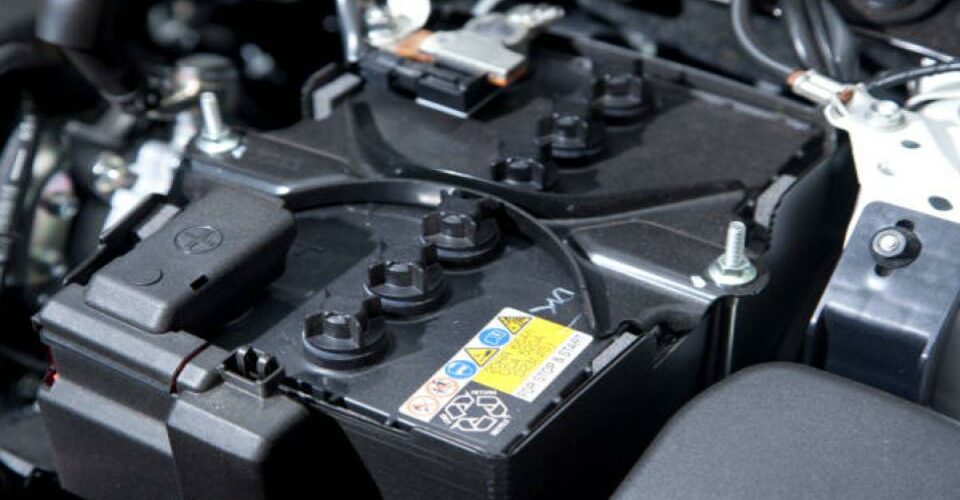
Replacing a car battery is a maintenance task almost every car owner will face at some point. Whether you're a seasoned mechanic or a complete novice, understanding the process and the time involved can save you headaches and money. While the actual hands-on time is often relatively short, several factors can influence the overall duration of the job.
Factors Influencing Battery Replacement Time
Several elements can impact how long it takes to swap out a car battery. Let's break them down:
1. Experience Level
Your experience plays a significant role. A seasoned mechanic who's changed hundreds of batteries will naturally be faster than someone doing it for the first time. They'll know exactly where the tools are, how the battery is secured, and potential pitfalls to avoid. For instance, someone who's regularly worked on a BMW 3 Series (E46, E90, F30, etc.) will be familiar with its battery location (usually in the trunk) and securing mechanism, allowing them to complete the task quickly. On the other hand, a novice might struggle locating the battery in an unusual spot (like under the rear seat in some older models), understanding the terminal connections, or properly securing the new battery.
2. Vehicle Make and Model
Car designs vary considerably, and so does battery accessibility. Some vehicles offer easy access with the battery located right under the hood, held by a simple clamp. Consider a Honda Civic or Toyota Corolla; these typically have readily accessible batteries. Others, like some Audis or BMWs, might bury the battery in the trunk or even under a seat, requiring more time and effort to reach. Even within a single brand, battery placement can differ. A Porsche Cayenne, for example, often has its battery under the driver's seat, a more complex location than the engine bay of a Porsche 911. The location impacts not just accessibility but also ventilation requirements for the battery itself.
3. Tools and Equipment
Having the right tools is crucial. At a minimum, you'll need:
- A wrench (usually 10mm or 13mm) for disconnecting the terminals.
- A socket wrench with extensions for removing battery hold-down clamps.
- Battery terminal cleaner (to remove corrosion).
- Protective gloves and eye protection.
Optional but highly recommended tools include:
- A memory saver (to prevent losing radio presets and other electronic settings).
- A battery carrier strap (to make lifting the heavy battery easier and safer).
Trying to loosen corroded terminals with pliers instead of the correct wrench can add significant time and increase the risk of damaging the terminal. Similarly, struggling to lift a heavy battery without a strap increases the risk of dropping it and causing injury or damage. Having access to a proper torque wrench to tighten battery terminals is important. Overtightening can damage the terminals, while undertightening can lead to loose connections and starting problems. It is important to consult your vehicle's repair manual for the correct torque specifications.
4. Condition of the Battery and Terminals
Corrosion is a common problem with car batteries. If the terminals are heavily corroded, cleaning them can take a significant amount of time. You might need to use a wire brush, battery terminal cleaner spray, and even baking soda mixed with water to neutralize the acid. Severely corroded terminals can also be difficult to loosen, requiring penetrating oil and patience. Furthermore, if the battery hold-down clamps are rusted or damaged, removing them can be a struggle. A simple task can easily become a frustrating battle against rust and corrosion, adding considerable time to the process.
5. Use of a Memory Saver
Disconnecting the battery can erase your car's radio presets, seat settings, and other stored information. Using a memory saver, which plugs into the cigarette lighter or OBDII port, provides a temporary power source to maintain these settings. While using a memory saver adds a few minutes to the process (plugging it in and ensuring it's working correctly), it can save you significant time and frustration in the long run by preventing the need to reprogram everything. For modern cars with complex electronics, using a memory saver is almost mandatory. For instance, some Mercedes-Benz models require specific reset procedures after a battery disconnection, which can be time-consuming and require specialized tools if not handled correctly.
Typical Timeframe for Battery Replacement
Assuming you have the right tools and a relatively straightforward battery location, here's a general estimate:
- Beginner: 30-60 minutes. This includes time for reading instructions, locating tools, and potentially struggling with stubborn terminals or clamps.
- Intermediate: 20-40 minutes. This assumes some familiarity with car maintenance and a basic understanding of the process.
- Experienced: 10-20 minutes. A seasoned mechanic can often complete the task quickly and efficiently.
These are just estimates. Complex vehicles, heavy corrosion, or unexpected problems can easily extend the time required. For example, if you're dealing with a classic car like a vintage Ford Mustang, you might encounter unique battery mounting systems or wiring configurations that require extra attention and time. Conversely, replacing the battery in a modern Nissan Altima, with its easy access and straightforward design, could be done in under 15 minutes by someone who knows what they are doing.
Step-by-Step Guide (Simplified)
While not a comprehensive tutorial, this gives you a general overview of the process:
- Gather your tools and put on safety glasses and gloves.
- Locate the battery. Consult your owner's manual if needed.
- If using a memory saver, plug it in.
- Disconnect the negative (-) terminal first, then the positive (+) terminal. Always disconnect the negative terminal first to prevent accidental short circuits.
- Remove the battery hold-down clamp.
- Carefully lift out the old battery. Use a battery carrier strap if necessary.
- Clean the battery terminals and cable connectors. Use a wire brush and battery terminal cleaner.
- Place the new battery in the tray.
- Secure the battery with the hold-down clamp.
- Connect the positive (+) terminal first, then the negative (-) terminal.
- Ensure the terminals are tight and secure.
- Remove the memory saver.
- Start the car to verify the new battery is working correctly.
- Dispose of the old battery properly at a recycling center.
Important Note: Always consult your vehicle's repair manual for specific instructions and torque specifications. These instructions are general guidelines and may not apply to all vehicles.
Practical Takeaways
- Preparation is key. Gather all the necessary tools and materials before you start.
- Safety first. Wear safety glasses and gloves to protect yourself from battery acid and potential sparks.
- Consult your owner's manual. This will provide specific instructions for your vehicle.
- Don't rush. Take your time and be careful, especially when disconnecting and connecting the terminals.
- Cleanliness matters. Clean terminals and connectors ensure a good connection and prolong battery life.
- Consider a memory saver. This will save you time and frustration in the long run.
- Proper disposal is essential. Recycle your old battery at a designated recycling center.
- If you're not comfortable, seek professional help. It's better to have a mechanic do it than risk damaging your car or injuring yourself. A simple battery replacement at a local auto shop or dealership will cost between $100 and $300, with the majority of the cost being the battery.
By understanding the factors that influence battery replacement time and following these practical tips, you can tackle this maintenance task with confidence. Remember, while it's a seemingly simple task, doing it correctly is crucial for the proper functioning and longevity of your vehicle.