How To Apply Touch Up Paint And Clearcoat
So, you've got a scratch or a chip on your car's beautiful paint job? Don't worry, it happens to the best of us! From stray shopping carts to flying gravel, our vehicles endure a lot. The good news is, you don't always need a costly trip to the body shop. Applying touch-up paint and clear coat yourself can often restore that flawless look, saving you time and money. This guide will walk you through the process step-by-step, helping you achieve professional-looking results.
Understanding the Problem and Solution
Before we dive in, let's be clear about what we're tackling. We're talking about relatively small scratches or chips that haven't penetrated down to the bare metal across a large area. Deeper damage or extensive scratches might require professional attention to prevent rust and ensure a seamless repair. However, for those unsightly blemishes that are more cosmetic than structural, touch-up paint is your friend.
The solution involves a multi-stage process: cleaning, prepping, applying the paint, and then sealing it all with a clear coat. The clear coat not only adds shine but also protects the touch-up paint from the elements and helps it blend seamlessly with the surrounding original paint. It's like giving your repair a shield and a polished finish all in one.
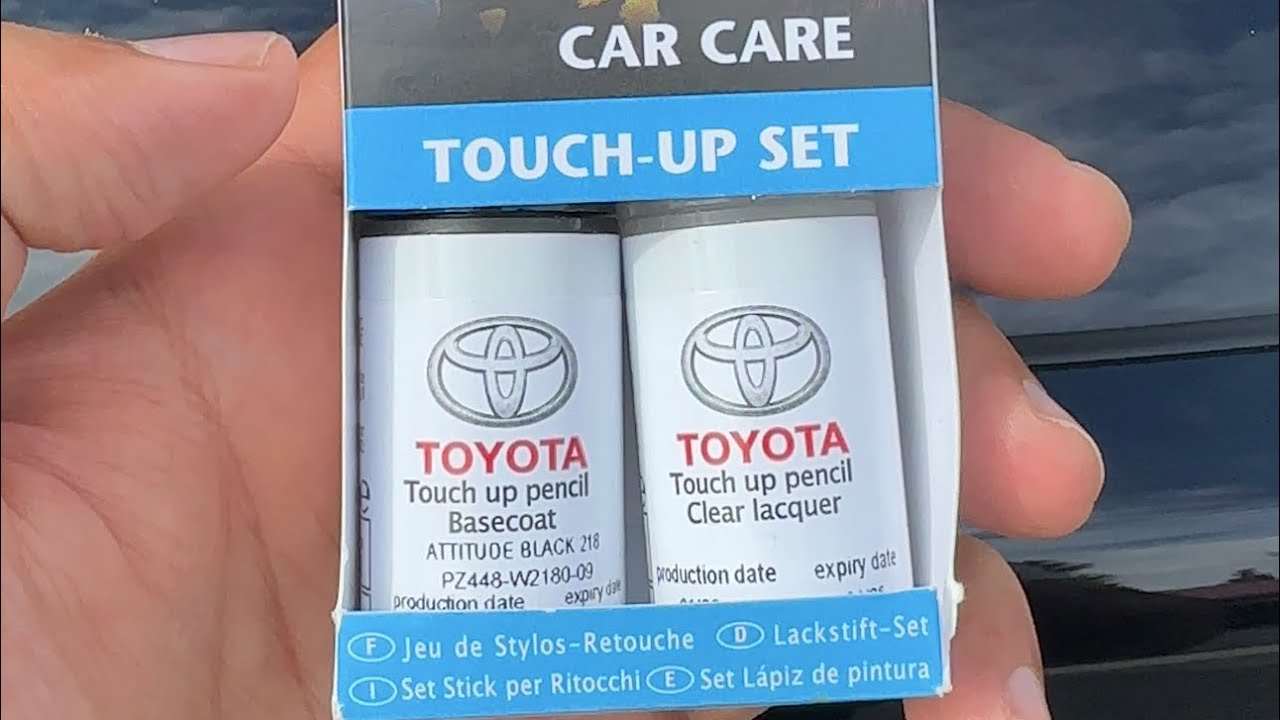
Gathering Your Supplies
Having the right tools on hand will make the job much easier and improve the final result. Here's what you'll need:
- Touch-up Paint: This is absolutely critical! Get the exact color code for your vehicle. You can usually find this on a sticker located in the driver's side door jamb, glove box, or under the hood. Your local auto parts store or dealership can also help you identify the correct code.
- Clear Coat: Make sure it's compatible with your touch-up paint. It's often sold as a pen, small bottle or aerosol can.
- Wax and Grease Remover: This is essential for cleaning the area and ensuring proper adhesion of the paint. Don't skip this step!
- Fine-Grit Sandpaper (2000-3000 grit): For smoothing out rough edges and feathering the repair.
- Rubbing Compound: Used to blend the touch-up paint with the surrounding area.
- Polishing Compound: To restore shine and remove any swirl marks left by the rubbing compound.
- Microfiber Cloths: You'll need several for cleaning, applying compounds, and buffing.
- Applicators: Touch-up paint often comes with a small brush, but you can also use a toothpick, a fine-tipped artist's brush, or even a sharpened matchstick for precise application.
- Masking Tape (optional): To protect the surrounding area from overspray.
- Gloves: To keep your hands clean and protect them from chemicals.
- Safety Glasses: To protect your eyes from chemicals and debris.
Approximate Cost: Expect to spend between $20 and $50 on supplies, depending on the quality and quantity you purchase. The touch-up paint is usually the most expensive item.
Step-by-Step Application Process
Step 1: Preparation is Key
Thorough preparation is the most important part of this process. A clean, smooth surface will ensure the best adhesion and a flawless finish.
- Clean the Area: Thoroughly wash the area around the scratch or chip with soap and water. Then, use the wax and grease remover to remove any remaining contaminants. Make sure the area is completely dry before proceeding.
- Sand the Area (if necessary): If the edges of the scratch or chip are rough, gently sand them down with the fine-grit sandpaper. Be careful not to remove too much paint. The goal is to create a smooth transition between the damaged area and the surrounding paint. Use light pressure and work in a circular motion.
- Mask the Area (optional): If you're using an aerosol can for the clear coat, you might want to mask off the surrounding area to prevent overspray. Use masking tape and newspaper or plastic sheeting to protect the surrounding paint.
Step 2: Applying the Touch-Up Paint
Now for the main event! Patience and a steady hand are key here.
- Shake the Paint: Thoroughly shake the touch-up paint bottle for at least a minute to ensure the pigment is evenly distributed.
- Apply Thin Coats: Using your chosen applicator, apply a very thin coat of paint to the scratch or chip. The goal is to fill the damaged area without overflowing onto the surrounding paint. It's better to apply several thin coats than one thick coat, which can lead to drips and runs.
- Allow to Dry: Allow each coat of paint to dry completely before applying the next. Check the paint's instructions for drying times, but generally, 15-30 minutes is sufficient between coats.
- Build Up the Paint: Continue applying thin coats until the paint is level with the surrounding surface. It's okay if the touch-up paint is slightly higher than the surrounding paint; we'll address that in the next step.
Step 3: Applying the Clear Coat
The clear coat adds shine and protection, and helps blend everything seamlessly. Follow instructions on the clear coat product you purchased.
- Clean Again: Lightly clean the painted area to remove any potential dust.
- Apply Clear Coat: Apply the clear coat using the same method as the touch-up paint – thin, even coats. Apply two or three coats, allowing each coat to dry completely before applying the next.
- Allow to Dry Completely: Allow the clear coat to dry completely. This may take several hours or even overnight, depending on the product and the weather conditions. Follow the manufacturer's instructions.
Step 4: Blending and Polishing
This step is where you transform a noticeable repair into a virtually invisible one. After the clear coat is fully dry and cured (refer to the product's label for curing time, which can be different than drying time), it is time to begin the blending process.
- Wet Sanding (Optional, But Recommended): If the touch-up paint or clear coat is noticeably higher than the surrounding paint, you can gently wet sand it down with the fine-grit sandpaper. Use water as a lubricant and work in a circular motion. Be very careful not to sand through the clear coat.
- Rubbing Compound: Apply a small amount of rubbing compound to a microfiber cloth and rub the area around the touch-up paint in a circular motion. This will help to blend the repair with the surrounding paint. Use moderate pressure and work until the edges of the repair are no longer visible.
- Polishing Compound: After using the rubbing compound, apply a small amount of polishing compound to a clean microfiber cloth and polish the area in a circular motion. This will restore the shine and remove any swirl marks left by the rubbing compound.
- Waxing (Optional): Once the polishing is complete, you can apply a coat of wax to the area to protect the paint and add even more shine.
Troubleshooting Tips
- Paint Doesn't Match: Double-check your paint code and ensure you're using the correct touch-up paint. If the paint is old, it may have faded. In this case, you may need to have a custom color mixed.
- Drips and Runs: If you get drips or runs in the paint, let it dry completely and then gently sand them down with the fine-grit sandpaper before proceeding.
- Bubbling: Bubbling can occur if the paint is applied too thickly or if the surface is not properly cleaned. Let the paint dry completely and then sand it down before reapplying.
- Clear Coat Peeling: Ensure the surface is clean before applying clear coat. Apply thin coats, as overly thick application can result in peeling when dried.
When to Seek Professional Help
While this guide covers the basics of applying touch-up paint and clear coat, there are situations where it's best to leave the job to the professionals. If the damage is extensive, deep, or involves multiple panels, it's best to consult with a qualified auto body technician. They have the tools, experience, and expertise to restore your car's paint to its original condition.
By following these steps and taking your time, you can achieve professional-looking results and keep your car looking its best. Good luck!