
How To Check If An Alternator Is Charging
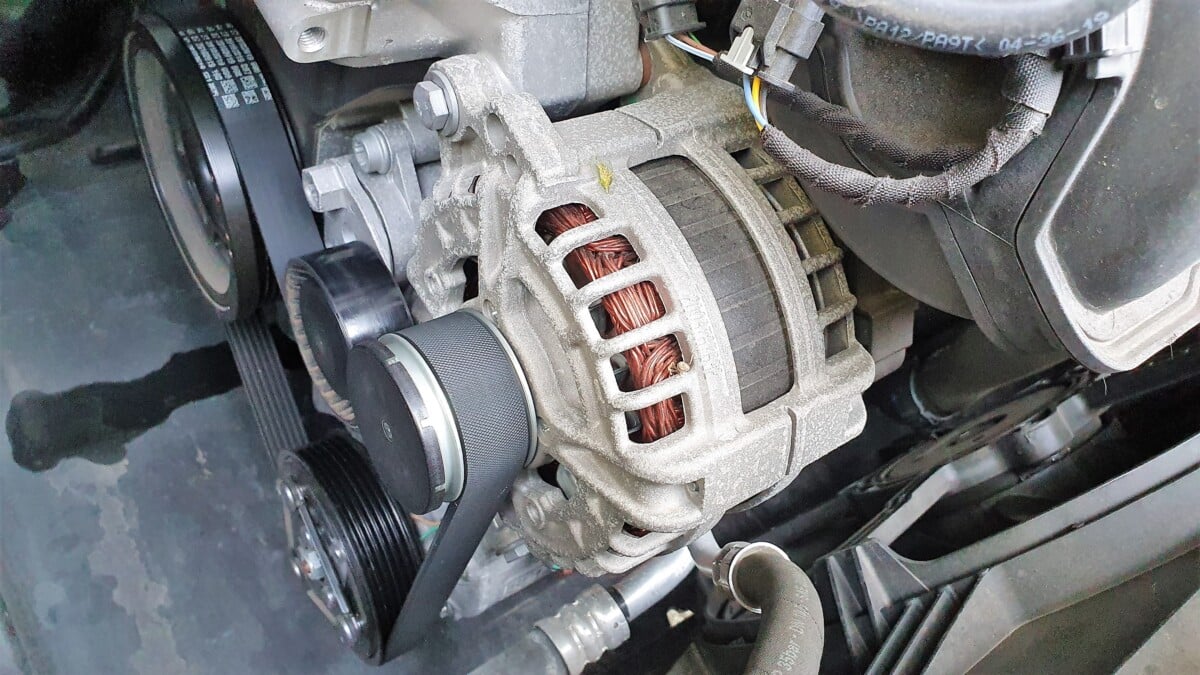
A malfunctioning alternator can leave you stranded, so knowing how to check if it's charging properly is essential for both car owners and mechanics. This article provides a practical guide to alternator diagnostics, troubleshooting common issues, and preventative maintenance.
Recognizing the Symptoms of a Failing Alternator
Before you even start testing, be aware of the tell-tale signs. Early detection can save you from a complete breakdown. Some common symptoms include:
- Dim or Flickering Headlights: This is one of the most noticeable signs. As the alternator struggles to provide sufficient power, the headlights will dim, especially at idle.
- Warning Lights: The battery warning light (often a battery symbol) or the "ALT" or "GEN" light on your dashboard indicates a problem with the charging system. Don't ignore these!
- Slow or No Start: A failing alternator can drain the battery, leading to a slow crank or complete failure to start.
- Electrical System Issues: Problems with power windows, radio, or other electrical components can indicate an alternator issue. They might operate slowly or intermittently.
- Whining or Growling Noises: A worn-out alternator bearing can produce a noticeable whining or growling sound, especially when the engine is running.
- Stalling: In some cases, a severely failing alternator can cause the engine to stall, especially when electrical loads are high (e.g., turning on the AC and headlights).
Example: In a Honda Civic, flickering headlights and a battery light often point to a failing alternator, particularly after 100,000 miles.
Simple Tests You Can Do Yourself
Here are a few simple tests you can perform to get a preliminary assessment:
Visual Inspection
Start with a visual inspection. Check the alternator's belt for wear, cracks, or looseness. A slipping belt won't allow the alternator to spin at the correct speed. Inspect the alternator's wiring connections for corrosion or damage.
Battery Voltage Test (Engine Off)
Use a multimeter to measure the battery voltage with the engine off. A fully charged battery should read around 12.6 volts. A reading significantly lower than this (e.g., 12.0 volts or less) indicates a discharged or failing battery, which could be caused by a failing alternator.
Battery Voltage Test (Engine Running)
This is the most crucial test. With the engine running, use the multimeter to measure the battery voltage again. A healthy alternator should produce a voltage between 13.5 and 14.5 volts. A voltage outside this range indicates a problem. A lower voltage suggests the alternator isn't charging, while a higher voltage indicates overcharging, which can damage the battery.
Example: On a Ford F-150, a voltage reading of 12.8 volts with the engine running suggests the alternator isn't charging properly and needs further investigation.
Advanced Troubleshooting for Mechanics
For mechanics, more in-depth testing may be required:
Load Test
A load test assesses the alternator's ability to maintain voltage under load. Connect a load tester to the battery and alternator. This device simulates a heavy electrical load. Monitor the voltage while the load is applied. A healthy alternator should maintain a voltage within the specified range, even under load. A significant voltage drop indicates a failing alternator.
Diode Ripple Test
This test checks the alternator's diodes. Diodes are crucial for converting AC voltage to DC voltage. A faulty diode can cause AC ripple in the DC output, which can damage sensitive electronic components. Use an oscilloscope to measure the AC ripple. Excessive ripple indicates a diode problem.
Circuit Testing
Check the wiring between the alternator, battery, and voltage regulator for continuity and shorts. A broken or shorted wire can prevent the alternator from charging properly.
Common Causes and Fixes
Here's a breakdown of common alternator problems and solutions:
- Worn Brushes: The brushes make contact with the rotor slip rings, providing electricity to the rotor. Over time, they wear down. Solution: Replace the brushes or the entire alternator.
- Faulty Voltage Regulator: The voltage regulator controls the alternator's output voltage. A faulty regulator can cause overcharging or undercharging. Solution: Replace the voltage regulator (if replaceable separately) or the entire alternator.
- Damaged Diodes: Damaged diodes can cause AC ripple and reduce the alternator's output. Solution: Replace the rectifier assembly or the entire alternator.
- Slipping Belt: A loose or worn belt won't allow the alternator to spin at the correct speed. Solution: Tighten or replace the alternator belt.
- Corroded Connections: Corrosion can increase resistance and reduce current flow. Solution: Clean or replace corroded terminals and connectors.
Example: On a Toyota Camry, a whining noise and undercharging are often caused by worn alternator bearings. Replacing the alternator is usually the most effective solution.
Preventative Maintenance Tips
Here are some tips to extend the life of your alternator:
- Regular Inspections: Periodically inspect the alternator belt and wiring connections.
- Keep the Battery Charged: A deeply discharged battery puts extra strain on the alternator. Use a battery maintainer if the car sits for extended periods.
- Avoid Excessive Electrical Loads: Avoid running excessive electrical accessories (e.g., aftermarket sound systems) that can overload the alternator.
- Use Quality Replacement Parts: When replacing an alternator, use a reputable brand to ensure longevity and reliability.
By understanding the symptoms of a failing alternator, performing basic tests, and following preventative maintenance tips, you can keep your car's charging system in top condition and avoid unexpected breakdowns. Regular maintenance is key to a reliable vehicle. Don't wait until you're stranded to check your alternator!