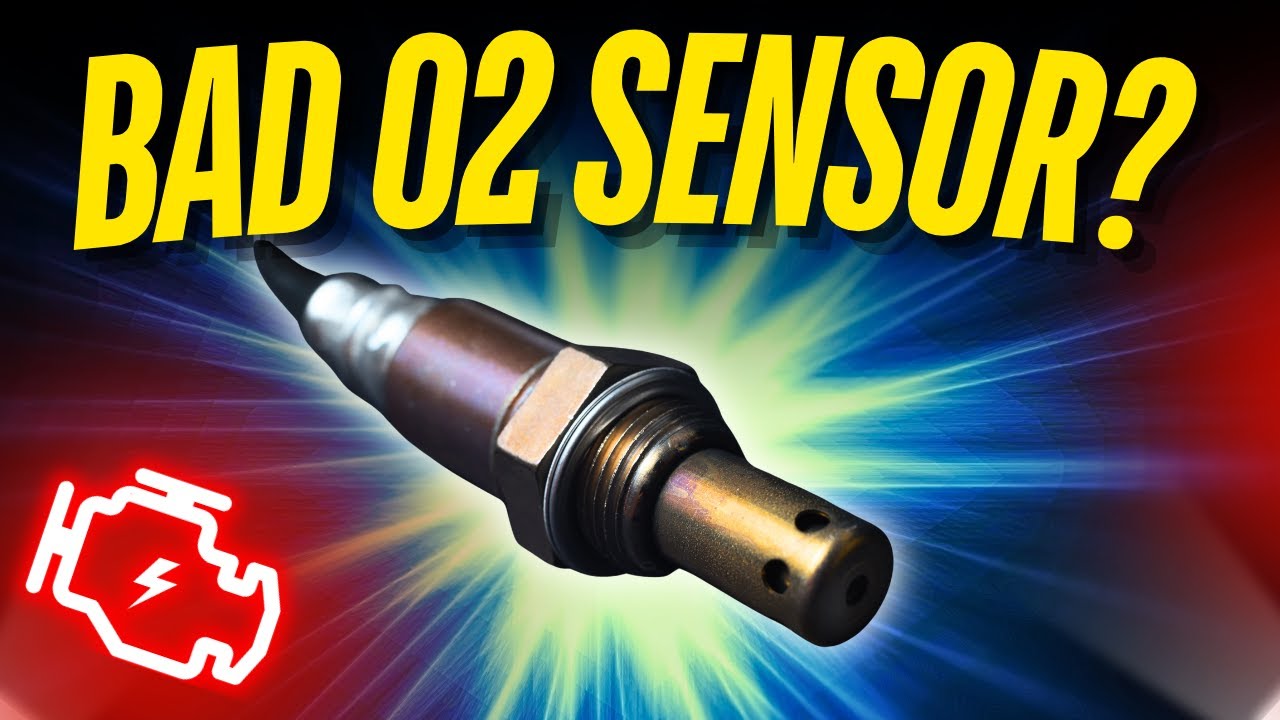
How To Check If An Oxygen Sensor Is Bad
Your car's oxygen sensors (O2 sensors) play a crucial role in engine performance and fuel efficiency. They monitor the amount of oxygen in your exhaust gases and relay this information to the engine control unit (ECU), which then adjusts the air-fuel mixture. When an oxygen sensor goes bad, it can lead to a host of problems, including poor gas mileage, reduced engine power, and even catalytic converter damage. This article will guide you through the process of checking if your oxygen sensor is bad, helping you diagnose the issue and potentially save on costly repairs.
Understanding Oxygen Sensor Function and Symptoms of Failure
Before diving into the testing procedures, it's essential to understand how oxygen sensors work and the symptoms they exhibit when failing. Oxygen sensors are typically located in the exhaust manifold before (upstream) and after (downstream) the catalytic converter. The upstream sensor is primarily responsible for monitoring the air-fuel mixture and ensuring optimal combustion. The downstream sensor monitors the efficiency of the catalytic converter.
A faulty oxygen sensor can manifest in various ways. Be on the lookout for these common symptoms:
- Poor fuel economy: A bad O2 sensor can cause the engine to run rich, meaning it's using too much fuel.
- Rough idling: An inaccurate sensor reading can disrupt the smooth operation of the engine at idle.
- Reduced engine power: An incorrect air-fuel mixture can lead to a decrease in overall engine performance.
- Check engine light: This is the most common indicator of a problem. A diagnostic trouble code (DTC) related to the oxygen sensor will likely be stored in the ECU.
- Failed emissions test: Faulty O2 sensors can cause your vehicle to fail an emissions test due to increased pollutants.
- Hesitation during acceleration: The engine might stumble or hesitate when you try to accelerate.
- Black smoke from the exhaust: This is another sign of a rich-running engine due to a faulty O2 sensor.
Methods for Checking Your Oxygen Sensor
Several methods can be used to check the functionality of your oxygen sensor. These range from simple visual inspections to more complex diagnostic procedures requiring specialized tools. Here's a breakdown of the most common methods:
1. Visual Inspection
Start with a visual inspection of the oxygen sensor. Look for any signs of physical damage, such as:
- Cracked or broken sensor housing
- Damaged wiring
- Corroded electrical connectors
- Contamination (oil, coolant, or other fluids)
If you find any visible damage, it's likely the sensor needs to be replaced. Even if the sensor looks physically intact, internal damage might still be present, requiring further testing.
2. Using an OBD-II Scanner
An OBD-II scanner is a valuable tool for diagnosing a wide range of automotive problems, including oxygen sensor issues. Here's how to use it:
- Plug the scanner into the OBD-II port, typically located under the dashboard on the driver's side.
- Turn the ignition key to the "on" position, but don't start the engine.
- Follow the scanner's instructions to read diagnostic trouble codes (DTCs).
- Look for codes related to the oxygen sensor, such as P0130-P0167 (sensor circuit malfunction) or P0420 (catalytic converter efficiency below threshold).
It's important to note that a DTC related to the oxygen sensor doesn't always mean the sensor itself is faulty. It could indicate a problem with the wiring, connectors, or other components in the system. Consult your vehicle's repair manual for specific code definitions and troubleshooting steps.
Besides reading codes, some advanced scanners can display live data from the oxygen sensors. This allows you to monitor the sensor's voltage readings in real-time and see if they are within the expected range.
3. Multimeter Testing
A multimeter can be used to directly test the output voltage of the oxygen sensor. This requires a bit more technical knowledge, but it's a reliable way to assess the sensor's functionality. Here's the general procedure:
- Locate the oxygen sensor you want to test.
- Identify the signal wire on the sensor (consult your vehicle's wiring diagram).
- Set the multimeter to measure DC voltage.
- Connect the positive lead of the multimeter to the signal wire and the negative lead to a good ground.
- Start the engine and let it warm up to operating temperature.
- Observe the voltage reading on the multimeter. The voltage should fluctuate between approximately 0.1 and 0.9 volts. A sluggish or constant voltage reading could indicate a faulty sensor.
Important safety note: Be extremely careful when working around a hot engine and exhaust system. Wear appropriate safety gear, such as gloves and eye protection.
The exact voltage range and testing procedure may vary depending on the type of oxygen sensor (zirconia or titania) and the vehicle's make and model. Refer to your vehicle's repair manual for specific instructions.
4. Back Probe Testing
Back probe testing is a less invasive way to test the oxygen sensor using a multimeter. Instead of disconnecting the sensor's connector, you insert the multimeter probes into the back of the connector to access the signal wire. This allows you to test the sensor while it's still connected and operating.
The testing procedure is similar to the multimeter testing described above. Connect the positive lead of the multimeter to the signal wire and the negative lead to a good ground. Start the engine and observe the voltage readings. A fluctuating voltage indicates a functional sensor, while a sluggish or constant voltage suggests a problem.
Replacing a Bad Oxygen Sensor
If you've determined that your oxygen sensor is bad, the next step is to replace it. Here are some general guidelines:
- Purchase the correct replacement sensor: Make sure you get the right sensor for your vehicle's make, model, and year. Consult your vehicle's repair manual or an auto parts store for the correct part number.
- Disconnect the negative battery cable: This will prevent any electrical shorts during the replacement process.
- Locate the oxygen sensor: It's typically located in the exhaust manifold or exhaust pipe.
- Unplug the electrical connector: Disconnect the sensor's electrical connector.
- Remove the old sensor: Use an oxygen sensor socket to remove the old sensor. This special socket has a slot that allows you to pass the wiring through.
- Install the new sensor: Apply anti-seize compound to the threads of the new sensor to prevent it from seizing in the future. Tighten the sensor to the specified torque.
- Reconnect the electrical connector: Plug the electrical connector back into the sensor.
- Reconnect the negative battery cable: Reconnect the negative battery cable.
- Clear the DTCs: Use an OBD-II scanner to clear any DTCs related to the oxygen sensor.
Replacing an oxygen sensor can sometimes be a difficult task, especially if the old sensor is seized in place. If you're not comfortable performing the replacement yourself, it's best to take your vehicle to a qualified mechanic.
Conclusion
Checking if your oxygen sensor is bad can seem daunting, but by following these steps, you can effectively diagnose the issue and take appropriate action. From visual inspections and OBD-II scanning to multimeter testing, several methods are available to assess the sensor's functionality. Remember to consult your vehicle's repair manual for specific instructions and safety precautions. By addressing a faulty oxygen sensor promptly, you can restore your vehicle's fuel efficiency, performance, and emissions control system.