How To Clean Leather Car Seats With Holes
Leather car seats, synonymous with luxury and comfort, grace the interiors of many vehicles, from classic Mustangs to modern BMWs. However, even the most meticulously cared-for leather is susceptible to wear and tear. One common issue is the development of holes, ranging from tiny pinpricks to larger tears. Addressing these holes promptly is crucial to prevent further damage and maintain the aesthetic appeal of your car's interior.
Understanding Leather Damage and Repair
Before diving into the repair process, it's important to understand the different types of leather used in car interiors and the common causes of damage.
Most car seats aren't made of pure, untreated leather. Instead, they typically use finished leather, also known as coated or protected leather. This type of leather has a protective coating (usually a polyurethane or similar polymer) applied to the surface. This coating provides resistance to stains, UV damage, and general wear, making it more practical for daily use. Examples include the leather seats in a Toyota Camry or a Honda Accord. The coating, however, can crack and peel over time, leading to damage.
Unfinished leather, such as aniline or semi-aniline leather, is less common but found in some high-end vehicles like certain Bentley or Rolls-Royce models. These leathers have minimal or no protective coating, resulting in a softer, more luxurious feel. However, they are also more susceptible to stains and damage, requiring more diligent care.
Common causes of holes in leather car seats include:
- Sharp objects: Keys, pens, tools, and other sharp items can easily puncture or tear the leather.
- Friction and Abrasion: Constant rubbing against seat belts, clothing, or even just the movement of passengers can wear down the leather, especially in high-wear areas like the bolsters. Think about the driver's seat bolster in a sports car like a Porsche 911 – it sees a lot of action!
- UV Exposure: Prolonged exposure to sunlight can dry out the leather, making it brittle and more prone to cracking and tearing.
- Neglect and Lack of Maintenance: Failing to regularly clean and condition the leather can accelerate wear and tear.
- Pet Damage: Pets with sharp claws can easily scratch and puncture leather seats.
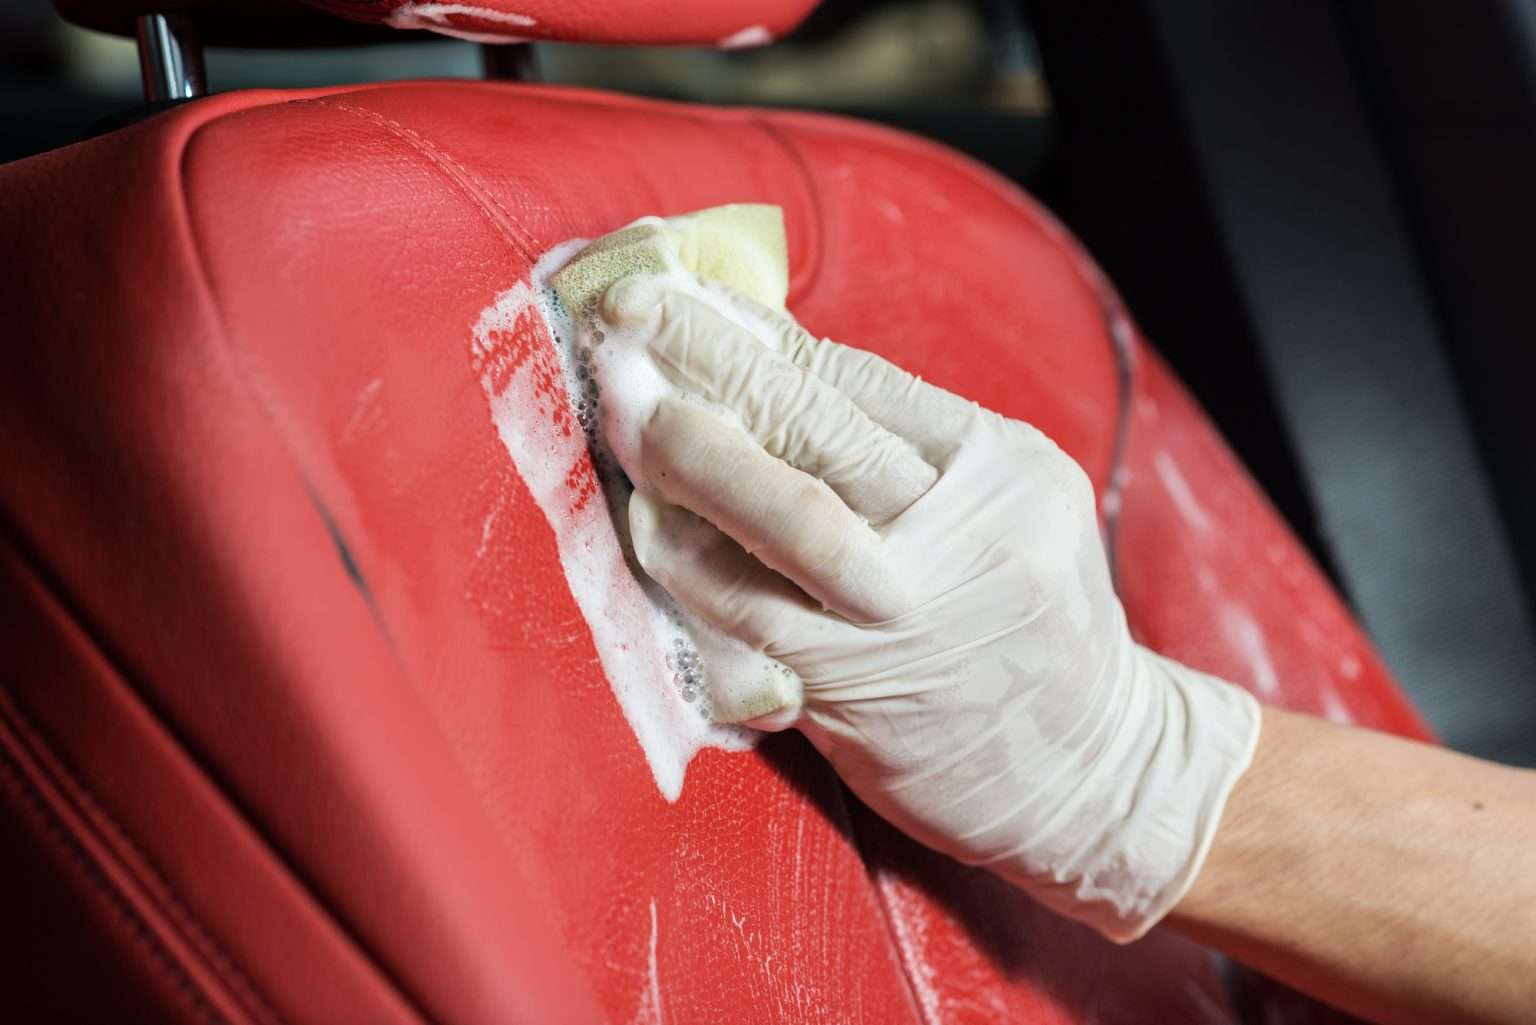
Cleaning and Preparing the Damaged Area
Before attempting any repairs, thorough cleaning is essential. This removes dirt, grime, and oils that can interfere with the repair process. Here's a step-by-step guide:
- Vacuum the area: Use a soft brush attachment to vacuum the area around the hole. This will remove loose debris and dirt particles. Pay close attention to the edges of the hole.
- Clean the leather: Apply a pH-balanced leather cleaner specifically designed for automotive use. Avoid harsh chemicals or abrasive cleaners, as these can further damage the leather. Always test the cleaner on an inconspicuous area first to ensure it doesn't discolor the leather. For example, test it under the seat or in a rear corner.
- Apply the cleaner: Use a soft microfiber cloth to gently apply the cleaner to the affected area. Avoid saturating the leather.
- Wipe away excess cleaner: Use a clean, damp microfiber cloth to wipe away any excess cleaner.
- Dry the area: Allow the leather to air dry completely before proceeding with the repair. Do not use a hairdryer or other heat source, as this can damage the leather.
Repairing Small Holes and Tears
For small holes (smaller than a pencil eraser) and minor tears, a leather repair kit can be an effective solution. These kits typically contain a leather filler compound, color pigments, and application tools.
- Prepare the edges of the hole: Use a sharp blade (like a hobby knife) to carefully trim any loose or frayed edges around the hole. This will create a clean surface for the filler to adhere to.
- Apply the leather filler: Using the applicator tool provided in the kit, carefully apply the leather filler to the hole. Apply the filler in thin layers, allowing each layer to dry completely before applying the next. This prevents the filler from shrinking or cracking.
- Smooth the filler: Once the hole is filled, use the applicator tool to smooth the surface of the filler. The goal is to make the filler level with the surrounding leather.
- Apply color pigment: Most leather repair kits include color pigments that can be mixed to match the color of your leather. Carefully mix the pigments according to the instructions in the kit.
- Apply the color: Using a sponge or applicator brush, apply the color to the filled area. Blend the color into the surrounding leather to create a seamless transition.
- Seal the repair: Some kits include a sealant or topcoat that can be applied to protect the repair and provide a consistent sheen. Follow the instructions in the kit for applying the sealant.
Repairing Larger Holes and Tears
For larger holes and tears (larger than a pencil eraser), a more involved repair process is required. This often involves using a backing material to provide support for the filler.
- Create a backing: Cut a piece of strong fabric (like denim or canvas) slightly larger than the hole. Insert the backing material into the hole, positioning it underneath the leather. Use tweezers or a similar tool to ensure the backing is properly positioned.
- Adhere the backing: Use a flexible leather adhesive to glue the backing material to the underside of the leather around the hole. Allow the adhesive to dry completely.
- Fill the hole: Follow the same steps as for repairing small holes, applying the leather filler in thin layers and smoothing the surface.
- Match the texture: Leather has a distinct texture. Some repair kits include texture pads that can be used to imprint the texture onto the wet filler. This helps to blend the repair seamlessly with the surrounding leather.
- Color and seal: Follow the same steps as for repairing small holes, applying the color pigment and sealant.
When to Seek Professional Help
While DIY leather repair kits can be effective for minor damage, it's important to recognize when a professional repair is necessary. Consider seeking professional help if:
- The hole or tear is very large or complex.
- The damage is in a high-wear area, such as the seat bolster.
- You are not comfortable working with leather repair materials.
- You are concerned about matching the color and texture of the leather.
A professional leather repair technician has the experience, tools, and materials to restore your leather seats to their original condition. They can also address underlying issues, such as weakened stitching or damaged foam, that may be contributing to the problem. Often, they can even reskin a panel of the seat with matching leather if necessary.
Practical Takeaways
- Prevention is key: Protect your leather seats from sharp objects, UV exposure, and neglect. Use seat covers if necessary, especially when transporting pets or tools.
- Regular cleaning and conditioning: Clean and condition your leather seats every few months to keep them supple and resistant to damage.
- Address damage promptly: Repair small holes and tears as soon as possible to prevent them from worsening.
- Choose the right products: Use leather cleaners, conditioners, and repair kits specifically designed for automotive use.
- Don't be afraid to seek professional help: If you're unsure about repairing the damage yourself, consult a professional leather repair technician.
By following these tips, you can keep your leather car seats looking their best for years to come, preserving the value and comfort of your vehicle, whether it's a daily driver or a cherished classic.