
How To Clean The Inside Of Car Headlights
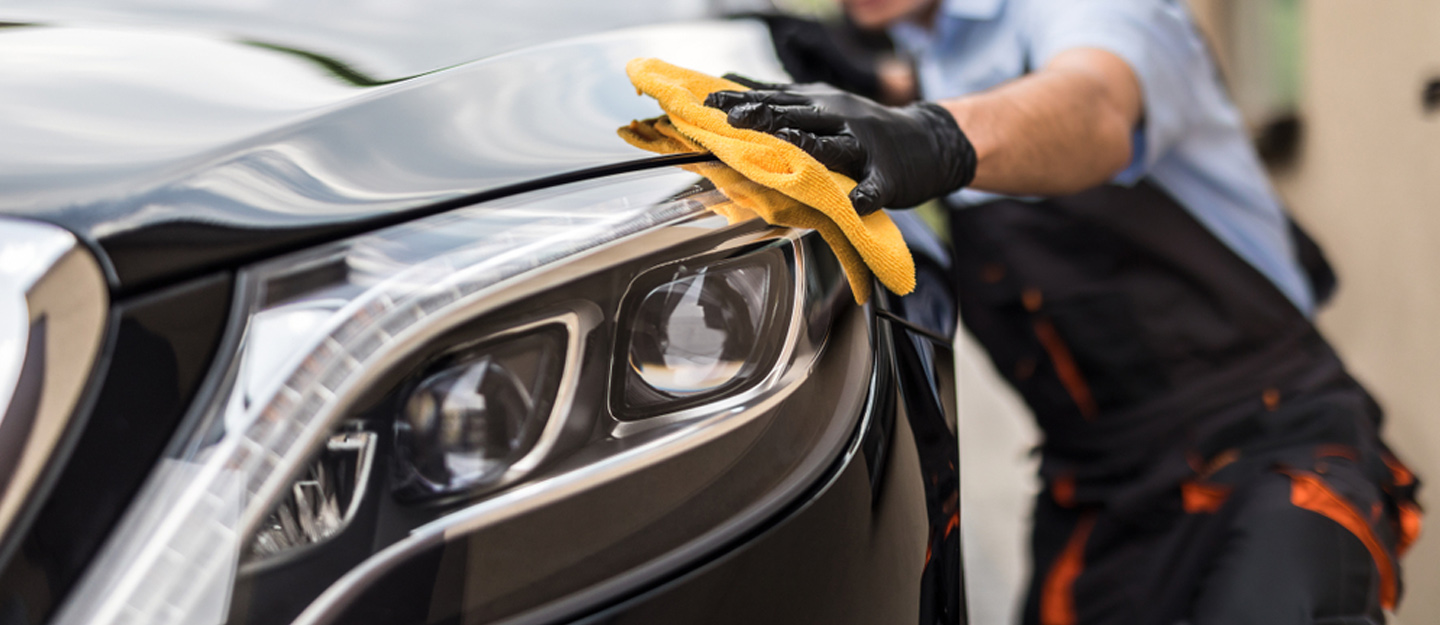
Modern car headlights, while marvels of engineering, are susceptible to internal fogging and clouding, dramatically reducing their effectiveness and, consequently, your nighttime visibility. This isn't just about aesthetics; it's a safety issue. Understanding the causes of this problem and the proper techniques for rectification is crucial for any vehicle owner. This guide delves into the technical aspects of headlight cleaning, providing a comprehensive walkthrough for amateur engineers and curious readers.
Understanding the Problem: Why Do Headlights Cloud Internally?
Several factors contribute to the insidious buildup of grime inside your headlight assemblies. Identifying the root cause is the first step towards a lasting solution.
The Culprit: Off-Gassing and Environmental Contamination
Modern headlight housings aren't perfectly sealed. While designed to keep out large debris and moisture, they often allow a small amount of air exchange. This is necessary to prevent pressure buildup due to temperature fluctuations, which could damage the lens or bulb. This ventilation, however, becomes a double-edged sword.
Off-gassing is a significant contributor. The plastic components within the headlight assembly, particularly the wiring insulation and the plastic housing itself, release volatile organic compounds (VOCs) over time. These VOCs condense on the cooler inner surface of the lens, forming a thin, greasy film. This is especially prevalent in newer vehicles or after replacing bulbs, as the new components are at their peak off-gassing phase.
Environmental contamination also plays a role. Dust, pollen, and exhaust fumes can enter the housing through the aforementioned ventilation system. These particles adhere to the off-gassed film, accelerating the clouding process. Humidity exacerbates the problem, causing the contaminants to bind more effectively to the lens surface.
The Role of Bulb Heat
Heat generated by the headlight bulb itself accelerates the off-gassing process and can also contribute to the breakdown of the plastic components over time. Higher wattage bulbs, while providing brighter light, will also generate significantly more heat, intensifying the problem. Consider the material science implications: polymers degrade faster at elevated temperatures. The Arrhenius equation describes this relationship mathematically: higher temperature, exponentially higher reaction rate.
Assessing the Damage and Choosing the Right Approach
Before embarking on a cleaning spree, assess the severity of the clouding. Minor fogging might respond to less invasive methods, while severe buildup may necessitate a more drastic approach involving complete disassembly.
Examine the headlight housing closely. Is the clouding uniform, or is it concentrated in specific areas? Are there visible streaks or drips, indicating water intrusion? This will help you determine the extent of the contamination and whether the housing seals are compromised.
Important Safety Note: Always disconnect the vehicle's battery before working on any electrical components. This will prevent accidental short circuits and potential injury.
Cleaning Methods: A Step-by-Step Guide
We'll explore two primary methods: the "Indirect Cleaning" method (without disassembly) and the "Direct Cleaning" method (requiring disassembly). Each has its advantages and disadvantages.
Indirect Cleaning: The Less Invasive Approach
This method aims to clean the headlight lens without physically opening the housing. It relies on specialized cleaning solutions and agitation to loosen and remove the contaminants.
- Preparation: Remove the headlight bulb(s). This provides access to the inside of the housing. Seal the bulb socket openings with tape or plastic wrap to prevent cleaning solution from entering the electrical connectors.
- Solution Selection: Choose a dedicated headlight cleaning solution specifically designed for plastic lenses. Isopropyl alcohol (IPA) can be used, but it's crucial to dilute it with distilled water to prevent damage to the plastic. A mixture of 50% IPA and 50% distilled water is generally safe and effective. Some people use a solution of white vinegar and water.
- Agitation: Introduce the cleaning solution into the headlight housing through the bulb socket opening. Use a soft, lint-free cloth or a microfiber towel attached to a long, flexible tool (like a coat hanger with the end wrapped in cloth) to gently scrub the inside of the lens. Ensure the cloth is securely attached to avoid it detaching inside the headlight. Alternatively, some use small, soft sponges attached to similar tools. Gentle is key. Excessive force can scratch the lens.
- Rinsing: Thoroughly rinse the housing with distilled water to remove any remaining cleaning solution and dislodged contaminants. Repeat the rinsing process multiple times.
- Drying: Allow the housing to air dry completely. This may take several hours or even overnight. Use a hairdryer on a low setting to expedite the drying process, but be careful not to overheat the plastic. Ensure all moisture is gone before reinstalling the bulbs. Moisture promotes mold growth and corrosion.
- Inspection: Once dry, inspect the lens for any remaining streaks or residue. Repeat the cleaning process if necessary.
Limitations: This method is less effective for heavy contamination or stubborn stains. It's also difficult to reach all areas of the lens, especially in complex headlight designs.
Direct Cleaning: The Disassembly Approach
This method involves removing the headlight assembly from the vehicle and disassembling it to directly access and clean the lens. This offers the most thorough cleaning but requires more technical skill and patience.
- Removal: Consult your vehicle's service manual for instructions on how to safely remove the headlight assembly. This typically involves removing several screws or bolts and disconnecting electrical connectors. Be careful not to damage the surrounding body panels.
- Disassembly: Most headlight assemblies are sealed with a heat-resistant adhesive. To separate the lens from the housing, you'll need to soften this adhesive. This can be done by placing the headlight assembly in a preheated oven at a low temperature (around 200°F or 93°C) for a short period (5-10 minutes). Monitor the assembly closely to prevent melting or warping. Alternatively, you can use a heat gun, but this requires more careful control to avoid overheating specific areas.
- Separation: Once the adhesive is softened, carefully pry the lens away from the housing. Use plastic trim removal tools to avoid scratching the plastic. Work slowly and methodically, applying even pressure around the perimeter.
- Cleaning: Now that you have direct access to the lens, clean it thoroughly with the same cleaning solution and soft cloths used in the indirect method. You can also use a plastic polish to remove minor scratches and restore clarity.
- Reassembly: Before reassembling the headlight, thoroughly clean the mating surfaces of the lens and housing. Apply a new bead of headlight sealant (available at most auto parts stores) to ensure a watertight seal.
- Clamping: Clamp the lens and housing together securely and allow the sealant to cure completely. This may take 24-48 hours.
- Reinstallation: Reinstall the headlight assembly onto the vehicle, following the reverse of the removal procedure.
Advantages: This method allows for the most thorough cleaning and provides the opportunity to address any other issues within the headlight assembly, such as damaged reflectors or corroded wiring. It also allows for inspection and potential replacement of the sealant.
Disadvantages: This method is more time-consuming and requires more technical skill. There is also a risk of damaging the headlight assembly during disassembly or reassembly. The heat process could permanently alter the material properties of the housing if not controlled.
Preventative Measures: Keeping Your Headlights Clean for Longer
Once you've cleaned your headlights, you can take steps to prevent future clouding:
- Use high-quality headlight bulbs that generate less heat. Consider LED bulbs as a low-heat alternative.
- Ensure the headlight housing vents are clear and unobstructed to promote proper airflow.
- Apply a UV protectant coating to the exterior of the lens to prevent yellowing and fading from sun exposure.
- Regularly inspect your headlights for signs of condensation or water intrusion and address any issues promptly.
Conclusion: A Clear Path Forward
Cleaning the inside of your car headlights is a worthwhile endeavor that improves both the aesthetics and safety of your vehicle. By understanding the causes of clouding and following the proper cleaning techniques, you can restore your headlights to their original brilliance and ensure clear visibility on the road. Remember to always prioritize safety and consult your vehicle's service manual for specific instructions. With a little patience and attention to detail, you can keep your headlights shining brightly for years to come.