
How To Clean Undercarriage Of Car At Home
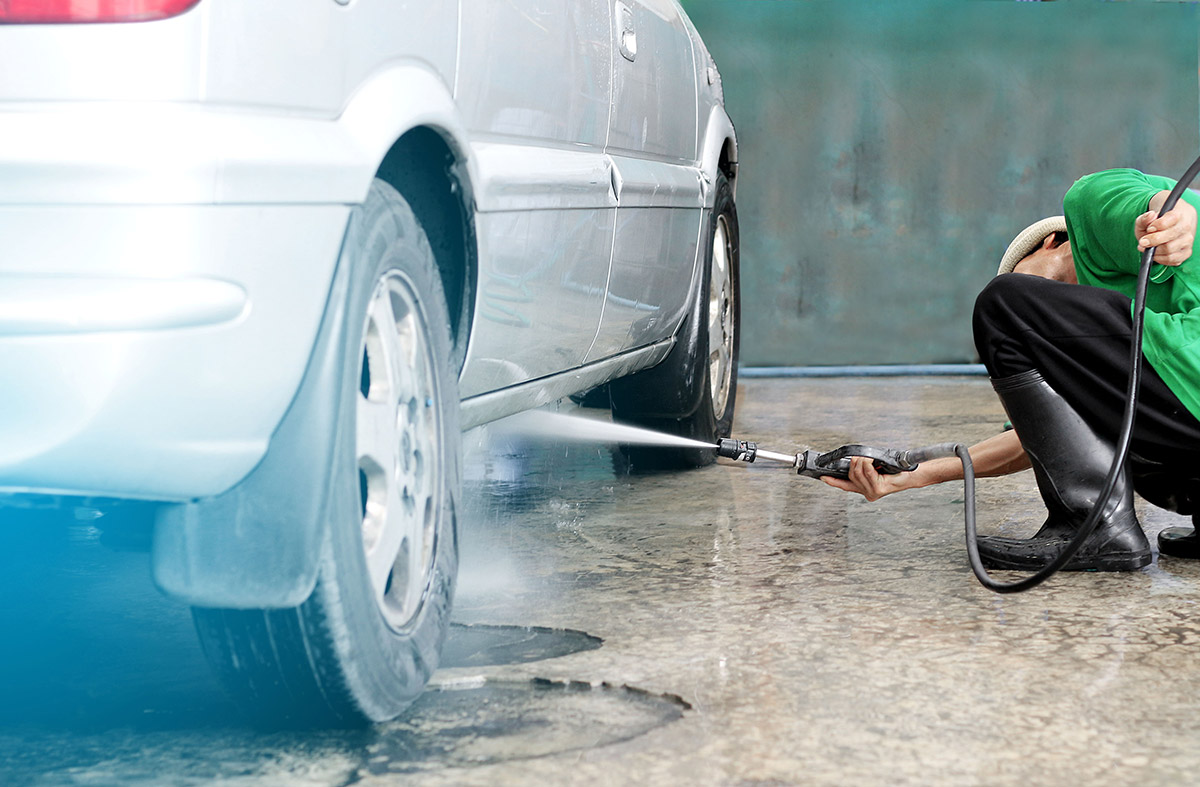
The undercarriage of your car. It's the unsung hero, the silent workhorse battling road grime, salt, and debris to keep your vehicle running smoothly. Yet, it’s often the most neglected part when it comes to cleaning. Ignoring the undercarriage can lead to rust, corrosion, and premature failure of critical components. Fortunately, with the right tools and techniques, you can effectively clean your car's undercarriage at home, saving money and extending the life of your vehicle. This article provides a comprehensive guide for automotive enthusiasts, mechanics, and car owners alike.
Why Cleaning Your Undercarriage Matters
The undercarriage is constantly exposed to harsh elements. Road salt, especially prevalent in colder climates, is a notorious culprit for rust formation. Gravel, dirt, and other debris can chip away at protective coatings, exposing bare metal to the elements. Oil leaks, if left unattended, can also attract grime and accelerate corrosion. Think of it as the foundation of your house; if the foundation crumbles, the whole structure is at risk. Similarly, a compromised undercarriage can lead to:
- Reduced structural integrity: Rust weakens the frame and other structural components.
- Component failure: Brake lines, fuel lines, exhaust systems, and suspension parts are all vulnerable to corrosion.
- Decreased resale value: A rusty undercarriage is a major red flag for potential buyers.
Tools and Materials You'll Need
Before you begin, gather the necessary tools and materials. Safety is paramount, so wear appropriate personal protective equipment (PPE). Here's a comprehensive list:
- Pressure Washer: A pressure washer is the most effective tool for blasting away accumulated grime. Look for one with adjustable pressure settings to avoid damaging sensitive components. A rotating nozzle or underbody cleaner attachment is highly recommended.
- Jack and Jack Stands: Raising the vehicle provides better access to the undercarriage. Always use jack stands for safety; never work under a vehicle supported only by a jack.
- Wheel Chocks: Place wheel chocks behind the rear wheels (or front wheels if working on the rear) to prevent the car from rolling.
- Degreaser: A good quality degreaser will help dissolve stubborn oil and grease deposits. Opt for a biodegradable and environmentally friendly option.
- Rust Converter/Inhibitor: For areas with existing rust, a rust converter will neutralize the rust and prevent further corrosion. A rust inhibitor can be applied as a preventative measure.
- Protective Eyewear and Gloves: Protect your eyes and hands from flying debris and harsh chemicals.
- Scrub Brush: A long-handled scrub brush can help reach tight spots and dislodge stubborn grime.
- Garden Hose (for rinsing): If you don't have a pressure washer, a garden hose with a high-pressure nozzle can be used, but it will be less effective.
- Car Wash Soap (Optional): Adding a small amount of car wash soap to the pressure washer can help remove light dirt and grime.
Step-by-Step Cleaning Process
- Preparation: Park the car on a level surface and engage the parking brake. Chock the wheels opposite the end you're lifting.
- Lifting the Vehicle: Carefully jack up the vehicle and securely place it on jack stands. Consult your owner's manual for proper jacking points.
- Initial Rinse: Use the pressure washer or garden hose to thoroughly rinse the undercarriage, removing loose dirt and debris. Start from the top and work your way down.
- Applying Degreaser: Apply degreaser to areas with heavy oil and grease buildup. Let it sit for the recommended time (usually 5-10 minutes) to allow it to penetrate the grime.
- Scrubbing (If Necessary): Use the scrub brush to agitate stubborn grime and grease deposits. Pay attention to areas around the engine, transmission, and suspension components.
- Pressure Washing: Use the pressure washer to thoroughly rinse away the degreaser and remaining grime. An underbody cleaner attachment is particularly useful for this step. Move the nozzle slowly and steadily to ensure complete coverage.
- Rust Treatment (If Necessary): If you find areas with rust, apply a rust converter according to the manufacturer's instructions. This will neutralize the rust and prevent further corrosion.
- Protective Coating (Optional): Once the undercarriage is clean and dry, you can apply a rust inhibitor or undercoating for added protection.
- Lowering the Vehicle: Carefully lower the vehicle back to the ground.
- Final Rinse: Give the entire vehicle a final rinse to remove any residual dirt or chemicals.
Important Considerations and Safety Precautions
- Avoid spraying directly into electrical connectors or sensitive components. Cover them with plastic bags if necessary.
- Be mindful of the pressure setting on your pressure washer. Excessive pressure can damage paint or delicate parts.
- Never work under a vehicle supported only by a jack. Always use jack stands.
- Dispose of used degreaser and other chemicals properly. Check your local regulations for disposal guidelines.
- Consider the environment. Use biodegradable degreasers and collect runoff water to prevent pollution.
Frequency of Cleaning
The frequency of undercarriage cleaning depends on your driving conditions. If you live in an area with harsh winters or frequently drive on unpaved roads, cleaning every few months is recommended. Otherwise, cleaning once or twice a year should suffice. Regular inspections for rust and corrosion are also crucial for maintaining a healthy undercarriage.
By following these steps, you can effectively clean your car's undercarriage at home, protecting it from rust and corrosion and extending the life of your vehicle. Remember to prioritize safety and use the appropriate tools and materials. A little effort can go a long way in preserving the integrity of your vehicle's undercarriage and ensuring its long-term reliability.