
How To Clean Weathertech Mats To Look New
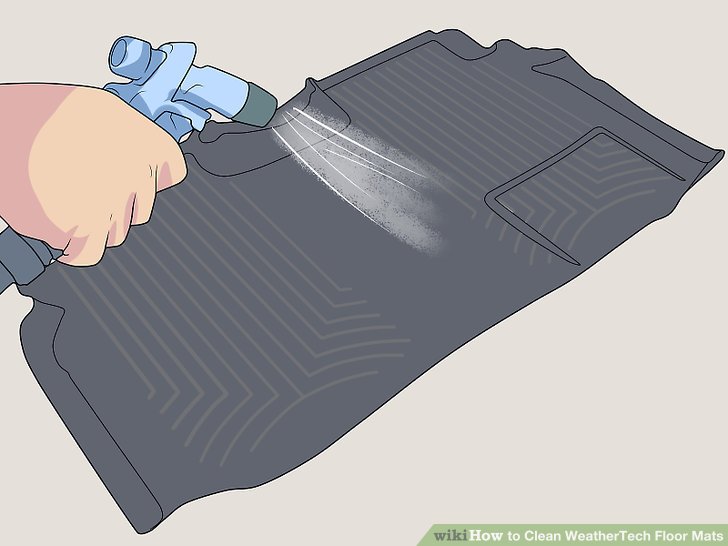
WeatherTech floor mats are renowned for their durability and ability to protect a vehicle's interior from the elements. Their design, often featuring deep channels and high edges, effectively traps dirt, mud, snow, and spills. However, this very design, while advantageous for protection, also makes them prone to accumulating stubborn grime. Restoring them to their original, like-new condition requires a systematic approach, understanding the materials involved, and utilizing the correct cleaning agents and techniques. This guide will explore the science and art of effectively cleaning WeatherTech mats.
Understanding the Enemy: Types of Grime
Before diving into the cleaning process, it's crucial to identify the types of contaminants clinging to your WeatherTech mats. This knowledge dictates the appropriate cleaning strategies.
Common Culprits
- Dry, Loose Debris: This category includes sand, dust, leaves, and other easily dislodged particles. These are best addressed with initial dry cleaning methods.
- Mud and Dirt: A combination of soil, water, and organic matter. The organic components can stain and harbor bacteria, leading to unpleasant odors.
- Road Salt and Calcium Chloride: Used for de-icing, these corrosive substances can leave a white, powdery residue. If left untreated, they can degrade the rubber over time.
- Oil and Grease: Spilled fluids from maintenance tasks, leaky containers, or even residue tracked in from shoes can create stubborn, oily stains.
- Spilled Food and Beverages: These can leave sticky residues and stains, attracting insects and promoting bacterial growth.
The Arsenal: Tools and Cleaning Agents
Equipping yourself with the right tools and cleaning agents is paramount for achieving optimal results. Choosing the wrong products can damage the mats, leaving them discolored or brittle.
Essential Tools
- Vacuum Cleaner: A wet/dry vacuum is ideal for removing loose debris and extracting liquids.
- Stiff-Bristled Brush: For scrubbing embedded dirt and grime. Consider a brush specifically designed for automotive detailing, as these often have ergonomic handles and durable bristles.
- Microfiber Towels: For wiping down surfaces and absorbing excess moisture.
- Hose with Adjustable Nozzle: For rinsing the mats thoroughly.
- Optional: Pressure Washer: Use with extreme caution and a wide-angle nozzle to avoid damaging the mats. Adjust pressure to a low setting.
Choosing the Right Cleaning Agents
The composition of WeatherTech mats, typically a thermoplastic elastomer (TPE), necessitates specific cleaning agents. Avoid harsh chemicals that can degrade the material. The goal is to remove dirt without compromising the integrity of the mat itself.
- Mild Dish Soap: A diluted solution of dish soap and water is effective for removing most types of dirt and grime. Look for a pH-neutral formula.
- All-Purpose Cleaner: Choose an all-purpose cleaner specifically formulated for automotive interiors. Ensure it is safe for rubber and plastic surfaces. Test in an inconspicuous area first.
- Rubber Cleaner: Specialized rubber cleaners are designed to remove stubborn stains and protect the mats from UV damage and cracking.
- Baking Soda Paste: A paste of baking soda and water can be effective for neutralizing odors and removing mild stains.
- Avoid: Bleach, ammonia, abrasive cleaners, and solvents (e.g., acetone, gasoline). These can damage or discolor the WeatherTech mats.
The Cleaning Process: A Step-by-Step Guide
The cleaning process should be methodical, ensuring that each step is executed effectively. Skipping steps or using improper techniques can lead to unsatisfactory results.
- Initial Dry Cleaning: Begin by removing all loose debris with a vacuum cleaner. Use the crevice tool to reach into the deep channels and corners of the mats. Alternatively, shake the mats vigorously to dislodge loose dirt.
- Pre-Soaking (Optional): For heavily soiled mats, pre-soaking them in warm water can loosen stubborn grime. Fill a tub or large container with warm water and add a small amount of dish soap. Submerge the mats for 15-20 minutes.
- Scrubbing: Apply your chosen cleaning solution to the mats. Using the stiff-bristled brush, scrub the entire surface, paying particular attention to areas with heavy soiling. Work in a circular motion to loosen dirt and grime from the textured surface.
Focus on the high edges and deep channels, as these areas tend to accumulate the most dirt.
- Rinsing: Thoroughly rinse the mats with a hose, using a strong stream of water to remove all traces of soap and dirt. Ensure that no residue remains, as this can attract more dirt in the future. If using a pressure washer, maintain a safe distance and use a wide-angle nozzle to avoid damaging the mats.
- Drying: Allow the mats to air dry completely in a well-ventilated area. Avoid direct sunlight, as this can cause the rubber to dry out and crack. You can expedite the drying process by using microfiber towels to absorb excess moisture.
Ensure the mats are completely dry before reinstalling them in your vehicle to prevent mold and mildew growth.
- Optional: Protectant Application: After the mats are completely dry, you can apply a rubber protectant to help maintain their appearance and protect them from UV damage. Follow the manufacturer's instructions carefully.
Tackling Stubborn Stains
Some stains may require additional attention. Here are some specific techniques for addressing common stubborn stains:
- Road Salt/Calcium Chloride: Use a solution of white vinegar and water (1:1 ratio) to neutralize the salt. Apply the solution to the affected areas, let it sit for a few minutes, and then scrub with a brush. Rinse thoroughly with water.
- Oil and Grease: Apply a degreasing cleaner specifically designed for automotive use. Follow the manufacturer's instructions carefully. You may need to repeat the process several times to completely remove the stain. Alternatively, sprinkle baking soda on the stain, let it sit overnight, and then vacuum it up.
- Spilled Food/Beverages: Use an enzyme-based cleaner to break down organic matter. Apply the cleaner to the stain, let it sit for the recommended time, and then scrub with a brush. Rinse thoroughly with water.
Maintenance Tips for Long-Lasting Cleanliness
Regular maintenance is key to keeping your WeatherTech mats looking new for years to come. Implementing these simple tips can significantly reduce the frequency of deep cleaning.
- Regular Vacuuming: Vacuum your mats at least once a week to remove loose debris. This prevents dirt from becoming embedded in the mats.
- Prompt Spill Cleanup: Clean up spills immediately to prevent staining and odors.
- Avoid Tracking Mud: Make an effort to wipe your shoes before entering your vehicle, especially during inclement weather.
- Consider Using WeatherTech TechCare Products: WeatherTech offers a line of cleaning and protectant products specifically designed for their floor mats. These products are formulated to be safe and effective for TPE materials. Always follow the manufacturer's instructions.
By understanding the composition of WeatherTech mats, identifying the types of grime they accumulate, and utilizing the correct cleaning agents and techniques, you can effectively restore them to their original, like-new condition. Regular maintenance will further prolong their lifespan and maintain the cleanliness of your vehicle's interior. Remember to always prioritize safety and follow the instructions provided by the cleaning product manufacturers.