
How To Diagnose A Bad Ac Compressor
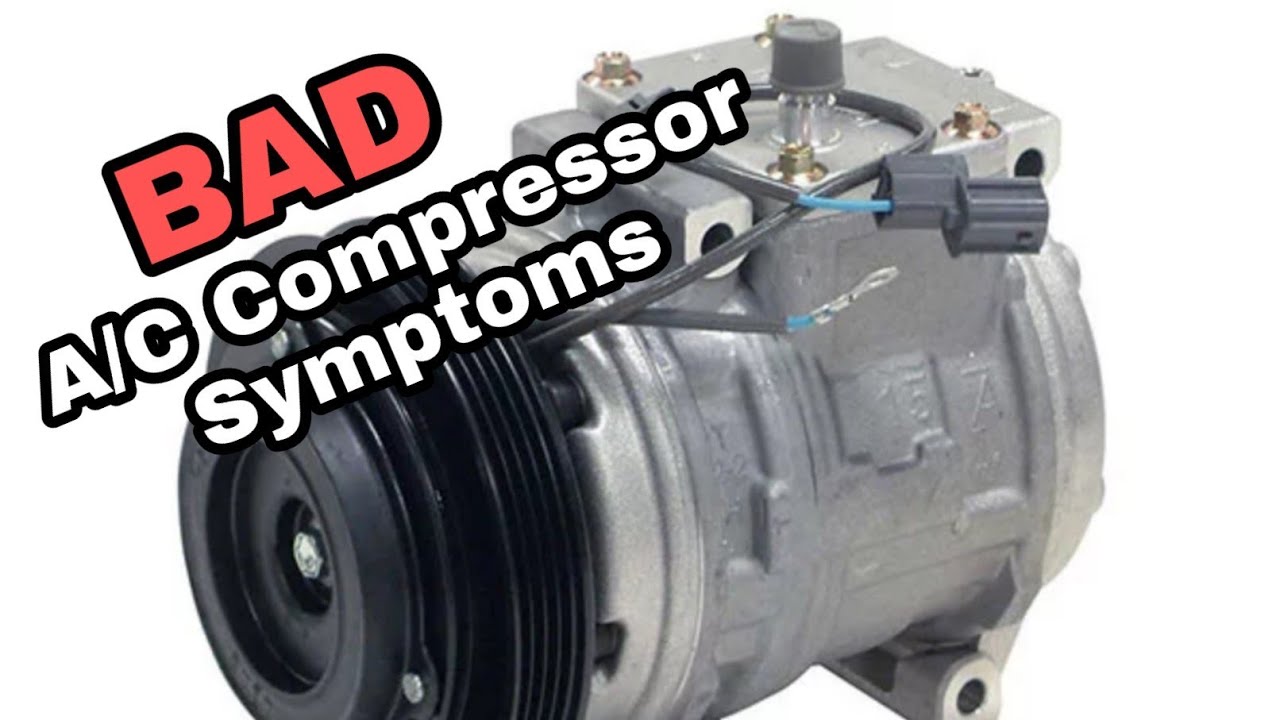
The air conditioning compressor, the heart of your car's cooling system, tirelessly circulates refrigerant. When it falters, comfort levels plummet, especially during sweltering summer months. But before rushing to replace what might be a functioning component, a methodical diagnostic approach is crucial. This guide provides an in-depth look at how to diagnose a bad AC compressor, arming you with the knowledge to determine if replacement is truly necessary.
Understanding the AC System's Players
Before diving into the diagnosis, let's review the key components and their roles within the AC system. This provides context for understanding why certain symptoms point towards a compressor failure. The essential elements include:
- Compressor: Compreses the refrigerant, raising its pressure and temperature. This is the workhorse of the system.
- Condenser: Dissipates heat from the high-pressure, high-temperature refrigerant, causing it to condense into a liquid.
- Receiver-Drier (or Accumulator): Filters contaminants and removes moisture from the refrigerant. The accumulator is typically found in systems with an orifice tube, while the receiver-drier is used with expansion valves.
- Expansion Valve (or Orifice Tube): Meters the flow of high-pressure liquid refrigerant into the evaporator, causing it to rapidly expand and cool.
- Evaporator: Absorbs heat from the cabin air, cooling it before it's blown into the vehicle.
A problem with any of these components can manifest as poor cooling performance, sometimes mimicking a faulty compressor.
Symptom Analysis: Clues to Compressor Failure
The first step in diagnosing a potentially bad compressor is to carefully observe the symptoms. While none are definitive on their own, a combination of symptoms strengthens the likelihood of compressor trouble. Here are some common indicators:
1. Lack of Cold Air
This is the most obvious symptom. If the AC system blows only warm air, the compressor may not be generating sufficient pressure to facilitate the cooling cycle. However, as noted, other issues can cause this. Begin with basic checks before condemning the compressor.
2. Unusual Noises
A failing compressor often emits unusual noises. These can range from:
- Grinding or Rattling: These sounds often indicate internal damage, such as worn bearings or damaged pistons within the compressor.
- Squealing: This can be caused by a slipping compressor clutch, a worn serpentine belt, or a seized compressor pulley.
- Clunking: A loud clunk might occur when the compressor cycles on or off, suggesting internal component failure or excessive wear.
Carefully pinpointing the source of the noise is critical. A stethoscope or even a long screwdriver used as a makeshift stethoscope can help isolate the sound. Be extremely cautious when working near moving parts like belts and pulleys.
3. Compressor Clutch Issues
The compressor clutch is an electromagnetic device that engages and disengages the compressor from the engine's drive belt. Problems with the clutch can prevent the compressor from operating. Look for these signs:
- Clutch Not Engaging: If the clutch isn't engaging, the compressor won't run, even if the engine is on and the AC is switched on. This could be due to a blown fuse, a faulty relay, a damaged clutch coil, or a low refrigerant level (which triggers a safety switch to prevent compressor damage).
- Clutch Slipping: A slipping clutch can cause inconsistent cooling and a burning rubber smell. This occurs when the clutch friction surfaces are worn, preventing a solid connection.
- Clutch Engaging and Disengaging Rapidly (Short Cycling): This can be caused by low refrigerant, a faulty low-pressure switch, or a problem within the compressor itself.
4. Refrigerant Leaks
A leaking compressor can lead to reduced cooling performance and eventually a complete loss of refrigerant. Signs of a refrigerant leak include:
- Visible Leaks: Look for oily residue around the compressor connections, hoses, and other AC components. Refrigerant oil often carries a fluorescent dye that makes leaks easier to spot with a UV light.
- Poor Cooling Performance: As refrigerant leaks, the system's ability to cool diminishes.
- Frequent Need to Recharge: If you find yourself constantly needing to recharge the AC system, it's a strong indication of a leak.
5. Debris in the System
A failing compressor can shed metal particles into the AC system, contaminating other components, especially the expansion valve/orifice tube and condenser. If you find metallic debris during an AC system repair, it's a near certainty that the compressor is the culprit and requires replacement and a thorough system flush.
Diagnostic Procedures: Putting Theory into Practice
Once you've identified potential symptoms, perform these diagnostic checks to confirm or rule out a compressor issue:
1. Visual Inspection
Begin with a thorough visual inspection. Look for:
- Damage to the Compressor Body: Cracks, dents, or other physical damage can indicate internal problems.
- Condition of the Compressor Clutch: Check for signs of wear, damage, or excessive rust. Ensure the clutch plate is securely attached.
- Condition of the Serpentine Belt: A worn or cracked belt can slip, preventing the compressor from turning properly.
- Leaks: Inspect all connections and hoses for signs of refrigerant leaks.
2. Clutch Engagement Test
Verify that the compressor clutch is engaging when the AC is turned on. You should see and hear the clutch plate engage. If it doesn't, check the following:
- Fuses and Relays: Check the AC compressor fuse and relay in the fuse box. Replace any blown fuses or faulty relays.
- Clutch Coil Voltage: Use a multimeter to check for voltage at the clutch coil connector when the AC is turned on. If there's no voltage, the problem lies in the wiring or control circuit.
- Clutch Coil Resistance: Use a multimeter to measure the resistance of the clutch coil. An open circuit (infinite resistance) indicates a faulty coil. Consult the vehicle's service manual for the correct resistance value.
- Air Gap: The air gap between the clutch plate and the compressor pulley must be within the manufacturer's specified range. An excessive air gap can prevent the clutch from engaging. Use a feeler gauge to measure the air gap and adjust as needed (if possible).
3. Pressure Testing
Measuring the high-side and low-side pressures of the AC system provides valuable insights into the compressor's performance. This requires specialized gauges and knowledge of AC system operation. Exercise extreme caution when working with pressurized refrigerant.
- Gauge Connection: Connect the AC manifold gauge set to the high-side and low-side service ports.
- Pressure Readings: Start the engine, turn on the AC to maximum cooling, and observe the pressure readings. Compare the readings to the vehicle's service manual specifications.
- Interpreting Results:
- Low Pressure on Both Sides: Indicates low refrigerant, a leak, or a faulty compressor.
- High Pressure on Both Sides: Suggests a blocked condenser or expansion valve.
- Very Low Low-Side Pressure and Very High High-Side Pressure: Could indicate a faulty expansion valve or a severely restricted orifice tube, but can also point to internal compressor damage.
- Equalized Pressure with Engine Off, But No Pressure Difference When Running: Strong indicator of a completely failed compressor.
4. Bypass Test (For Clutch Engagement Problems)
This test requires care and understanding of electrical circuits. If you suspect a faulty low-pressure switch is preventing the clutch from engaging, you can temporarily bypass the switch to see if the compressor starts. Disconnect the connector from the low-pressure switch and use a jumper wire to connect the two terminals. If the compressor clutch engages, the low-pressure switch is likely the culprit. Do not run the system for extended periods with the low-pressure switch bypassed, as this can damage the compressor if the refrigerant level is low.
Final Verdict: Compressor Replacement Justification
After completing the diagnostic procedures, you should have a clearer picture of the compressor's condition. A compressor replacement is generally justified if you observe:
- Internal compressor damage (grinding, rattling noises).
- A seized compressor.
- Inability to generate sufficient pressure.
- Excessive metallic debris in the system.
- Refrigerant leaks directly from the compressor body that cannot be repaired.
However, remember that a failing compressor can contaminate the entire AC system. Therefore, when replacing a compressor, it's generally recommended to also replace the receiver-drier (or accumulator), expansion valve (or orifice tube), and thoroughly flush the system to remove any debris. Failing to do so can lead to premature failure of the new compressor.
Diagnosing a bad AC compressor requires a methodical approach, careful observation, and a basic understanding of AC system operation. By following these steps, you can accurately assess the compressor's condition and make informed decisions about repair or replacement, ultimately restoring comfortable climate control to your vehicle.