
How To Fix A Small Crack In My Windshield
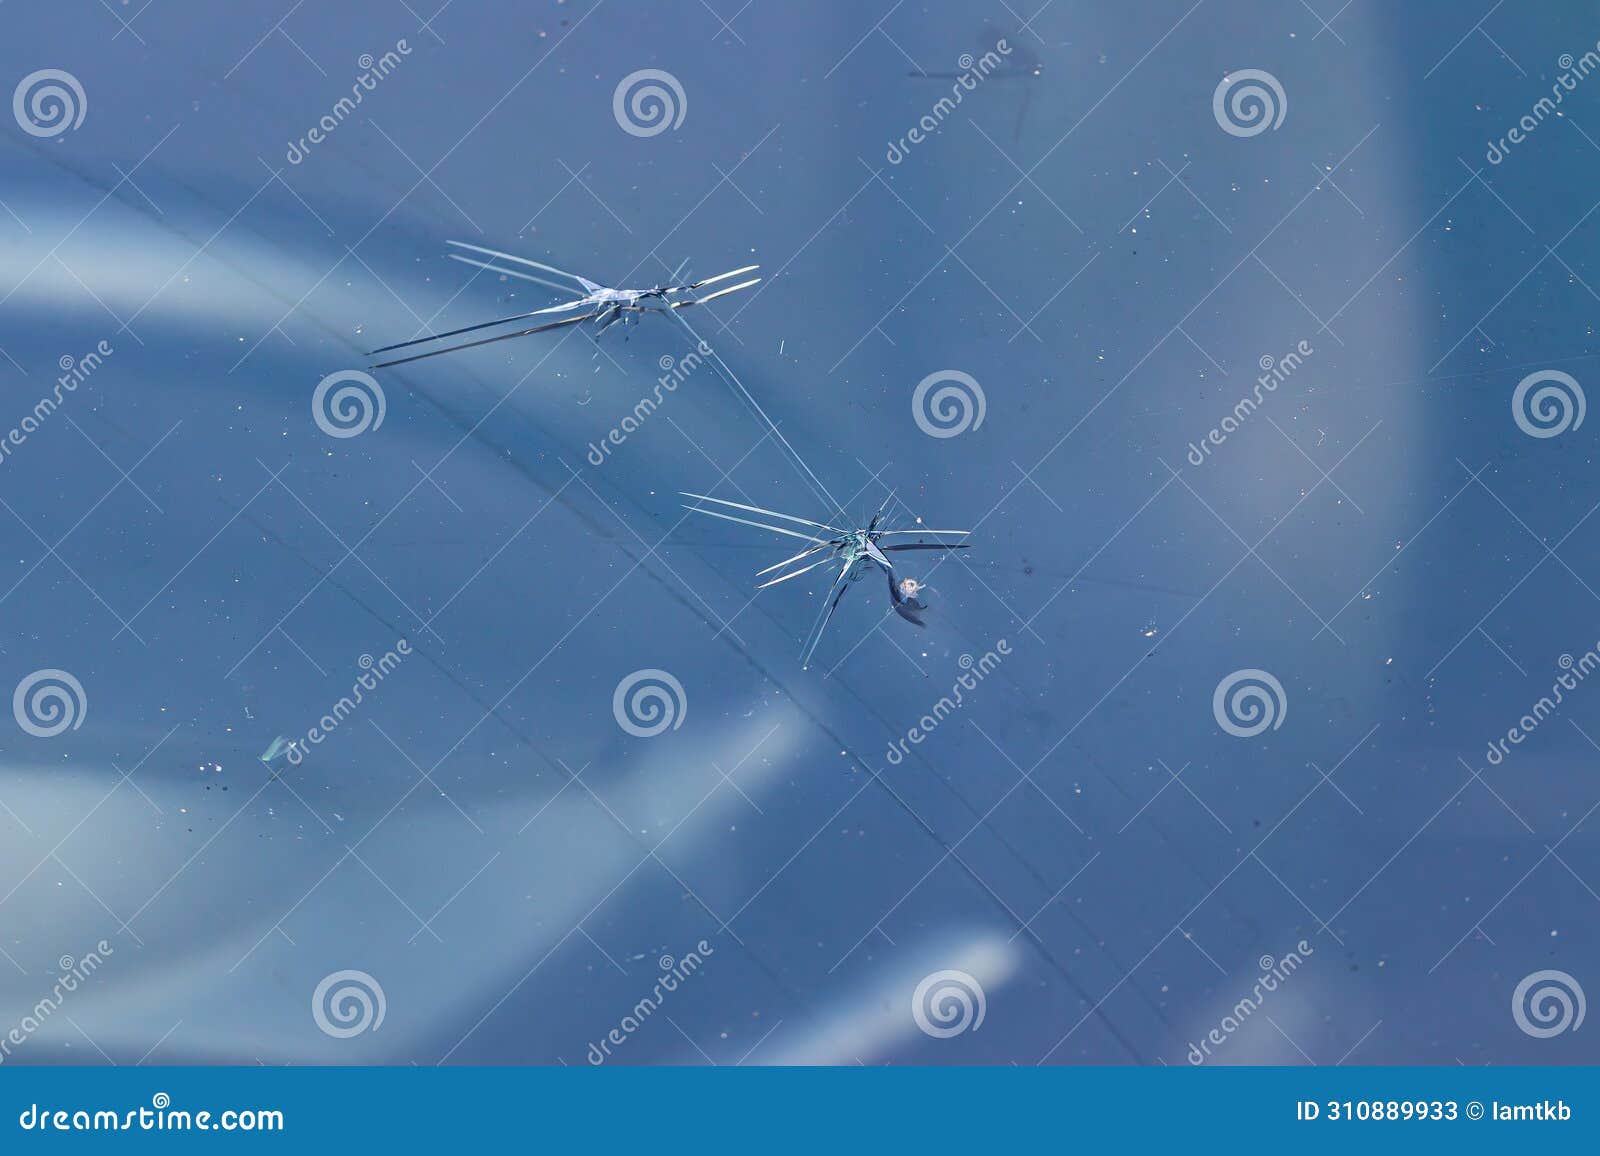
A cracked windshield, even a small one, is more than just an eyesore. It compromises the structural integrity of your vehicle, obstructs your view, and can lead to further damage, especially with temperature fluctuations and road vibrations. While a large crack necessitates a complete windshield replacement, a small chip or crack can often be repaired. This article will guide you through the process of assessing the damage and, if appropriate, repairing it yourself. Remember, safety is paramount, and if you're uncomfortable with any step, consulting a professional is always the best course of action.
Assessing the Damage
Before you even consider attempting a repair, you need to determine if it's feasible. A repair is generally a good option if:
- The crack or chip is smaller than a quarter (approximately 1 inch in diameter). Larger damage significantly weakens the windshield's structure.
- The damage isn't directly in the driver's line of sight. Even a well-repaired crack can leave a slight distortion that could be distracting while driving.
- The damage isn't close to the edge of the windshield (within a few inches). Edge cracks are more likely to spread rapidly due to stress concentration.
- The crack hasn't collected significant dirt or debris. Contaminants can interfere with the resin bonding process.
Carefully inspect the damage. Use a magnifying glass and a bright light to examine the extent and depth of the crack. If it appears large, complex, or if you have any doubts about its suitability for repair, consult a qualified auto glass technician.
Gathering Your Supplies
If you've determined that a DIY repair is appropriate, you'll need the following:
- Windshield Repair Kit: These kits are readily available at auto parts stores and online. Look for one with positive reviews and clear instructions. They typically include a resin injector, resin, curing strips, a razor blade, and an instruction manual.
- Clean Microfiber Cloth: For cleaning the windshield surface.
- Glass Cleaner: Specifically formulated for automotive glass. Avoid ammonia-based cleaners.
- Heat Gun or Hair Dryer (optional): To warm the windshield and improve resin flow. Use with extreme caution to avoid cracking the glass due to rapid temperature changes.
- Safety Glasses: To protect your eyes from debris and resin.
- Gloves: To protect your hands from the resin.
The Repair Process
Follow these steps carefully for the best results:
- Clean the Area: Thoroughly clean the windshield around the damaged area with glass cleaner and a microfiber cloth. Ensure the surface is completely dry. Use the provided pin or probe from the kit to carefully remove any loose glass fragments from the crack.
- Position the Injector: Attach the resin injector base to the windshield, centering it directly over the crack. The kit will provide instructions on how to properly adhere the base using suction cups or adhesive strips. Ensure a tight seal to prevent leaks.
- Apply the Resin: Carefully inject the resin into the injector base according to the kit's instructions. This usually involves filling the injector chamber and then using a plunger or screw mechanism to force the resin into the crack.
- Pressure Cycling: Many kits recommend cycling the pressure. This involves applying pressure to the resin, then releasing it to allow the resin to fully penetrate the crack. Repeat this process several times. A heat gun (on a low setting and held at a distance) can be used to slightly warm the glass and improve resin flow during this step. Caution: Excessive heat can cause further damage!
- Remove the Injector: Once the crack is filled (visible through the glass), carefully remove the injector base.
- Apply Curing Strips: Place the clear curing strips over the repaired area. These strips help to cure the resin by blocking out UV light.
- Cure the Resin: Expose the repaired area to direct sunlight (or a UV lamp, if provided) for the time specified in the kit instructions. Typically, this takes 30 minutes to an hour.
- Remove Curing Strips and Clean: Once the resin is fully cured, remove the curing strips. Use the razor blade (held at a very shallow angle) to carefully scrape away any excess resin from the surface of the windshield. Clean the area with glass cleaner and a microfiber cloth.
Post-Repair Considerations
After the repair, inspect the area carefully. The crack should be significantly less visible. The resin should be clear and free of bubbles. While the repair won't completely eliminate the crack, it should prevent it from spreading further. Keep in mind that repaired areas may be more susceptible to damage from future impacts. Regularly inspect the windshield for any new cracks or chips. If you notice any problems, consult with a professional auto glass repair service.