
How To Get A Stripped Bolt Out Of Oil Pan
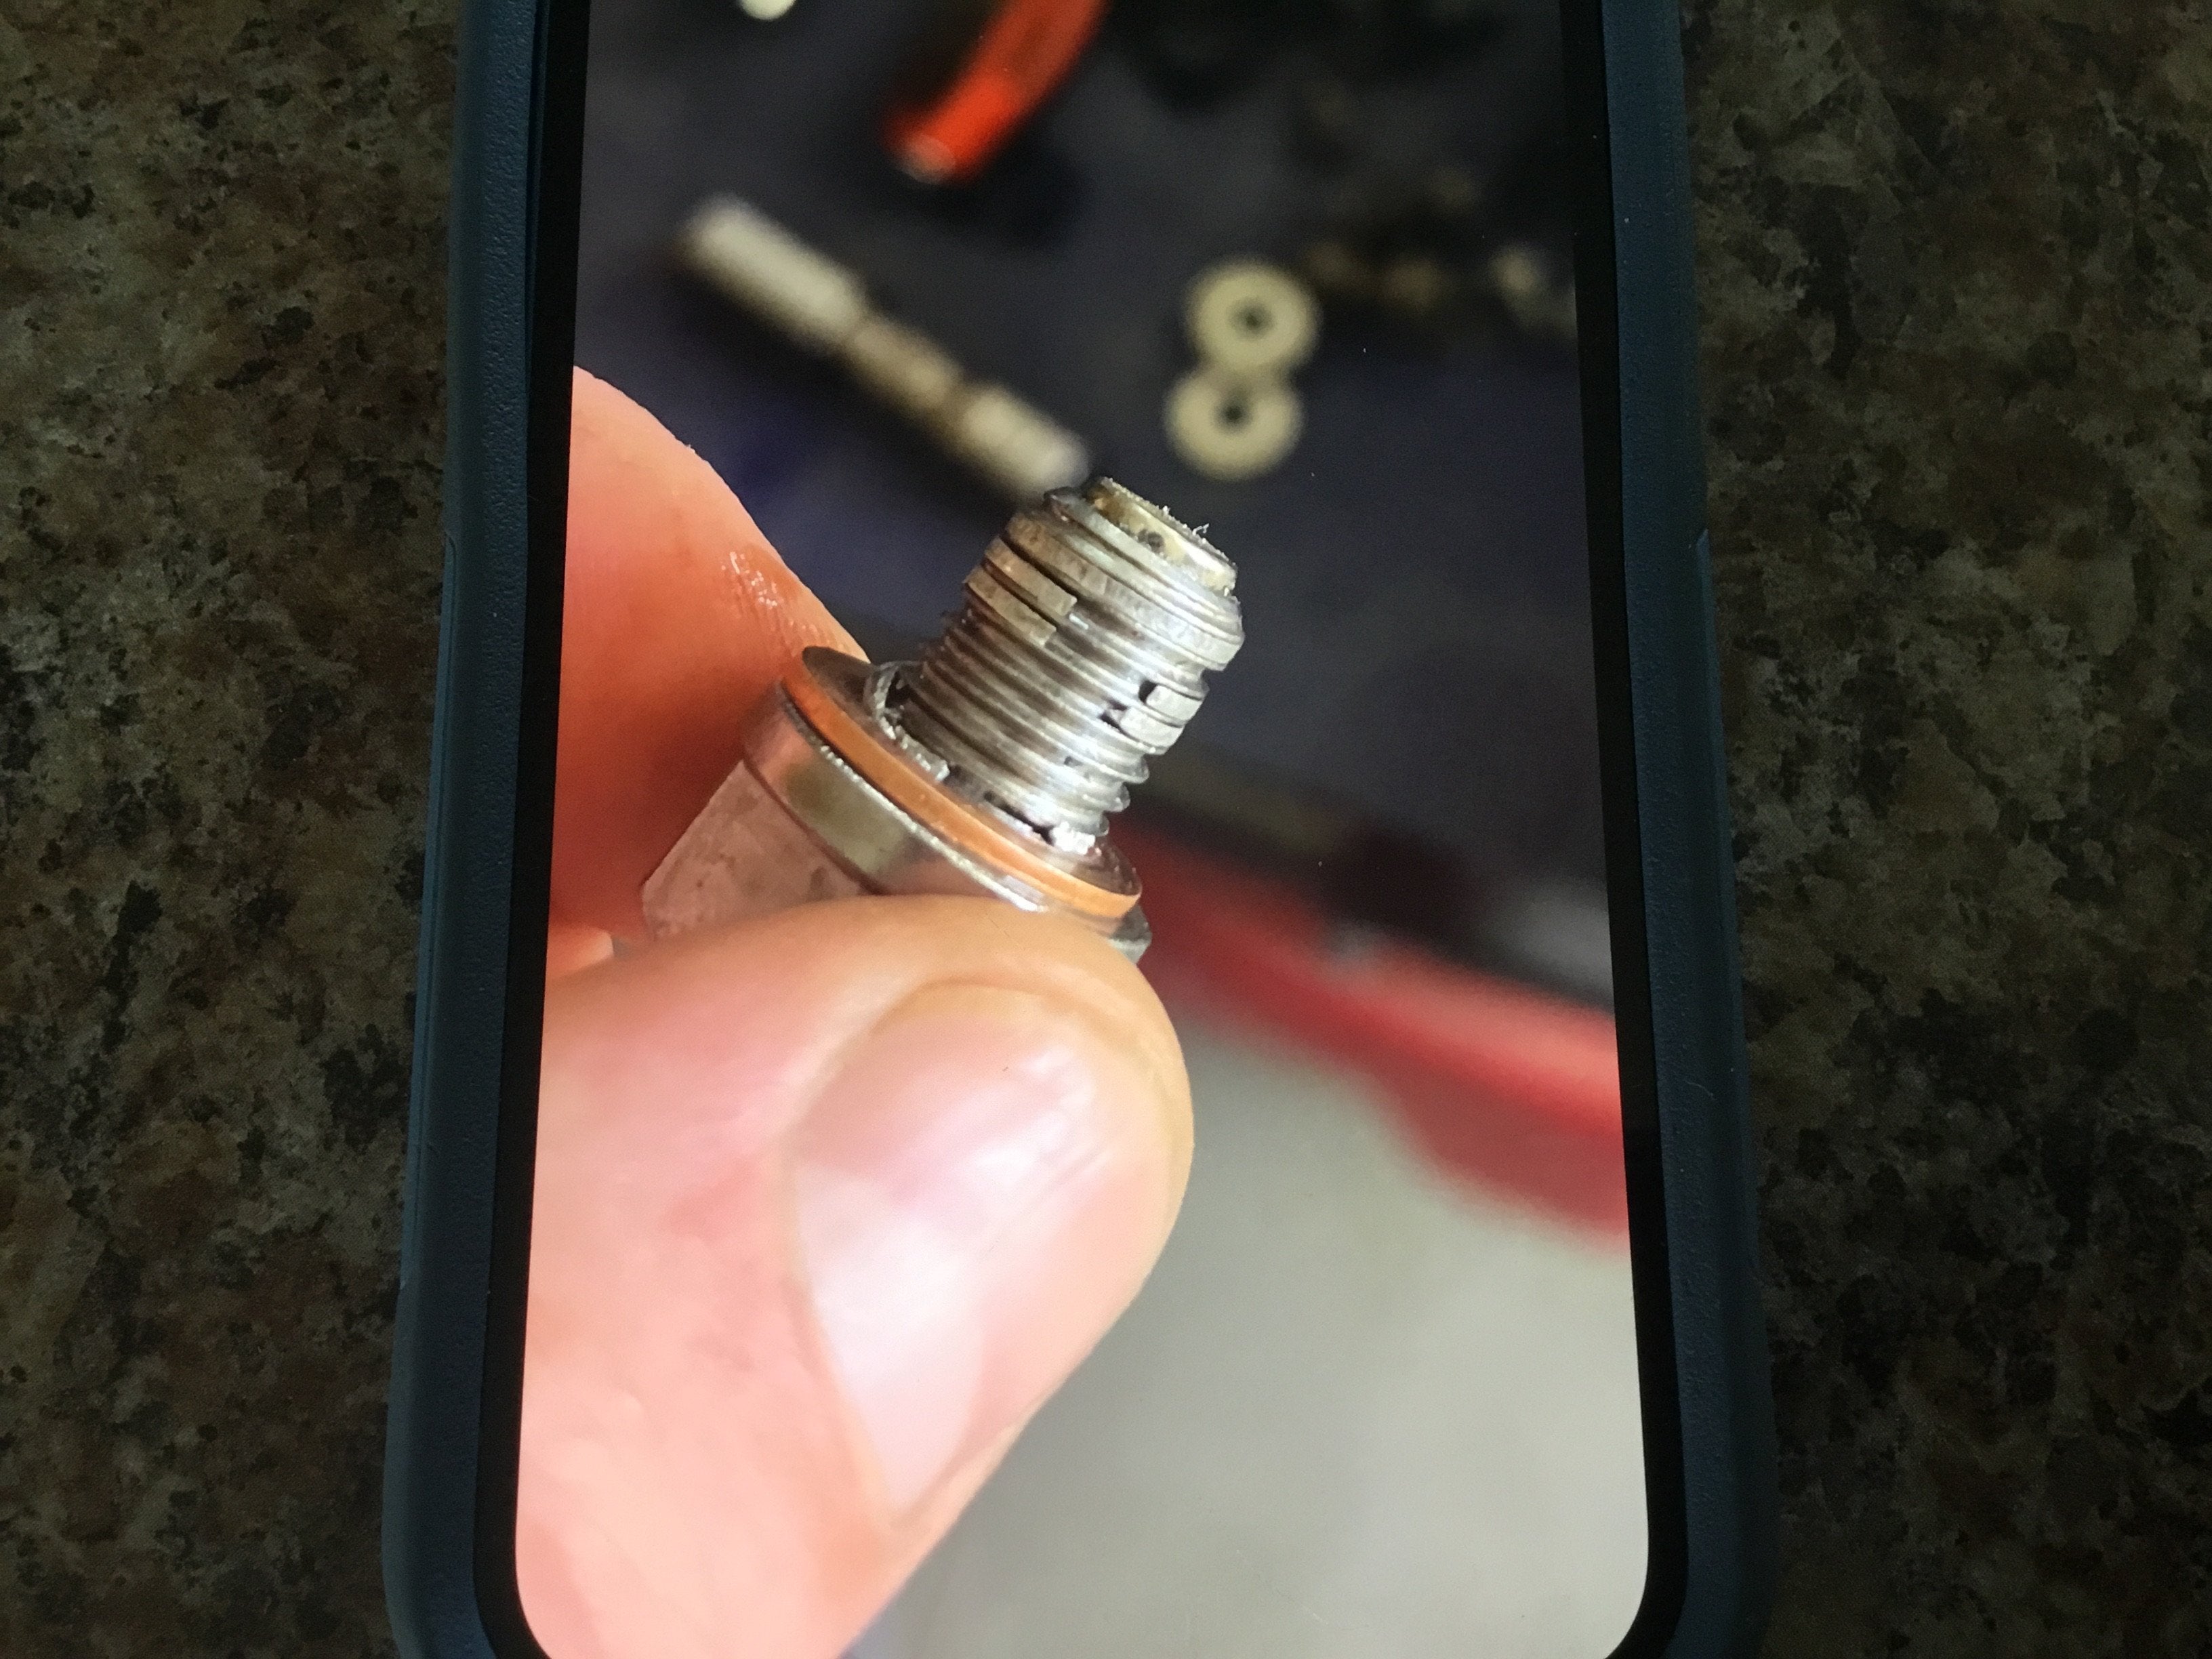
Few things are as frustrating as a stripped bolt, especially when it's the oil drain plug on your oil pan. That crucial component protecting your engine's lifeblood becomes a nightmare when you can't remove the drain plug to perform a simple oil change. This article will guide you through several methods for extracting a stripped oil drain plug, ranging from simple DIY techniques to more advanced solutions requiring specialized tools. We'll also discuss preventative measures to avoid this problem in the future.
Understanding the Problem: Why Oil Drain Plugs Strip
Before diving into solutions, it's important to understand why oil drain plugs strip in the first place. The primary culprit is overtightening. Many home mechanics, and even some professionals, tend to excessively tighten the drain plug, fearing leaks. This stretches the bolt's threads and can damage the relatively soft aluminum threads of the oil pan itself. Another contributing factor is using the wrong size wrench. SAE tools on metric bolts (or vice-versa) will round off the corners of the bolt head quickly. Finally, cross-threading during installation is a common cause of thread damage.
Method 1: The Rubber Band Trick (For Minor Stripping)
This is often the first line of defense and works best for plugs that are only slightly stripped. Find a thick, wide rubber band (like those used on produce). Fold it over a few times to create a denser pad. Insert this pad between the wrench and the stripped bolt head. The rubber can provide enough extra grip to allow you to turn the bolt. Use a wrench or socket that fits the bolt head snugly.
Method 2: The Hammer and Chisel (Use with Caution)
This method requires precision and a steady hand. Using a cold chisel and a hammer, carefully create a notch on the outer edge of the bolt head. Position the chisel at an angle that will allow you to tap the bolt counterclockwise (loosen it). Use short, sharp taps to avoid damaging the oil pan. Important: Wear safety glasses and gloves, and be extremely careful not to damage the oil pan. This technique is best suited for when the bolt head is significantly stripped, preventing standard socket engagement.
Method 3: Using a Bolt Extractor Set
A bolt extractor set is a worthwhile investment for any serious DIY mechanic. These sets contain specially designed sockets with reverse-threaded or aggressive internal grip patterns that bite into the damaged bolt head. Hammer the appropriate size extractor onto the stripped bolt head. Then, attach a wrench or socket to the extractor and carefully turn the bolt counterclockwise. This method provides a strong grip and is often effective even with severely stripped bolts. Brands like Craftsman and Irwin offer reliable bolt extractor sets.
Method 4: The "Weld a Nut" Technique (Advanced)
If all else fails, and you possess welding skills (or know someone who does), welding a nut onto the stripped bolt head is a highly effective solution. Clean the area around the bolt head thoroughly. Select a nut that's slightly larger than the original bolt head. Position the nut on top of the stripped bolt and weld it securely in place. Allow the weld to cool, then use a wrench to turn the nut and remove the bolt. The heat from the welding process can also help loosen any seized threads. Warning: This method requires proper welding equipment and experience to avoid damaging the oil pan or causing a fire.
Method 5: Oil Pan Replacement
In extreme cases, particularly when the threads inside the oil pan itself are severely damaged, replacing the entire oil pan might be the most practical solution. While more involved, it guarantees a proper seal and eliminates the risk of future leaks. Oil pan replacement costs vary widely depending on the vehicle make and model, but expect to pay between $200 and $800, including parts and labor.
Prevention is Key: Avoiding Stripped Oil Drain Plugs
The best way to deal with a stripped oil drain plug is to prevent it from happening in the first place. Here are some preventative measures:
- Use a Torque Wrench: Consult your vehicle's service manual for the correct torque specification for the oil drain plug. A torque wrench ensures you're not overtightening the bolt.
- Replace the Washer: Always replace the drain plug washer (or crush washer) with a new one each time you change the oil. A fresh washer ensures a proper seal.
- Inspect the Threads: Before installing the drain plug, inspect both the bolt and the oil pan threads for any signs of damage.
- Apply Anti-Seize Compound: A small amount of anti-seize compound on the bolt threads can prevent them from seizing and stripping in the future.
- Hand-Tighten First: Always start tightening the drain plug by hand to avoid cross-threading.
By following these guidelines, you can minimize the risk of stripping your oil drain plug and ensure smooth and hassle-free oil changes for years to come. Remember, a little prevention goes a long way in automotive maintenance.