
How To Get Condensation Out Of Headlights
Headlight condensation, those annoying streaks and foggy patches obscuring your beams, is a common automotive ailment. While sometimes merely cosmetic, persistent or excessive condensation can significantly reduce visibility, compromise headlight performance, and even lead to electrical problems. Understanding the cause and knowing how to effectively remove it is crucial for any vehicle owner, whether you're a seasoned mechanic or a dedicated enthusiast.
Understanding the Culprit: Why Condensation Forms
Condensation occurs when warm, humid air inside the headlight housing comes into contact with a cooler surface, usually the lens. Think of it like a cold glass of water on a summer day – moisture in the air condenses on the cold surface. In headlights, this warm air typically originates from the heat generated by the headlight bulb itself. Over time, the factory seal around the lens and bulb sockets can degrade, allowing moisture to seep in. Cracks or damage to the housing can also provide entry points.
A small amount of condensation, especially after washing your car or during periods of high humidity, is often normal and will typically dissipate on its own as the headlight operates and heats up. However, persistent condensation, large droplets, or standing water inside the housing indicate a more serious problem that requires attention.
Troubleshooting and Remediation: A Step-by-Step Guide
Before resorting to drastic measures, try these methods:
- Run Your Headlights: This is the simplest solution and often the most effective for mild condensation. Turn on your headlights (low beams are sufficient) for an extended period, ideally 20-30 minutes. The heat generated by the bulbs will warm the air inside the housing, hopefully evaporating the moisture and allowing it to escape through the vent. Make sure to do this in a well-ventilated area.
- Check the Vent Caps: Most headlight housings have small vent caps or tubes designed to allow air circulation and pressure equalization. These vents can become clogged with dirt, debris, or even insects, preventing moisture from escaping. Locate the vents (usually on the back of the housing) and ensure they are clear. A small brush or compressed air can be used to remove any obstructions.
If these methods fail to resolve the issue, more invasive steps are necessary:
- Silica Gel Desiccant Packs: These moisture-absorbing packets can be temporarily placed inside the headlight housing to draw out moisture.
- Accessing the Housing: This typically requires removing the headlight assembly from the vehicle. Refer to your vehicle's service manual for specific instructions.
- Bulb Removal: Once the headlight is removed, carefully disconnect and remove the headlight bulb and any other bulbs (e.g., turn signal, parking light).
- Desiccant Placement: Place several silica gel packets inside the housing, ensuring they don't interfere with the bulbs or wiring.
- Reassembly: Reinstall the bulbs and headlight assembly. Allow the desiccant to work for several hours or overnight. Check for improvement and repeat if necessary. Replace the silica gel packets as needed.
- Forced Air Drying: Using a hair dryer (on a low heat setting) or a compressed air nozzle can help to evaporate moisture.
- Safety First: Never use excessive heat, as this can damage the plastic lens. Maintain a safe distance between the heat source and the headlight.
- Directing Airflow: Carefully direct the airflow into the bulb socket opening. Move the heat source around to ensure even drying.
- Ventilation: Leave the vent caps off during the drying process to allow moisture to escape.
- Resealing the Headlight: This is the most involved solution, requiring the removal of the lens from the housing.
- Separating the Lens: This often involves heating the headlight assembly to soften the adhesive. A heat gun (used cautiously) or an oven (on a low temperature setting) can be used. Be extremely careful to avoid melting or warping the plastic.
- Cleaning and Drying: Thoroughly clean both the lens and the housing, removing any old sealant or debris. Allow everything to dry completely.
- Applying New Sealant: Use a high-quality automotive-grade headlight sealant (butyl rubber is a common choice) to create a new airtight seal between the lens and the housing.
- Reassembly and Curing: Carefully reassemble the headlight, ensuring a tight seal. Allow the sealant to cure completely according to the manufacturer's instructions.
Prevention is Key
To minimize the risk of future condensation problems:
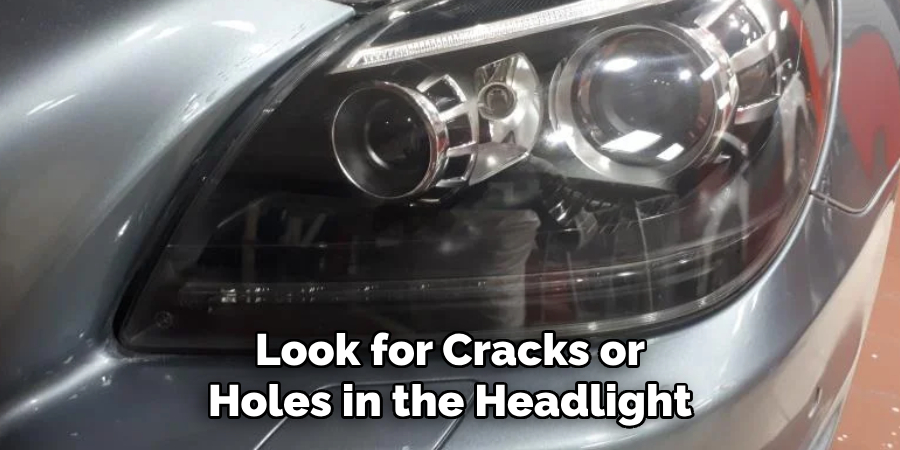
- Regularly inspect your headlight assemblies for cracks or damage.
- Replace damaged or worn bulb socket seals.
- Ensure the vent caps are clean and unobstructed.
- Avoid power washing your headlights directly.
- Consider applying a headlight restoration kit to improve the clarity and sealing of older lenses.
Addressing headlight condensation promptly will ensure optimal visibility and safety, preventing further damage to your vehicle's lighting system. While some solutions are straightforward, others require more technical expertise. If you're not comfortable performing any of these procedures, consult a qualified automotive technician.