
How To Get Lug Nuts Off That Are Stripped
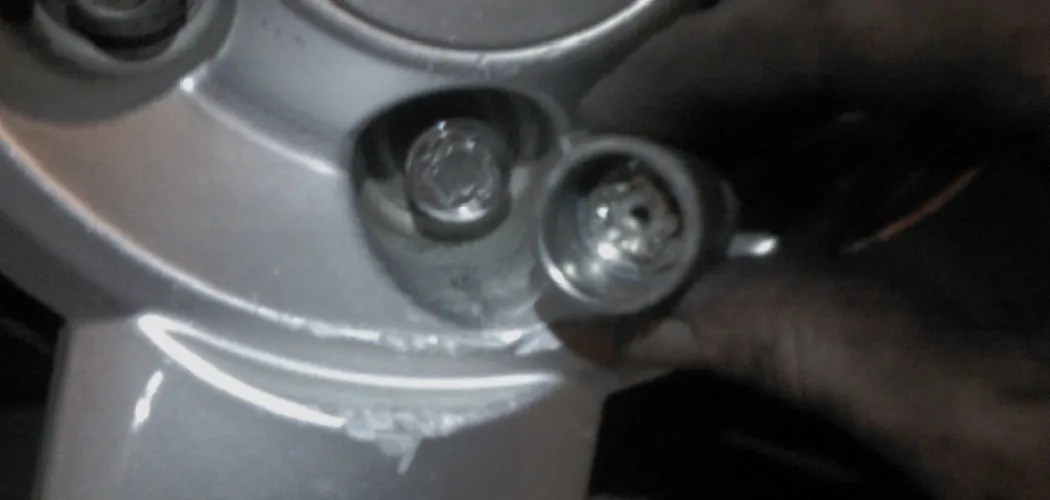
Dealing with stripped lug nuts is a common frustration for anyone who works on cars. A rounded-off or damaged lug nut can halt a wheel change in its tracks. But don't despair! With the right techniques and tools, you can usually remove even the most stubborn, stripped lug nuts without damaging your vehicle. This guide will walk you through several proven methods, from the simple to the more aggressive, to help you get those problem lug nuts off and get back on the road.
Understanding the Problem: Why Lug Nuts Strip
Before we dive into solutions, it's helpful to understand why lug nuts get stripped in the first place. The most common cause is improper torque. Overtightening stretches the threads and weakens the nut, eventually leading to rounding. Undertightening can also contribute, as the nut can loosen and begin to wobble, damaging both the nut and the wheel studs. Using the wrong size socket is another frequent culprit. A slightly too-large or too-small socket won't grip properly and will quickly round off the corners of the nut. Corrosion, rust, and general wear and tear also play a role, weakening the metal over time.
It's crucial to use a torque wrench when tightening lug nuts, setting it to the vehicle manufacturer's specified torque value (usually found in the owner's manual or on a sticker in the driver's side door jamb). Using an impact wrench without a torque stick is a recipe for overtightening.
Method 1: Using a Lug Nut Extractor (or Socket Extractor)
This is often the first and best option. Lug nut extractors are specially designed sockets with an internal, reverse-threaded or aggressively grooved design. They bite into the damaged lug nut, providing a solid grip for removal. They typically come in sets of various sizes.
How to Use a Lug Nut Extractor:
- Select the Correct Size: Choose an extractor socket that is slightly smaller than the damaged lug nut. You want a tight fit.
- Hammer It On: Place the extractor socket over the lug nut and use a hammer to firmly seat it. The goal is to ensure the extractor's teeth dig into the rounded edges.
- Attach a Breaker Bar or Impact Wrench: Connect a breaker bar (for maximum leverage) or an impact wrench to the extractor socket.
- Loosen the Lug Nut: Apply steady, firm pressure to loosen the lug nut. If using a breaker bar, try rocking it back and forth gently at first. If using an impact wrench, use short bursts of power.
- Remove the Extractor: Once the lug nut is loose, remove the extractor. You might need to use a punch or drift to knock the lug nut out of the extractor socket.
Important Note: Lug nut extractors are designed for one-time use per nut. After removal, the lug nut will likely be permanently attached to the extractor. Have replacement lug nuts ready.
Method 2: Using a Hammer and Chisel
This method requires more patience and precision, but it can be effective if you don't have a lug nut extractor. The idea is to use a chisel and hammer to create a new "edge" on the rounded lug nut, allowing you to grip it with a wrench.
How to Use a Hammer and Chisel:
- Position the Chisel: Place the chisel at an angle on one of the remaining flat surfaces of the lug nut. Aim for a spot that will allow you to turn the nut counter-clockwise (to loosen).
- Strike the Chisel: Use the hammer to strike the chisel firmly. Create a notch or indentation in the lug nut.
- Reposition and Repeat: Move the chisel to the side of the notch you just created and strike again. Continue this process to "chisel" a new edge or flat surface onto the lug nut.
- Use a Wrench: Once you've created a sufficient edge, try using a wrench (preferably a six-point socket for better grip) to loosen the lug nut.
Safety First: Wear safety glasses to protect your eyes from flying metal fragments. Be careful not to damage the wheel or surrounding components. This method is best used as a last resort as it can be time consuming and has a higher risk of damaging the wheel.
Method 3: Welding a New Nut Onto the Stripped Lug Nut
This is a more advanced technique that requires welding skills and equipment. The idea is to weld a new, undamaged nut onto the stripped lug nut, creating a solid connection that allows you to easily remove it.
How to Weld a New Nut Onto the Stripped Lug Nut:
- Clean the Area: Thoroughly clean the lug nut and surrounding area with a wire brush to remove any rust, dirt, or debris.
- Position the New Nut: Place a new nut (of the same size and thread pitch) directly over the stripped lug nut.
- Weld the Nut: Using a MIG or stick welder, carefully weld the new nut to the stripped lug nut. Ensure a strong, continuous weld around the entire circumference of the nut.
- Allow to Cool: Let the weld cool completely before attempting to remove the lug nut.
- Remove the Lug Nut: Use a wrench or socket to loosen and remove the new nut, which will now be attached to the stripped lug nut.
Caution: Welding generates intense heat. Be extremely careful not to damage the wheel bearing, brake components, or any other nearby parts. Protect these components with heat shields if necessary. If you are not experienced with welding, it's best to leave this method to a professional.
Method 4: Using a Nut Splitter
A nut splitter, also known as a nut cracker, is a specialized tool designed to break a nut open. It's not ideal for stripped lug nuts (extractors are better), but it can be useful in certain situations, especially if the lug nut is severely corroded or seized.
How to Use a Nut Splitter:
- Position the Nut Splitter: Place the nut splitter around the lug nut, ensuring that the cutting blade is aligned with one of the flat sides of the nut.
- Tighten the Screw: Tighten the screw on the nut splitter, forcing the blade into the lug nut.
- Continue Tightening: Continue tightening the screw until the lug nut cracks open.
- Remove the Pieces: Once the nut is cracked, use a wrench or pliers to remove the pieces.
Potential Drawbacks: Nut splitters can damage the wheel stud threads if not used carefully. They also require significant force and can be difficult to use in tight spaces. Be prepared for the nut to shatter or crumble which can send debris flying.
Preventing Stripped Lug Nuts in the Future
Prevention is always better than cure. To avoid stripped lug nuts in the future, follow these best practices:
- Use a Torque Wrench: Always use a torque wrench to tighten lug nuts to the manufacturer's specified torque.
- Use the Correct Socket Size: Ensure you are using the correct socket size and type (ideally a six-point socket) for your lug nuts.
- Inspect Lug Nuts Regularly: Check your lug nuts for signs of damage, corrosion, or wear and tear. Replace them as needed.
- Apply Anti-Seize: Apply a thin coat of anti-seize compound to the wheel studs before installing the lug nuts. This will help prevent corrosion and make removal easier in the future. Important Note: Some manufacturers advise against using anti-seize. Check your vehicle's manual or consult with a mechanic. If you do use anti-seize, reduce the torque specification by approximately 15-20% to compensate for the reduced friction.
- Proper Installation Sequence: When installing wheels, tighten the lug nuts in a star pattern to ensure even pressure.
Dealing with stripped lug nuts can be a challenging but manageable task. By understanding the causes and using the appropriate tools and techniques, you can safely and effectively remove even the most stubborn lug nuts. Remember to prioritize safety and take your time. If you're unsure about any step, it's always best to consult with a qualified mechanic.