How To Get Maintenance Required Light Off
The dreaded "Maintenance Required" light – a small, often orange, beacon on your dashboard that can trigger a range of emotions from mild annoyance to outright panic. While it might feel like a harbinger of doom, in most cases, it's simply a reminder that your vehicle is due for routine servicing, usually an oil change. However, knowing how to properly reset this light is crucial, not only to silence the dashboard warning but also to ensure the correct maintenance schedule is followed. This guide provides a comprehensive breakdown of how to tackle the Maintenance Required light, covering various makes and models and offering troubleshooting tips for when things don't go as planned.
Understanding the Maintenance Required Light
Firstly, it's important to understand the difference between the Maintenance Required light and the Check Engine light. The Maintenance Required light is typically a timer-based or mileage-based reminder for scheduled services. The Check Engine light, on the other hand, indicates a potential issue with the engine or emissions system and requires immediate diagnosis using an OBD-II scanner.
Most manufacturers pre-program the Maintenance Required light to illuminate after a specific mileage interval (e.g., every 5,000 or 7,500 miles) or after a certain amount of time has passed since the last reset. This interval corresponds to the recommended oil change frequency or other scheduled maintenance tasks, as outlined in your vehicle's owner's manual.
Resetting the Maintenance Required Light: Common Methods
The reset procedure varies depending on the vehicle's make and model. Here are some of the most common methods:
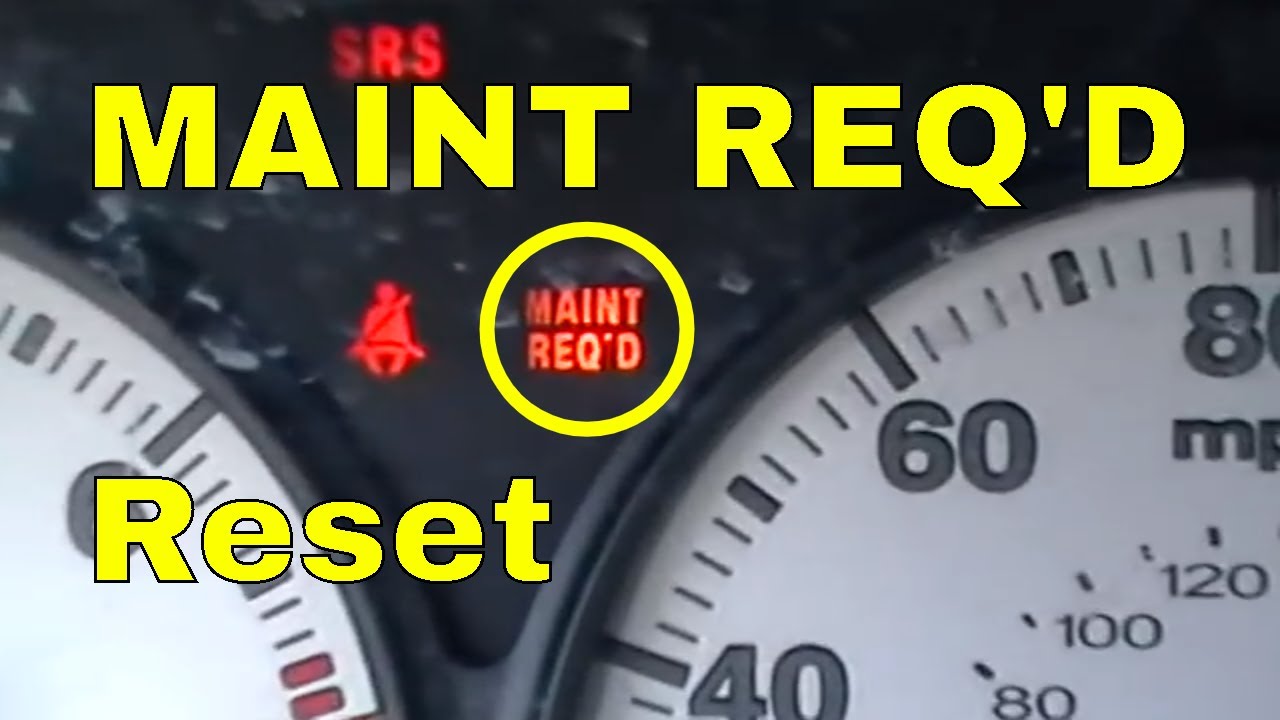
- Toyota/Lexus: This is one of the most common resets. Turn the ignition off. Press and hold the odometer reset button (the trip meter button). While holding the button, turn the ignition to the "ON" position (but do not start the engine). Continue holding the button until the light flashes and then goes off.
- Honda/Acura: Similar to Toyota, this often involves using the trip meter reset button. With the ignition off, press and hold the trip meter reset button. Turn the ignition to the "ON" position (but do not start the engine). Continue holding the button until the light resets. Some newer models require navigating through the information display using the steering wheel-mounted controls to find a "Maintenance Reset" option.
- Nissan/Infiniti: For many Nissan and Infiniti vehicles, the process involves using the information display and steering wheel controls. Navigate to the "Maintenance" or "Service" menu and select the option to reset the oil change interval or maintenance reminder.
- GM (Chevrolet, GMC, Buick, Cadillac): Often, the process involves turning the ignition to the "ON" position (engine off), then using the accelerator pedal to fully depress it three times within five seconds.
- Ford/Lincoln: Turn the ignition to the "ON" position (engine off). Navigate to the "Settings" or "Vehicle" menu using the steering wheel-mounted controls. Locate the "Oil Life Reset" or "Maintenance Reset" option and follow the on-screen prompts.
Important Note: Always consult your vehicle's owner's manual for the specific reset procedure for your make and model. The information provided here is a general guide, and the exact steps may differ.
Troubleshooting the Reset Process
Sometimes, resetting the Maintenance Required light doesn't go as smoothly as planned. Here are some common issues and how to address them:
- The light doesn't turn off: Double-check that you are following the correct reset procedure for your specific vehicle. Ensure that you are holding the correct button for the correct duration. Also, make sure the ignition is in the correct position (usually "ON" but engine off).
- The light comes back on shortly after resetting: This could indicate that the reset procedure was not performed correctly, or that the underlying mileage or timer interval has not been satisfied. Try resetting the light again, ensuring you follow the steps precisely. If the light continues to reappear, it could be due to a faulty sensor or a programming issue that requires professional diagnosis.
- The Check Engine light is also on: If the Check Engine light is illuminated alongside the Maintenance Required light, it indicates a separate issue. An OBD-II scanner can be used to read the diagnostic trouble codes (DTCs) and identify the source of the problem. Addressing the Check Engine light is crucial before attempting to reset the Maintenance Required light.
When to Seek Professional Help
If you are unable to reset the Maintenance Required light after trying the recommended procedures, or if you suspect a more serious issue, it's best to consult a qualified mechanic. A professional technician can diagnose the problem and perform any necessary repairs or programming to ensure the light is properly reset and your vehicle is functioning correctly. Furthermore, if the Check Engine light is also on, a professional diagnosis is essential to identify and address the underlying issue preventing you from resetting the Maintenance Required light.
By understanding the purpose of the Maintenance Required light, knowing the appropriate reset procedures, and being aware of potential troubleshooting steps, you can confidently manage this routine aspect of vehicle maintenance and keep your car running smoothly. Always remember to consult your owner's manual for the most accurate and up-to-date information specific to your vehicle.