
How To Get Rid Of Small Rust Spots On Car
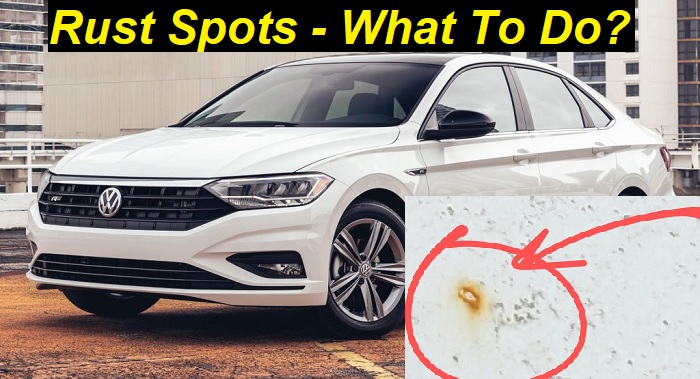
Ah, rust. The automotive nemesis. It's a relentless foe, turning pristine sheet metal into a flaky, orange mess if left unchecked. While extensive rust repair often requires professional intervention, tackling small rust spots early can save you time, money, and significant headaches down the road. This article details how to effectively remove those pesky little blemishes and prevent them from returning.
Understanding the Enemy: Types of Rust
Before diving into the how-to, let's briefly categorize rust. We're primarily focused on surface rust, the superficial discoloration that appears on intact paint surfaces or freshly exposed metal. This is typically reddish-orange and relatively easy to address. Then there's scale rust, a more advanced form that's thicker, layered, and indicative of deeper corrosion. Finally, we have penetrating rust, the kind that eats completely through the metal – a job for a skilled body shop.
The Arsenal: Tools and Materials
Successfully removing small rust spots hinges on having the right equipment. Here's a basic list:
- Safety Glasses and Gloves: Essential for protecting your eyes and skin.
- Wash Supplies: Car wash soap, bucket, and wash mitt. Cleanliness is crucial.
- Rust Remover: Chemical rust removers (gel or liquid) or a rust converter. Choose a reputable brand like POR-15 or Evapo-Rust.
- Sandpaper: Various grits, starting with 220-grit for initial rust removal, followed by 320-grit and 400-grit for smoothing.
- Sanding Block: Provides a flat surface for even sanding.
- Tack Cloth: For removing sanding dust.
- Primer: Automotive primer designed for bare metal.
- Touch-Up Paint: Matching your car's color code. Obtain this from your dealer or an automotive paint supplier.
- Clear Coat: To protect the touch-up paint and provide a glossy finish.
- Applicators: Small brushes, cotton swabs, or detailing sponges.
- Wax and Polish: For blending the repaired area with the surrounding paint.
The Battle Plan: Step-by-Step Guide
Now, let's get down to the process:
- Preparation: Thoroughly wash and dry the affected area and the surrounding panel. This removes dirt and contaminants that can interfere with the repair.
- Sanding: Using the 220-grit sandpaper and sanding block, gently sand the rust spot, extending slightly beyond the visible rust to ensure you're removing all traces of corrosion. Be careful not to apply too much pressure, as you could damage the surrounding paint. Switch to 320-grit and then 400-grit sandpaper to smooth the area.
- Rust Removal/Conversion: Apply the chosen rust remover or converter according to the manufacturer's instructions. Rust removers dissolve the rust, while converters chemically transform it into a stable, paintable surface. This step is crucial for preventing the rust from returning.
- Cleaning: Thoroughly clean the area with a tack cloth to remove any residual dust or residue from the rust remover/converter.
- Priming: Apply several thin coats of automotive primer, allowing each coat to dry completely before applying the next. This creates a uniform surface for the touch-up paint to adhere to.
- Painting: Apply thin, even coats of touch-up paint, allowing each coat to dry thoroughly. Use a small brush or cotton swab for precise application. Multiple thin coats are better than one thick coat, which can lead to runs and drips.
- Clear Coating: Once the touch-up paint is completely dry, apply several thin coats of clear coat to protect the paint and provide a glossy finish.
- Buffing and Polishing: After the clear coat has dried completely (typically 24-48 hours), use a rubbing compound or fine polish to blend the repaired area with the surrounding paint. Follow this with a wax to protect the finish.
Prevention is Key: Staying Ahead of the Rust Monster
While rust repair is sometimes unavoidable, proactive measures can significantly reduce its occurrence. Regular washing and waxing, especially during winter months when road salt is prevalent, are essential. Applying a rust inhibitor to vulnerable areas, such as wheel wells and undercarriage, can also provide added protection. Consider investing in a ceramic coating, which offers superior protection against environmental contaminants and helps prevent rust from forming.
Even seemingly minor scratches and chips should be addressed promptly to prevent rust from forming underneath the paint. A small investment in touch-up paint can save you from a much larger repair bill later on.
By understanding the nature of rust, employing the right tools and techniques, and practicing preventative maintenance, you can effectively combat those small rust spots and keep your vehicle looking its best for years to come. Remember, early intervention is the key to winning the battle against rust!