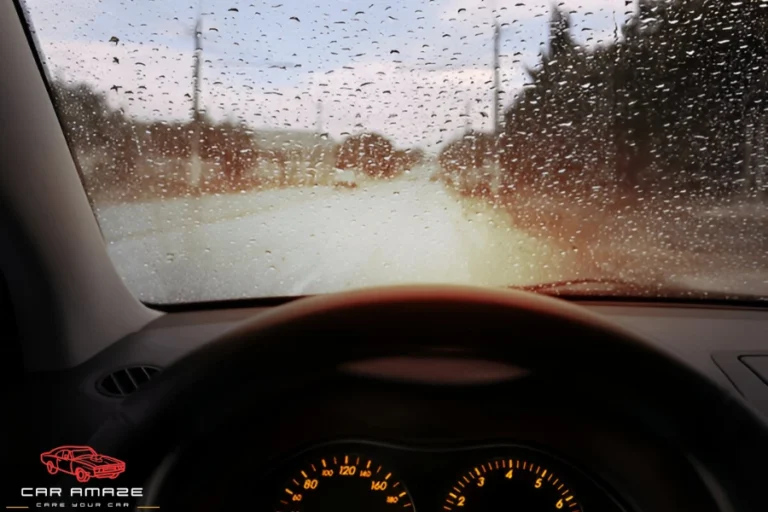
How To Get Rid Of Water Spots On Your Car
Alright, let's tackle those pesky water spots. As a seasoned DIYer, you know a clean car is more than just aesthetics; it's about protecting your investment. Those spots, left unchecked, can etch themselves into your paint's clear coat, leading to permanent damage. This guide will walk you through the steps to safely and effectively remove them, minimizing the risk of harming your finish. We'll cover identification, cleaning, polishing, and protection, giving you the knowledge to keep your car looking its best.
Identifying the Enemy: What Kind of Water Spots Are You Dealing With?
First things first, you need to understand what type of water spots you're facing. Not all water spots are created equal, and the method of removal will depend on the severity of the issue. There are typically two main culprits:
Mineral Deposits (Hard Water Spots)
These are the most common. Hard water contains dissolved minerals like calcium and magnesium. When the water evaporates, these minerals are left behind, creating visible spots. They often look like faint, white rings or blotches. The severity depends on the water's hardness and the length of time the water was allowed to evaporate on the surface.
Acid Rain/Industrial Fallout Spots
These are more aggressive and potentially more damaging. Acid rain contains pollutants like sulfuric and nitric acids. Industrial fallout can contain similar corrosive substances. These substances can etch into the clear coat, creating permanent blemishes. You'll often find these spots look more like shallow craters or are more difficult to remove than mineral deposits.
Pro Tip: If you're unsure of the type, start with the least aggressive method and gradually increase the intensity as needed. Patience is key to avoiding damage.
The Arsenal: Tools and Products You'll Need
Before you start, gather your supplies. A well-prepared workstation makes the job much easier and safer. Here’s a list of essentials:
- Microfiber Towels: Invest in a quality set. These are soft, absorbent, and won't scratch your paint. Use different towels for cleaning, drying, and polishing.
- Water Spot Remover: Several products are available. Look for those specifically formulated for automotive paint. Some are acidic, so read the instructions carefully and test in an inconspicuous area first. Chemical Guys and Meguiar's offer reputable options.
- Detailing Spray (Quick Detailer): Useful for lubricating the surface before wiping and for removing light residue.
- Clay Bar (Optional): For removing embedded contaminants before polishing.
- Polishing Compound (Optional): For removing etched water spots. Choose a fine-cut polish if you're new to polishing.
- Polishing Pad (Optional): Use with a polishing machine (DA polisher is recommended for beginners).
- Wax or Sealant: To protect the paint after removing the water spots.
- Two Buckets: One for clean water and one for rinsing your wash mitt or microfiber towel.
- Wash Mitt: A soft, high-quality wash mitt to avoid scratching the paint during washing.
- pH-Neutral Car Wash Soap: Avoid harsh soaps that can strip wax or sealant.
The Battle Plan: Step-by-Step Water Spot Removal
Now, let’s get to work. Follow these steps carefully for the best results.
Step 1: The Wash (Preparation is Paramount)
Always start with a thorough wash. This removes loose dirt and debris that could scratch the paint during the water spot removal process. Use the two-bucket method: one bucket with soapy water and the other with clean water for rinsing your mitt. Wash in straight lines, overlapping each pass. Rinse thoroughly with a hose or pressure washer.
Step 2: The Chemical Assault (Water Spot Remover)
Apply the water spot remover according to the manufacturer's instructions. Always test the product in an inconspicuous area first to ensure it doesn't damage the paint. Typically, you'll spray the product onto a microfiber towel and gently wipe the affected area. Let it dwell for the recommended time (usually a minute or two), then wipe clean with a fresh microfiber towel. Use a detailing spray for extra lubrication if needed.
Technical Note: Water spot removers often contain mild acids (like acetic acid in vinegar-based products) or chelating agents. These chemicals work by dissolving or binding to the mineral deposits, making them easier to remove.
Step 3: The Clay Bar Intervention (For Embedded Contaminants)
If the water spots are particularly stubborn or if you feel any roughness on the paint surface, use a clay bar. Knead the clay bar until it's soft and pliable. Spray the surface with a clay bar lubricant (or a detail spray) and gently rub the clay bar over the affected area in straight lines. Fold the clay bar frequently to expose a clean surface. This will remove embedded contaminants that could be contributing to the problem.
Step 4: The Polishing Offensive (For Etched Water Spots)
If the water spots have etched into the clear coat, you'll need to polish the paint. This step requires more skill and care. A Dual Action (DA) polisher is recommended for beginners because it's less likely to cause damage than a rotary polisher. Apply a small amount of polishing compound to a polishing pad. Work in small sections (approximately 2ft x 2ft), using overlapping passes. Use moderate pressure and a medium speed setting on the polisher. Wipe away the residue with a clean microfiber towel. Inspect the area under good lighting. You may need to repeat the polishing process if the water spots are still visible.
Safety First: Always wear eye protection when using a polishing machine. Start with the least aggressive polish and pad combination. If you're unsure, practice on an inconspicuous area first. Consider taking a detailing class to learn proper polishing techniques.
Step 5: The Protective Shield (Wax or Sealant Application)
After removing the water spots, it's crucial to protect the paint with a wax or sealant. This will create a barrier against future water spots and other environmental contaminants. Apply the wax or sealant according to the manufacturer's instructions. Typically, you'll apply a thin, even coat and then buff it off with a clean microfiber towel. Consider using a ceramic coating for even longer-lasting protection. These offer excellent hydrophobic properties, meaning water will bead up and roll off the surface more easily, reducing the chance of water spots forming.
Prevention is Better Than Cure: Maintaining a Spotless Finish
The best way to deal with water spots is to prevent them in the first place. Here are some tips to keep your car looking its best:
- Dry Your Car Immediately After Washing: Use a microfiber drying towel or a leaf blower to remove water quickly before it can evaporate and leave behind mineral deposits.
- Park in a Garage or Undercover: This will protect your car from rain and other environmental factors.
- Use a Water Softener When Washing Your Car: If you live in an area with hard water, consider using a water softener or a deionized water system.
- Apply a Wax or Sealant Regularly: This will provide a protective barrier against water spots and other contaminants.
- Immediately Remove Bird Droppings and Bug Splatter: These can also etch into the paint if left unattended.
- Consider a Ceramic Coating: As mentioned earlier, ceramic coatings offer superior protection and hydrophobic properties.
Removing water spots requires patience, attention to detail, and the right tools and products. By following these steps, you can restore your car's finish and protect it from future damage. Remember to always start with the least aggressive method and work your way up as needed. Happy detailing!