How To Install A Roof Rack On A Car
Adding a roof rack to your vehicle unlocks a world of cargo-carrying possibilities, from hauling kayaks and bikes to expanding luggage capacity for road trips. This comprehensive guide will walk you through the installation process, ensuring a secure and reliable setup.
Understanding Roof Rack Types and Compatibility
Before diving into the installation, it's crucial to identify the correct roof rack type for your vehicle. There are primarily four common mounting styles, each designed for specific roof configurations:
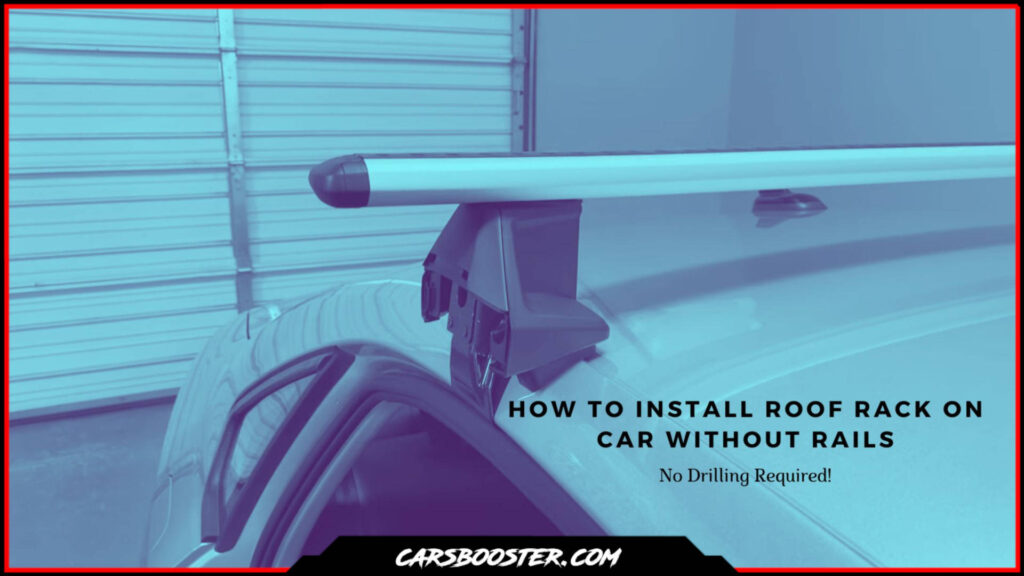
- Bare Roof: These vehicles have a smooth roof surface with no pre-existing mounting points. Roof racks for bare roofs typically use door frame clamps that grip the edges of the door openings.
- Factory Raised Rails: These rails run lengthwise along the roof and stand off from the roof surface. Racks designed for raised rails clamp directly onto these rails.
- Factory Flush Rails: Similar to raised rails, but they sit flush against the roof. Racks for flush rails typically have a specific clamping mechanism.
- Fixed Mounting Points: Some vehicles come with designated threaded mounting points hidden under small access panels on the roof. Dedicated roof racks bolt directly into these points.
Always consult your vehicle's owner's manual and the roof rack manufacturer's compatibility guide to confirm you're purchasing the correct system. Using an incompatible rack can lead to damage to your vehicle or, worse, a dangerous situation while driving. Pay close attention to the Dynamic Load Capacity – the maximum weight the rack can safely carry while the vehicle is in motion.
Tools and Materials Required
Gathering the necessary tools and materials beforehand streamlines the installation process. Here’s a list of what you’ll generally need:
- Roof rack kit (crossbars, towers, mounting hardware)
- Torque wrench
- Socket set
- Measuring tape
- Screwdrivers (Phillips and flathead)
- Clean microfiber cloths
- Isopropyl alcohol (for cleaning roof surfaces)
- Painter's tape (optional, for marking locations)
- Ladder or step stool (depending on vehicle height)
Step-by-Step Installation Guide
1. Preparing the Roof
Thoroughly clean the areas where the roof rack will contact the roof. Use isopropyl alcohol and a clean microfiber cloth to remove any dirt, wax, or grime. This ensures a secure and stable mounting surface. For vehicles with fixed mounting points, carefully pry open the access panels using a small flathead screwdriver. Exercise caution to avoid scratching the paint.
2. Assembling the Towers and Crossbars
Most roof rack kits require some assembly. Refer to the manufacturer's instructions for specific steps, which usually involve attaching the towers to the crossbars. Ensure all screws and bolts are tightened to the manufacturer's recommended torque specification. Using a torque wrench is essential to avoid over-tightening, which can damage the components.
3. Positioning the Roof Rack
Carefully position the assembled roof rack on the vehicle's roof, ensuring it's centered and aligned correctly. Use a measuring tape to verify equal distances from the front and rear of the roof. For racks using door frame clamps, ensure the clamps are properly positioned and gripping the metal frame, not the weather stripping. For fixed mounting points, align the towers with the threaded holes.
Tip: Painter's tape can be used to mark the desired location of the towers on the roof, providing a visual guide during installation.
4. Securing the Roof Rack
This step varies significantly depending on the roof rack type. For door frame clamps, gradually tighten the clamping mechanisms, ensuring they are evenly distributed and securely gripping the door frame. For racks attaching to factory rails, tighten the clamps onto the rails according to the manufacturer's instructions. For fixed mounting points, carefully thread the bolts into the designated holes. Use a torque wrench to tighten the bolts to the specified torque. Over-tightening can strip the threads or damage the roof.
5. Final Inspection and Adjustments
After securing the roof rack, thoroughly inspect all connections and mounting points. Ensure everything is tight and secure. Gently rock the roof rack to check for any movement or instability. If necessary, make adjustments to ensure a solid and stable installation. Re-check the torque of all bolts after the first few uses, as they may settle.
Important Safety Note: Always adhere to the manufacturer's recommendations for load capacity. Overloading the roof rack can compromise its stability and lead to accidents.
Troubleshooting Common Issues
Even with careful installation, some issues may arise. Here are a few common problems and their solutions:
- Rack is loose or wobbly: Double-check all connections and mounting points. Ensure all bolts and clamps are tightened to the correct torque specification.
- Wind noise: Wind noise is a common issue with roof racks. Consider adding a wind fairing to the front of the rack to reduce noise. Some crossbars are designed with aerodynamic profiles to minimize wind resistance.
- Leaks around mounting points: For fixed mounting points, ensure the access panels are properly sealed after installation. If leaks persist, consider using a sealant around the bolts.
- Difficulty tightening bolts: Ensure the bolts are properly aligned with the threaded holes. If resistance is encountered, avoid forcing the bolts, as this can strip the threads. Try re-aligning the towers or cleaning the threads with a thread chaser.
Maintenance and Care
To ensure the longevity and safety of your roof rack, regular maintenance is essential. Periodically inspect all components for wear and tear. Tighten any loose bolts or clamps. Clean the rack regularly with soap and water to remove dirt and grime. For racks exposed to harsh weather conditions, consider applying a protective coating to prevent corrosion.
Consider the long-term cost of ownership. While a high-quality roof rack might have a higher initial price, its durability and reliability can save you money in the long run by avoiding frequent replacements or repairs.
Alternatives to Traditional Roof Racks
While traditional roof racks are versatile, alternative solutions exist for specific needs:
- Hitch-mounted cargo carriers: These carriers attach to the vehicle's trailer hitch receiver and provide a secure platform for carrying luggage or other items.
- Roof bags: These soft-sided carriers attach to the roof and offer additional storage space. However, they are less durable than traditional roof racks and may affect fuel economy more significantly.
- Truck bed racks: For pickup trucks, bed racks provide a secure platform for carrying oversized items like kayaks or ladders.
The best option depends on your specific needs and vehicle type. For example, the Honda CR-V often utilizes factory raised rails, making the installation process straightforward with compatible racks. Conversely, older Toyota Camrys might require a bare roof rack system, necessitating careful attention to door frame clamp placement.
Conclusion
Installing a roof rack is a manageable task for many car owners, offering increased cargo capacity and versatility. By understanding the different roof rack types, following the installation steps carefully, and performing regular maintenance, you can enjoy the benefits of a secure and reliable roof rack system for years to come. Remember to prioritize safety and always adhere to the manufacturer's recommendations. Safe travels!